
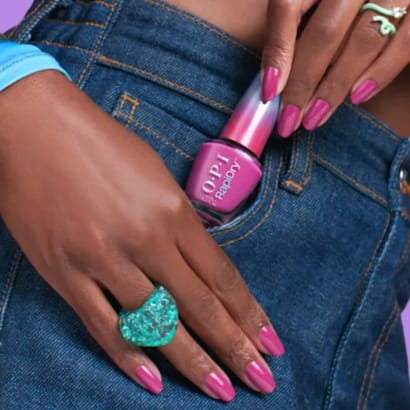
OPI’s NEW Chrome Effects and Infinite Shine Glaze Toppers
After seasons of barely-there manicures and minimalist nail looks, chrome is officially back in the spotlight.
by Staff

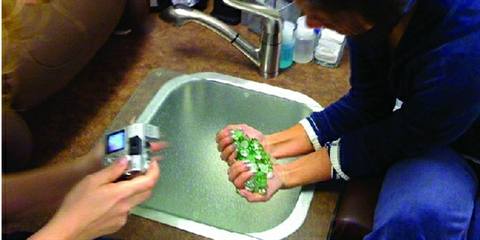
For many techs, taking pictures of your work allows you to create portfolios for your clients, advertise themselves on Internet sites like MySpace, or share your work with peers on forums and websites. Here are some tips from techs who have made a habit of photographing nails.
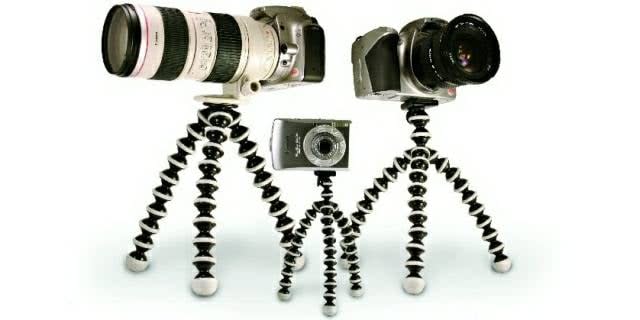
The Gorillapods come in three different sizes to support different size cameras, and the legs can even wrap around other objects to create a stable platform in the most unlikely of places. (www.joby.com)
THE CAMERA
Taking good pictures of nails doesn’t require expensive and complicated equipment. Many techs take great shots with only their personal, point-and-shoot pocket digital cameras. But there are a few basic requirements.
A digital view screen - This is an essential feature for photographers just starting out because it immediately shows you what your shot looks like. You can make any necessary adjustments without wasting a single shot.
6-8 megapixels - This is the minimum resolution that you should shoot at. Cameras shooting at lower than 6-8 megapixels will not produce photos that will look good on the web or on paper. Make sure that the camera is set to the highest resolution.
Macro setting - The macro setting is usually denoted with a flower symbol and it automatically adjusts your camera to take better shots of things close up.

Tripod compatability - For close-up shots on the macro setting, “camera shake” becomes a problem and you’ll want to be able to attach a tripod if necessary for stability.
Flash - You want to have the option of a flash for your shots. Even though you might not use it every time, it is important to always have the option.
Some basic, introductory cameras that fill these requirements are the Nikon s7c, the Canon Powershot sd1000, and the Sony Cybershot DSCW55. But you can also research cameras on the web. Digital Photography Review, at www.dpreview.com, is a good website that offers reviews on all of the latest digital cameras.
TRIPODS
Tripods are not essential for close-up nail shots, but they do help, especially if you are using a smaller pocket digital camera. The reason why tripods are useful is because when the camera is set to macro, the slightest jiggle of the hand can blur your photo.
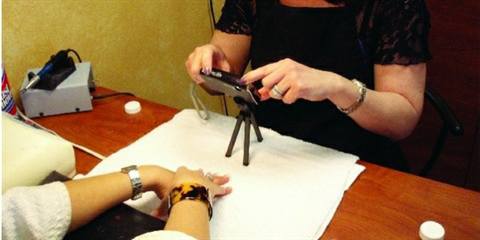
Preato and Gibson use small tripods to steady their cameras for their shots, and there is also an interesting new tripod on the market that lends itself to nail pictures.
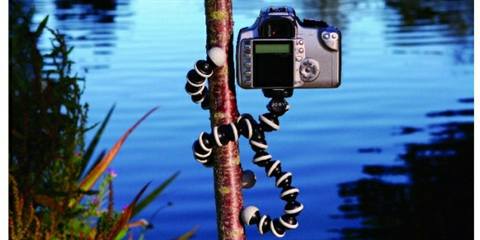
The Joby Gorillapod has three bendable legs to achieve a number of different angles, and the lightweight and small design make it easy to carry around.
THE MACRO SETTING
The most important thing to remember in taking photos of nails is to use the camera’s macro setting. The macro setting is usually shown as a symbol of a flower, and when activated it automatically sets the camera up to take high-quality close-up shots.
Watch out for back focusing when shooting on the macro setting though. Sometimes cameras will focus on the background instead of the nails in the center. Read up on your camera settings and if you are having continuous problems with back focusing, manually set your camera to focus on center images.
LIGHTING
Once the macro setting has been activated, the next thing to worry about is the lighting. Lighting can be tricky because different lights have different color qualities that your naked eye might not notice, but your camera will pick up.
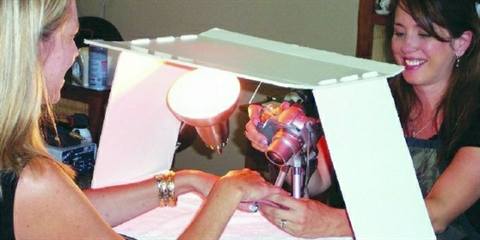
The flash - The flash is a personal preference for nail shots. Some techs never use it, while others use it depending on the lighting situation. But when the light is dim, a flash can be helpful in making shots come out clear, depending on the situation.
Some flashes are too strong and can blow out the shot. Flashes can also add unnecessary shadows and glare. A good rule of thumb when taking pictures is to experiment. Take the same shot using different settings; with the flash on and off, with the camera at different distances, and with different lighting. Then compare the shots and keep track of which settings produce the pictures you like the best.
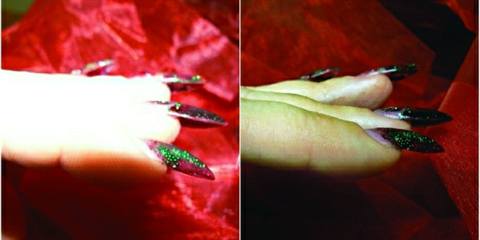
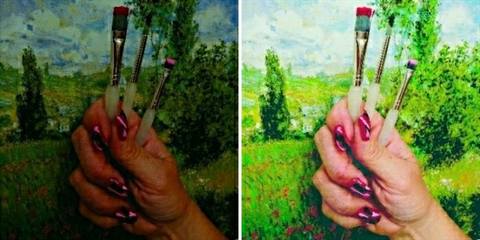
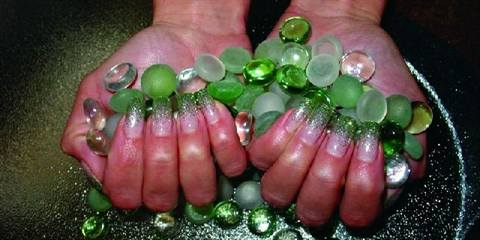
PROPS AND SHOT DESIGN
Once you have a good understanding of your equipment and are getting shots you are pleased with, the next thing to think about is the concept behind the image.


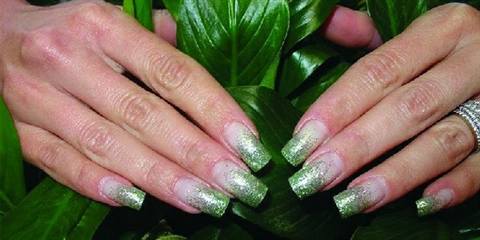
You don’t have to be limited by traditional hand poses, many techs use simple props and backgrounds to add an extra visual appeal to their shots.
HIRING A PROFESSIONAL
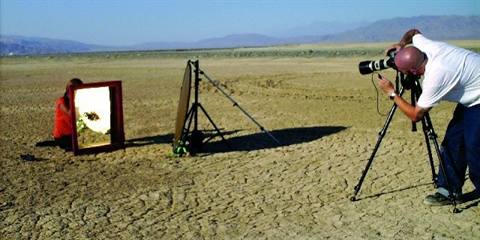
In some circumstances, when techs want to really make a statement with their work and possibly enter the photo into a contest or put the image on a business card or brochure, they will enlist the help of a professional.
Professional photographers can vary on price and expertise, so it’s important to make sure you call different photographers and talk to them about what you would like to do. You can search the phone books and the Internet to find local photographers, or talk to other local businesses owners who may have used a professional photographer in the past to see if they have any recommendations.
Once you find a photographer, check their prices and see if they have experience in the type of shots you are interested in. You’ll want to see their portfolio and samples of their work before hiring them.
[PAGEBREAK]
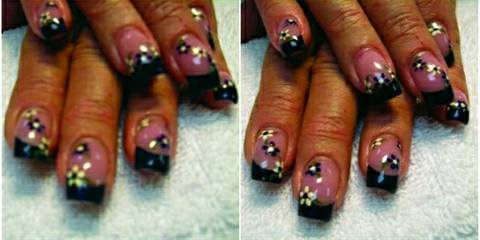
COMPUTER EDITING
Remember that once you have taken your photo, you can always touch it up with editing software. There are a number of different programs on the market, and they range from very expensive professional programs to inexpensive ones designed more for family photo editing.
Adobe Photoshop is the premier photo editing software on the market, but it is rather costly and really intended for professional photography use. But there are a number of programs that offer more basic features and come at a fraction of the cost.
Adobe Photoshop Elements, Paintshop Pro, Microsoft, Picture It, and iphoto (which comes already installed in newer Macs) are just a sampling of the scaled-down editing programs. You can read up on all of them on the Internet to help you decide which one works best for you. Visit http://photoediting-software-review.toptenreviews.com/ for reviews and descriptions on 10 of the most popular programs.
But if you already have a photo editing program, don’t be afraid to start clicking away and seeing what happens. There’s no harm in trying, and don’t let a complicated interface intimidate you from experimenting. Nice results can be easily achieved through some simple commands, just remember to save a copy of the original in case your changes get out of hand.
GET YOUR CLIENTS TO TAKE PHOTOS FOR YOU
Teresa Shackleton, owner of Tee’s Nails in Kitchener, Ont., Canada, held a contest for her clients to take their own pictures of her work.

Offering free manicures, pedicures, and gift certificates to the top five winners, Shackleton has found a clever way to create a unique portfolio without ever taking a photo.

“My goal is to make a coffee table book for my clients to browse through while waiting for their appointments,” Shackleton says. And the contest has already started to pay off.
THE PHOTOGRAPHER’S CHECKLIST
❏ Use the macro setting (flower symbol) and station the camera about six to eight inches away from the hands. Use the zoom to get a tighter shot, and watch for back focusing.
• Make sure the lighting is adequate so the picture is not dark or blurry, and avoid having the light shine directly onto the nails as it might cause too much glare.
• Use a tripod or make sure to hold very still when taking shots. Using the camera’s timer is a good way to keep from jostling the camera while you press the shutter.
• If you decide to use the flash, experiment with it. Try it from different angles and in different light conditions to compare how it looks.
• Think about props for your photos and let your imagination direct how you would like your nails to appear.
• Research different photo editing software and talk to your peers for recommendations. Even if you don’t know much about it, there is inevitably a friend or family member who knows more. Ask them to walk you through some of the functions and see how you can improve your photos.

• Finally, continue to experiment until you get the images you like. The beauty of a digital camera is you can see your shots right away, so take full advantage of this and change your shots until you find the right settings.
Read up on more photography tips from techs in Photographing Nail Art (NAILS Magazine, July, 2012).
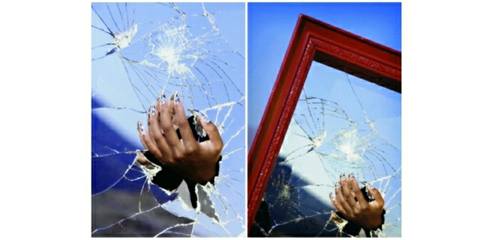
Click here to see Digits, Digitized (NAILS Magazine, March, 2008) for suggestions on using a digital frame to showcase your nails portfolio.
After seasons of barely-there manicures and minimalist nail looks, chrome is officially back in the spotlight.

For years, press-on nails have been treated as the alternative to professional services. But the category has evolved and so has the client.
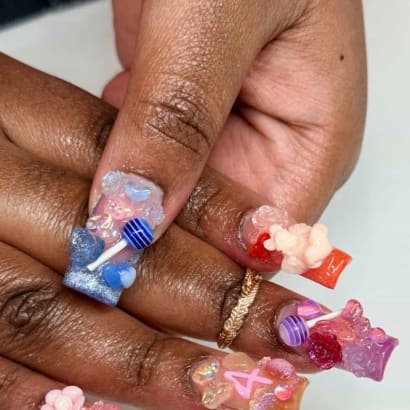
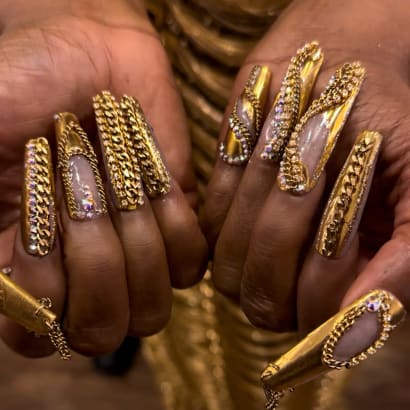
Junk nails continue to steal the spotlight within the professional beauty industry.
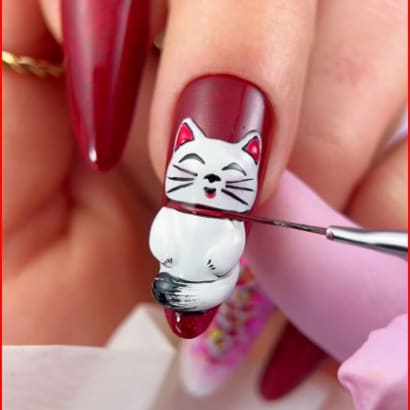
The lucky cat in this design signifies fortune and abundance--yes, please!
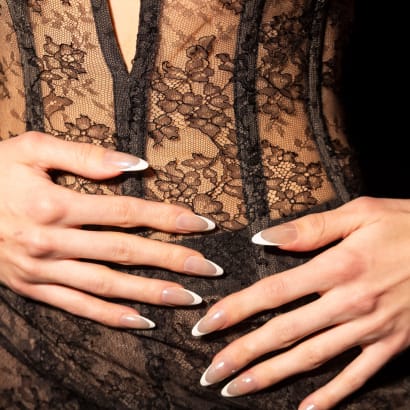
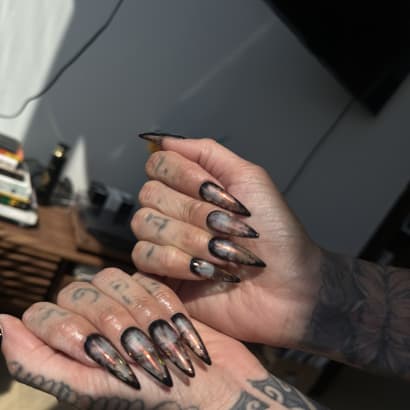
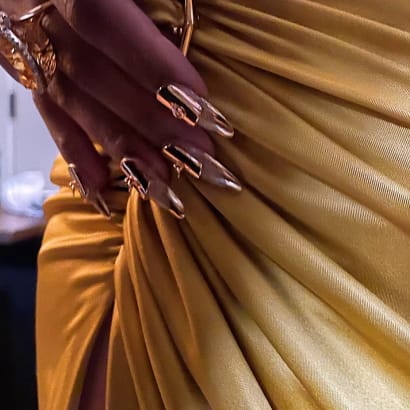
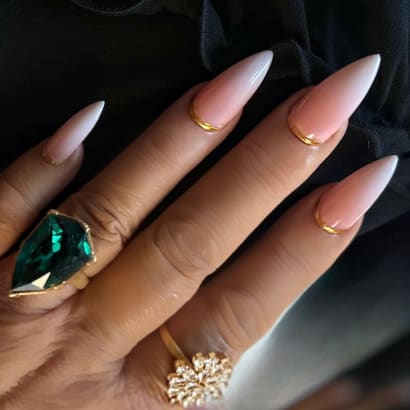
“You can’t go wrong with a classic French elevated with a high-shine, chrome finish that’s continuing to trend. The stiletto shape of the nails echoes the precision and structure seen throughout the collection.”

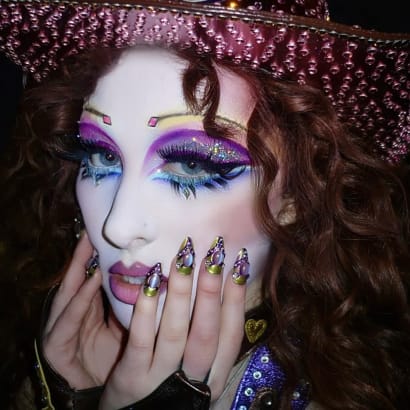
Romantic goth hairstyles are trending for 2026, and these Sebastian Professional artists have long anticipated the look.
Check out what beautiful looks these celebrity nail artists cooked up for famous attendees and nominees of the 2026 Grammy Awards.
Check out these beautiful holiday and winter nails, created by the talented nail artists of our MODERN SALON 100 of 2025. Top-tier inspiration!
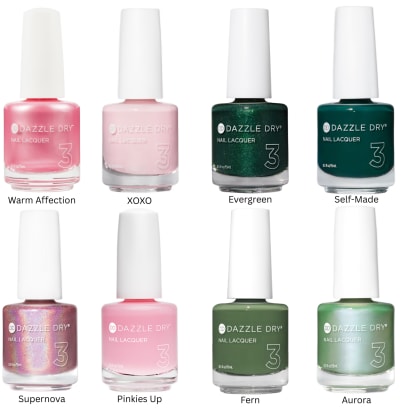
In anticipation of Wicked: For Good, here are some stunning pink and green polishes from clean nail brand Dazzle Dry.
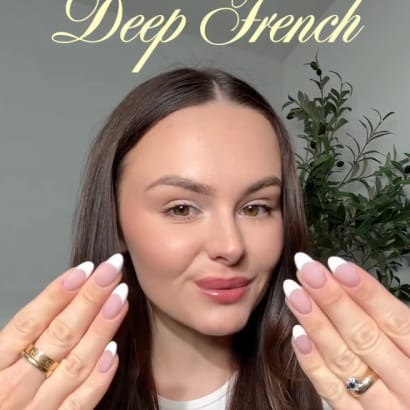
The return of the deep French is a trend with staying power.
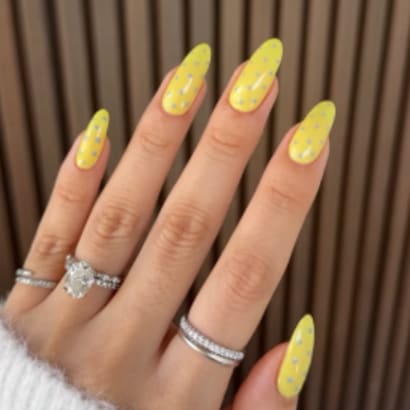
OPI Global Ambassador and celebrity manicurist Zola Ganzorigt just merged two of summer’s most buzzy trends – butter yellow and polka dot nails -- to create this adorably sunny trend on Hailey Bieber.
Our favorite part of any award show or celebrity event is seeing what those celebrities are wearing on their fingertips! These celebrity manicurists shared how to recreate some of our favorites.
The stars at the 2025 Oscars and their talented manicurists did not disappoint, and we've chosen a few of our favorite nail looks to share with you.
See some of the most decorated fingertips at the Grammys, created with Aprés Nail.
Looking for some new stuff to get excited over during this post-holiday quiet period? We've got just the selection for you, including new polish formulas, colors, and even botanical skincare.
Which of our 2024 nailsmag.com articles did you find most intriguing last year? The results are in!
See how these celebrity manicurists used Aprés Nail to create some of the Golden Globes' most stunning nail looks.