Square, round, squoval — you probably have a specialty and a preference to how you think a nail should look. But you can’t just do cookie-cutter nails on every client who walks through your door. Some individual attention and customization will wow your clients and make them loyal for life.
Nails naturally come in a variety of shapes and sizes, and each person has nail features that are unique. There are long fingers with wide nail beds, short fingers with short nail beds, and every combination in between. But good nail technicians know how to complement a client’s natural features, and the foundation of this is the nail shape.
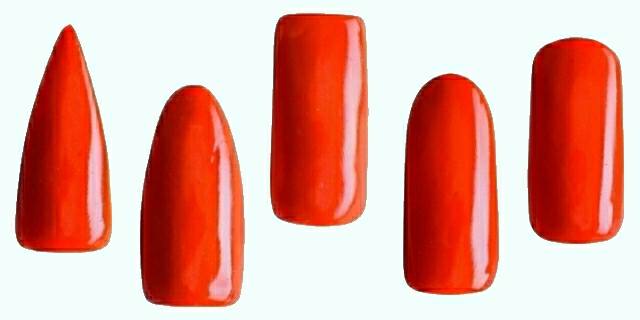
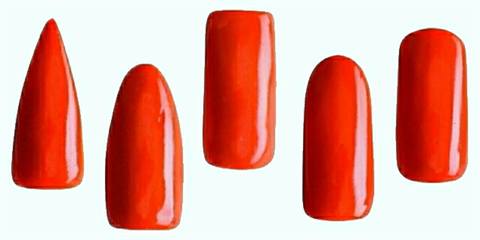
Most clients lean toward one of the five basic shapes: square, round, oval, squoval, or pointed. Though other blended combinations of these shapes exist, these five are definitely the most common. So how do you know which shape to use on your next client? Here are some subtle clues and hints that will help you decide on the proper shape, and also some techniques on how to file it just right.
Ad Loading...
The Oval
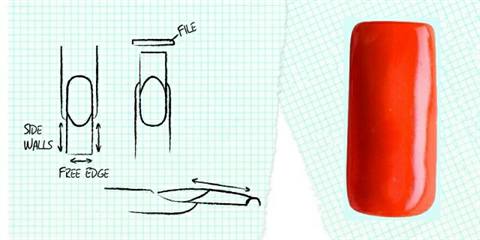
The oval shape is an attractive nail shape for most women’s hands. It can accentuate femininity and gracefulness. Orly educator Elsbeth Schuetz says the oval shape is an interesting shape because it can work on long nail beds and short ones as well. Ovals can be longer to accentuate a long nail bed, or they can be shorter to complement a shorter nail bed. The oval can add length to a nail while retaining the softer curves of the round shape.
How to File: Schuetz warns that filing an oval shape can be rather difficult because slight imperfections can make the nail look unbalanced. To achieve the oval shape, first begin by straightening your sidewalls and making sure they are even. Then begin filing from the side of the nail toward the top, using smooth, arching motions with the file. From there, work your angles on both sides and around the free edge to smooth into the oval shape you’re looking for. The finished oval should have a nice balance between the cuticle shape and the free edge.
The Square
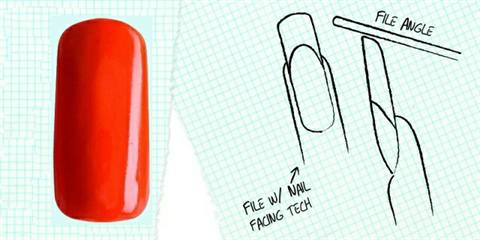
The square nail is the classic acrylic shape — straight side walls, two sharp points on the tips, and a balanced C-curve. It is the staple shape for the traditional French manicure and is used frequently for detailed nail art designs. But the square nail is not always the best choice for certain nail beds. According to EZ Flow educator MaeLing Parrish, the square shape is difficult to pull off when the natural nail bed tends to be shorter and wider. In such a case, a sharp square nail could make the nail appear shorter and stubbier. But for longer nail beds, the square can complement the nail and add length to the finger.
Ad Loading...
How to File: To file into the classic square shape, Parrish instructs that a medium-grade file (150 grit) should be used to shape the free edge and side walls first. Then turn the client’s hand around to straighten the free edge, noting that when looking at it the file should be perpendicular to the nail to achieve the hard square. File the side wall straight up and then change the angle to blend. Repeat this on the other side. Once both sides are finished, use angles to lightly feather and bevel the nail and to sharpen the corners.
The Squoval
The squoval is one of the most common shapes, yet it is absent from many nail technician textbooks. The squoval nail is essentially a conservative square with the length of a square nail but the softer edges of an oval — hence the name squoval. Kupa’s Vicki Peters says the squoval came out of clients’ demand for the square shape but without the harsh edges. Squoval nails add versatility, enabling short, wide nail beds to carry the length without appearing oversized. According to Peters, the term squoval was first coined in 1984 by Paula Gilmore, a prominent educator at the time.
How to File: To file the squoval, Peters instructs to first begin with the square. This is a practice that she employs for every shape. She first builds it square so that she can make sure the sidewalls are straight. Once the side walls are straight, tilt the file underneath the corners and file back and forth from the underneath up. This will gradually take the corners off. Keep in mind that you only want to round the part of the tip that is past the free edge, this way you do not take anything away from the side walls at the stress area.
The Round
Ad Loading...
The round shape is more conservative. It is frequently used to create a softer, less noticeable look, and it’s also a common choice for male clients because the shape mirrors the natural contours of the nail. According to LCN educator Somer Downes, hand size can play a big factor for the round shape. If a client has wide nail beds and large hands, then the rounded shape can make the hands look a bit thinner. Round nails can also soften hand features by providing a well-kempt and subtle nail outline.
How to File: To get the round shape, Downes says it is best to file the side walls straight out, and then to just round out the edges into a nice curved shape. Be careful not to take too much off on each side or else it will look unbalanced. A good tip to remember is to visualize making a square, filing the side walls straight out, then simply round the corners with moderate angles to complete the shape. The finished round nail should be slightly tapered and extend just past the tip of the finger.
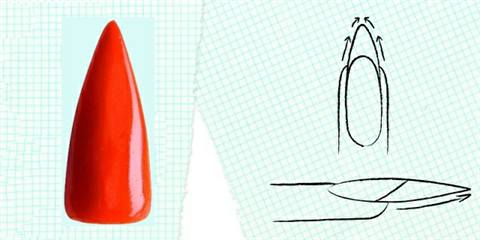
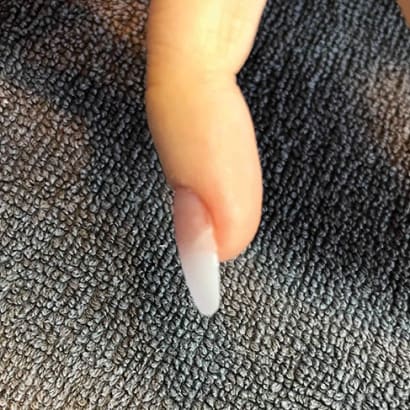
The Pointed
The pointed nail is not seen as often as other shapes in the U.S. According to Greg Salo of Young Nails, the shape first gained popularity in Russia and has become quite common in Eastern Europe, but it has yet to gain widespread appeal in the West. A pointed shape is a little more adventurous than shapes like the oval, squoval, or even square, but given the right circumstances a pointed nail can create length and have a slendering effect on the hand. Smaller hands with smaller nail beds can use a pointed nail to create a subtle appearance of length, while long, slender nail beds take pointed nails to a more noticeable and extreme level.
How to File: Greg Salo uses an “I” technique for filing a pointed tip. The technique is based on the letter “I” where the center of the “I” shape is the upper arch that forms a line running down the nail bed. The top of the “I” is bending the cuticle flush with the natural nail, and the bottom of the “I” is looking down the barrel of the nail to make sure the C-curve is even. The pointed tip requires taking the top of the “I” to a point that meets at the center of the apex. Once the “I” is in formation, it is just a matter of blending everything in so you have perfect harmony in the nail shape.
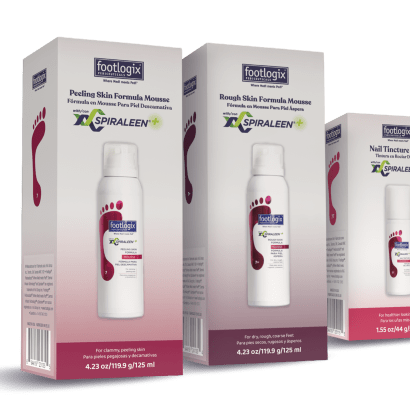
Marine-exclusive antioxidants act as a natural biological shield for the feet to help protect skin, smooth cracks, hydrate roughness, calm inflammation and disrupt bacterial and fungal activity, leaving feet feeling softer, smoother, more hydrated and healthier.
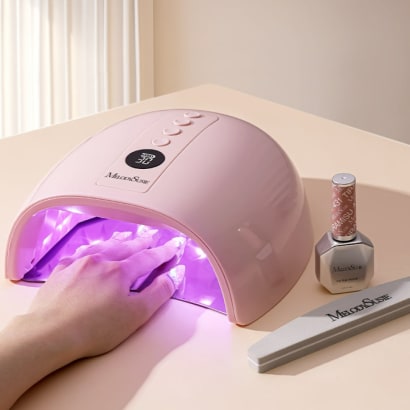
The MelodySusie P-PLUS30GT UV/LED Rechargeable Nail Lamp represents an upgrade in curing technology, designed to address several challenges through improved light reflection, intelligent heat management, and cordless operation.
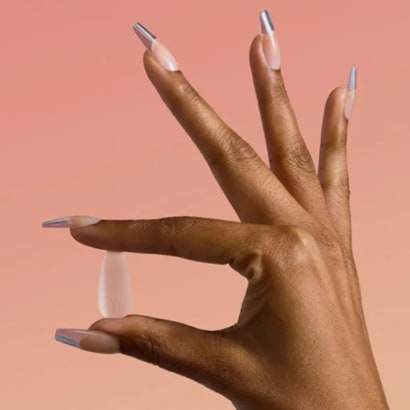
Elevate your tip service with the OPI GELevate™ Extension System, featuring tailor-made Soft Gel Tips, GELevate 4-in-1 Builder with Intelli-Builder Technology and the Lightening Flash Cure Gel Lamp. This new system from OPI allows for flawless tips in no time.
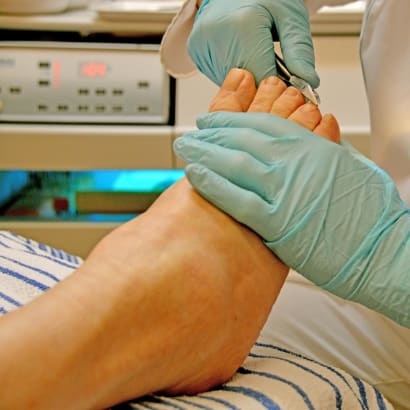
Nail technicians are embracing the Medical Pedicure as a service and placing it on their menus. But what is it? What training is required? Is it within our scope of practice as licensed nail technicians?
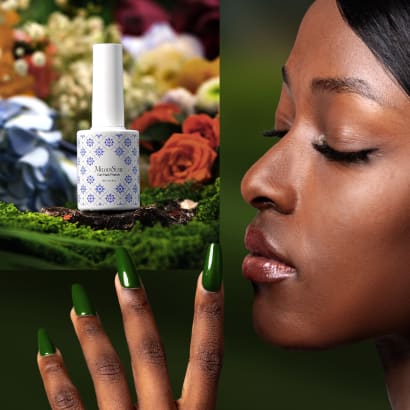
MelodySusie introduces the Fleurwee Gel Nail Polish series—a revolutionary gel polish that is HEMA/HPMA- and TPO-free, plant-based gel polish for a high-quality nail care experience.
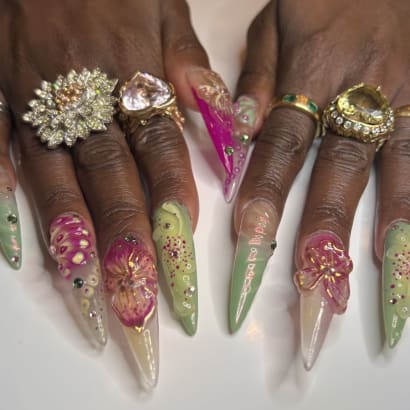
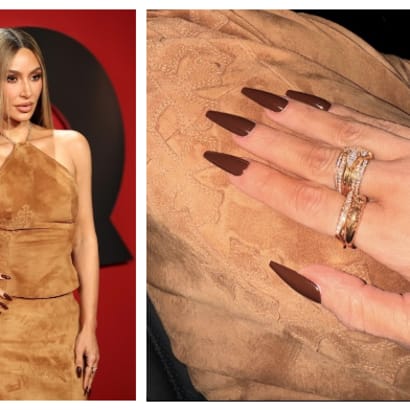
Kim Kardashian's manicure created for GQ’s annual 'Man Of The Year' event are the perfect understated, yet edgy look for fall or even the holiday party season.
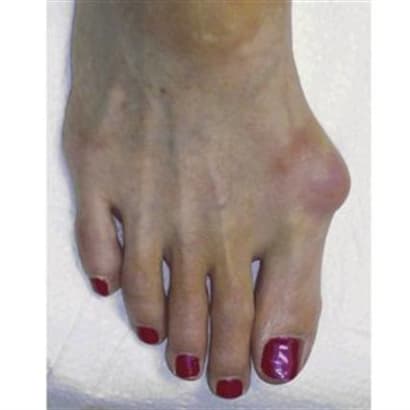
When the weight of the body lands on a swollen nerve, it can be debilitating. Learn the symptoms and alert clients to this common problem that develops in the nerves of the foot.
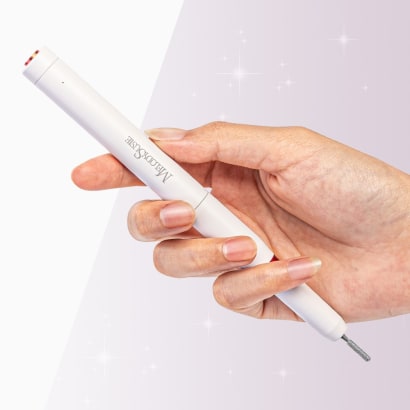
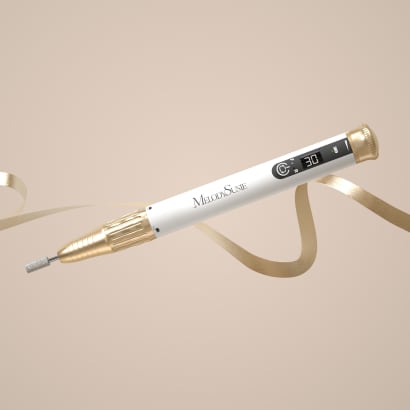
With the PC1 Nail Drill Pen, achieving healthy nails and a flawless manicure has never been easier. This user-friendly nail drill pen covers all your nail care needs.
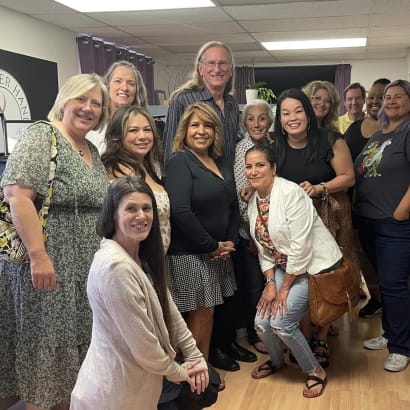
Attending a presentation by Doug Schoon is an opportunity not to be missed for anyone in the nail care industry. His extensive expertise, commitment to accurate information, and engaging presentation style make for an enlightening experience.