There are a variety of nail issues, from the everyday bitten-nails to the all-out chip or crack, that require you to call in reinforcements. Whether using acrylic or gel (or even a tea bag), we offer some ways to strengthen nails into long-lasting beauts.
Editor’s Note: If you’re in doubt as to whether a nail is safe for you to work on, play it safe and refer the client to a doctor first. You don’t want to create an enhancement that camouflages a health concern that requires medical attention.
How To…
Ad Loading...
Reinforce Bitten Nails with Acrylic
Sue Kemp, SK Nails, Suffolk, England
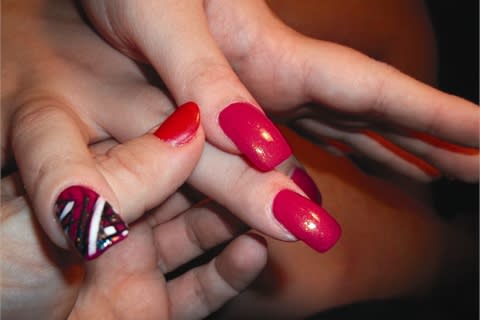
Nail tech Sue Kemp says, “I have learned a technique that extends the nail bed to appear that it is longer than normal for bitten nails, creating a perfect set of pink-and-whites. The technique should take 1 ½ to 2 hours for a full set. I discovered the technique through years of experience and eventually realizing that using a form you can sculpt any shape with any color powder and create the illusion that a nail is longer than it is.” Kemp charges around £50 ($79) for this service.
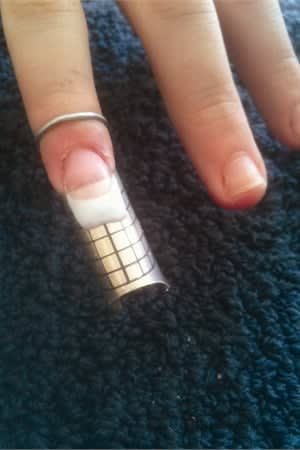
1. Prep the nail, including removing the cuticle and using a 180-grit file to gently buff the surface and remove the shine. Apply a form under the nail’s free edge. Apply bonding agents to the nail for maximum adhesion.
2. Apply a bead of opaque pink acrylic to the free edge, overlapping the form to create a C-curve above the natural free edge.
Ad Loading...
3. Place a second bead of acrylic on the eponychium area to complete the extended pink part of the nail.
4. Place a bead of white acrylic above the pink to create the white free edge part of the pink-and-white.
5. File over the entire nail to blend and shape with a 180-grit file. Use a 3-way buffer to bring the nail to a high shine. Massage cuticle oil into the nail.
Next page: How to repair a cracked toenail with acrylic
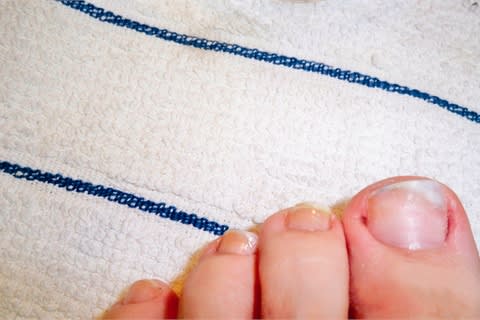
[PAGEBREAK]How To… Repair a Cracked Toenail with Acrylic
Ad Loading...
Amy Murphy, Castle Nails, Ruston, La.
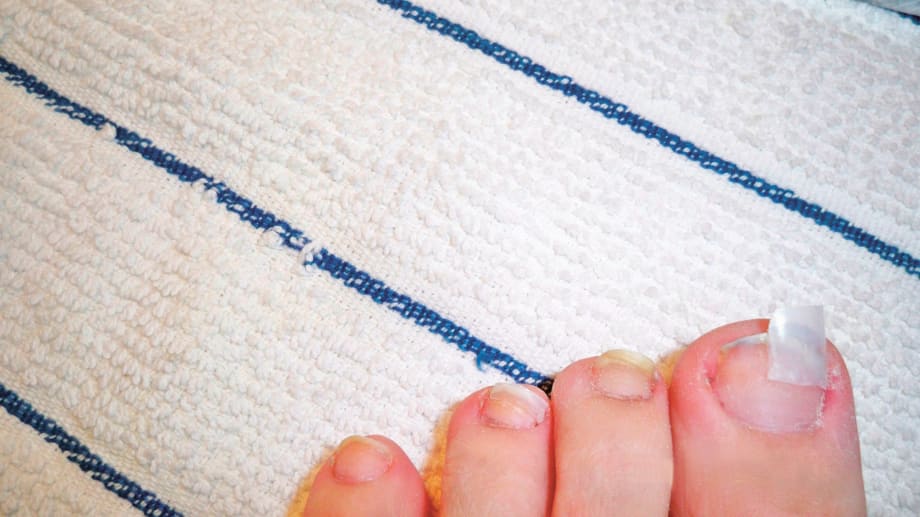
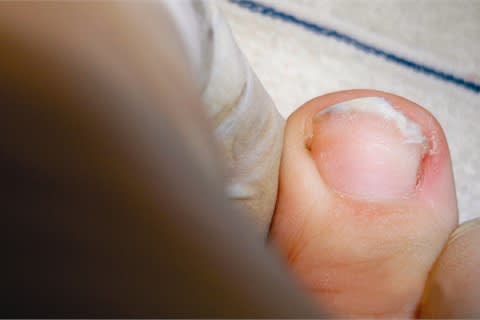
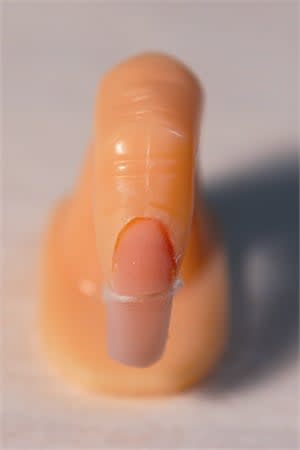
When nail tech Amy Murphy cracked her own toenail, she used a thin layer of acrylic to repair it. “I kept the acrylic extremely thin because I didn’t put acrylic on the other foot, and I don’t want this acrylic to be obvious. Plus, it makes it easier when it’s growing out, whether I blend it or fill it.” The repair took about 30 minutes. For maintenance, she says, “I will thin it down a bit each week and polish it. If it starts to lift, I’ll just nip that part off and blend it in. The cracked area should be healed or grown out by the time the acrylic comes off.”
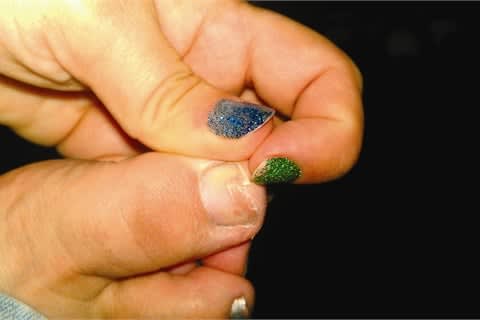
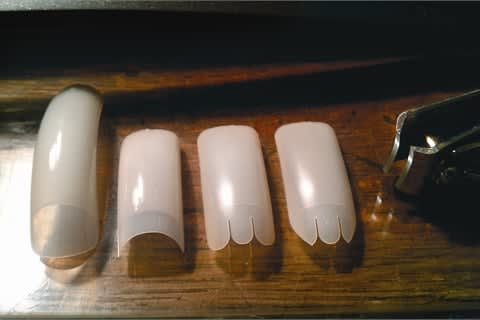
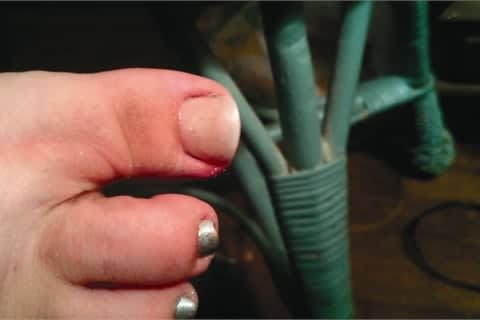
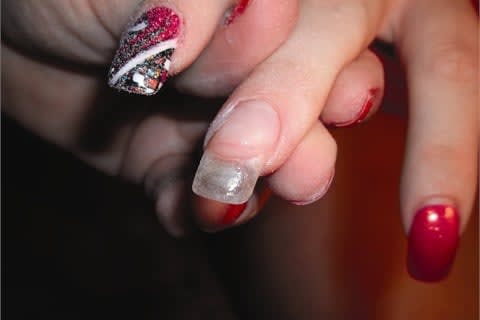
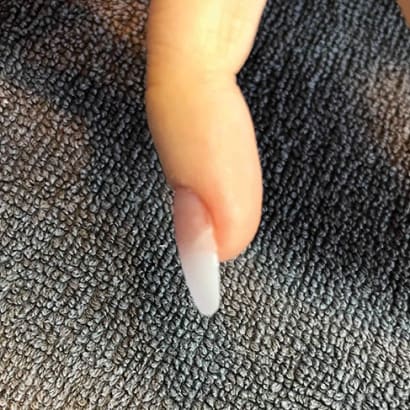
1. Take OPI Expansion Tips and alter them so the sidewalls aren’t any thicker than necessary. Murphy chose this tip because she wanted the extra support up the center of the nail and, since she was polishing it a solid color, it wasn’t necessary to use a natural curve tip. To alter it, she cut the sides off with curved toenail clippers, then used a buffer to thin them out.
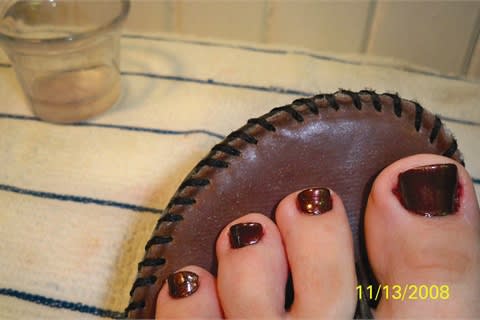
2. Use nail glue to attach the modified tips to the nail. Make sure the glue catches on the sides of the existing nail.
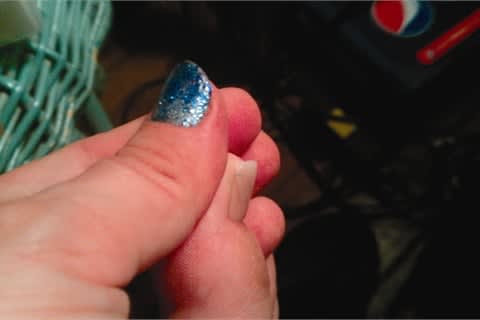
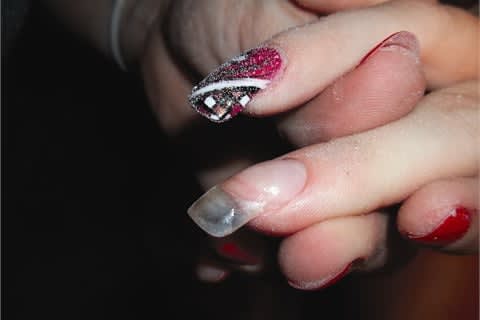
3. Apply sheer pink acrylic thinly over the entire nail bed, ensuring there are no air bubbles when you lay the acrylic over the tip (where the damage is). (The second photo shows how thinly the acrylic should be applied.) Polish all 10 toenails a solid color.
Ad Loading...
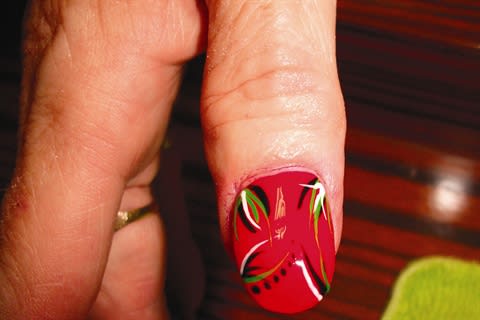
How To… Reinforce a Ding in the Nail Plate with Acrylic
Amy Murphy, Castle Nails, Ruston, La.
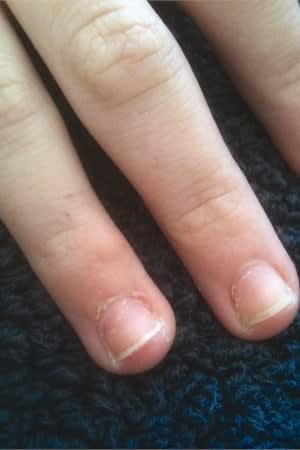
This client jammed her finger in a car door. Luckily, the injury just dinged her nail plate and didn’t cut all the way through. 1. Remove the existing polish and make sure there is no bleeding on the nail plate.
2. Use an electric file with a sanding band to file down at the ding and all the way across the nail to get out any loose parts.
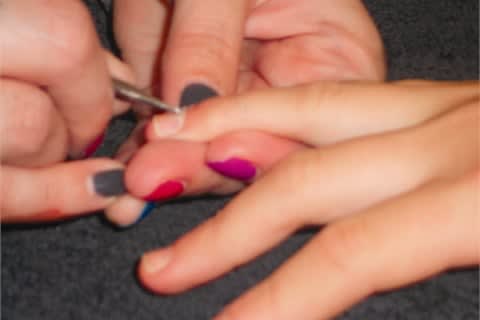
3. Prep the nail as usual for an acrylic fill with primer.
Ad Loading...
4. Place a slightly wetter than usual ball of acrylic directly on the ding and let it settle into the groove.
5. Use a drier ball of acrylic to fill in the gap to make it smooth. Murphy placed it in the center, then pulled it down with the brush from the center, and then up from the center, so that the part over the actual ding was slightly humped.
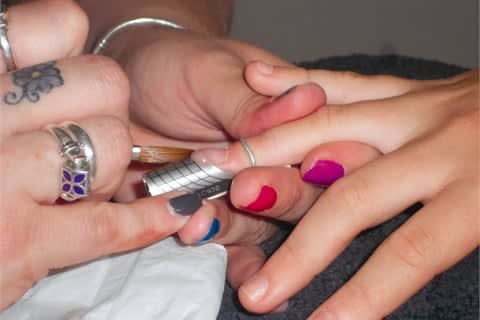
6. After the acrylic sets, gently file the humped area smooth either by hand or an e-file and buff it lightly.
7. Polish the nail to match the rest of the fingernails.
How To… Repair a Chipped Toenail with Just a Nail Tip and Glue
Ad Loading...
Amy Murphy, Castle Nails, Ruston, La.
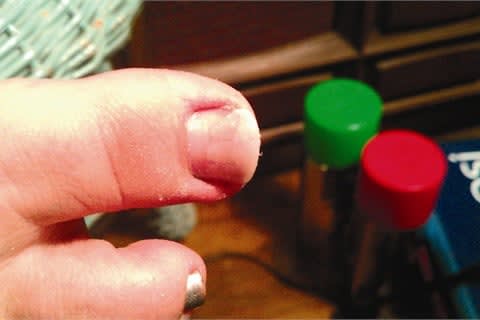
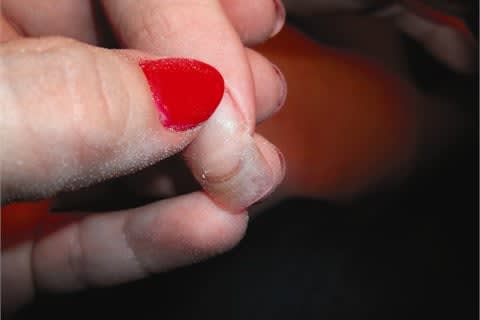
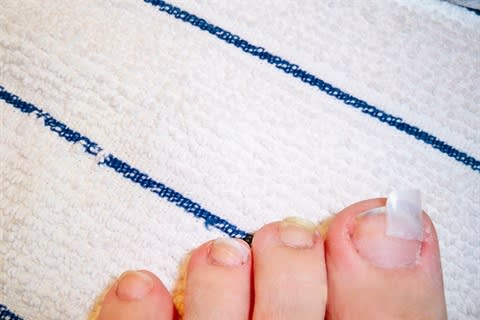
“Ladies chip their toenails often, and this is a super simple quick fix for someone who might not want acrylic,” Murphy says. 1. Lightly buff the nail to remove the surface shine.
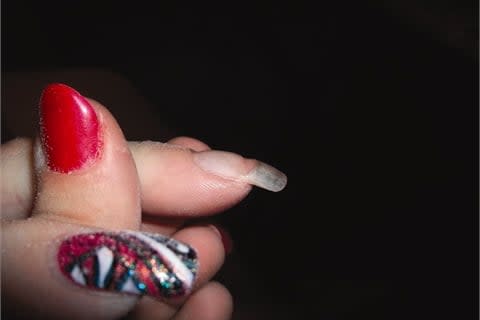
2. Trim a piece of a nail tip to fit. Murphy used the thinnest part of the well for this client. Attach it to the existing nail with nail glue.
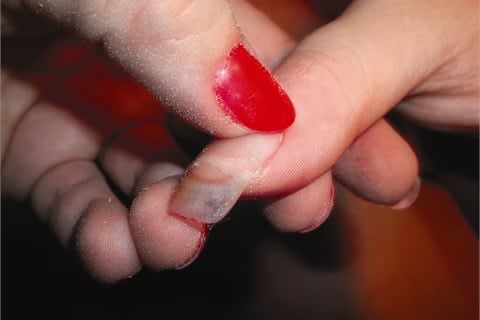
3. Gently trim or file the tip to the edge of the toenail.
Ad Loading...
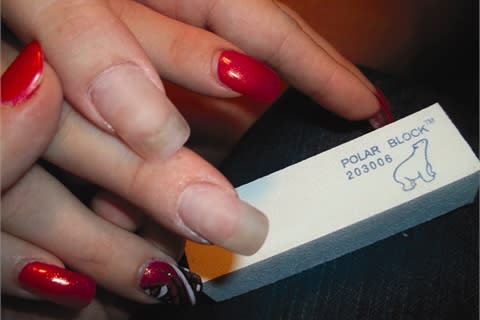
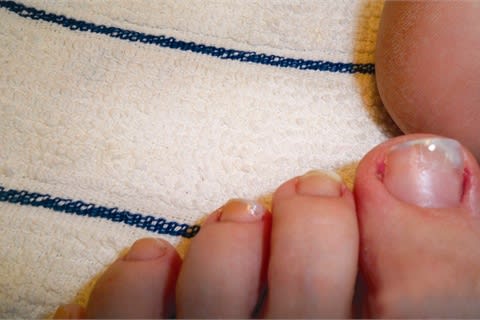
4. Buff the top of the tip only (not the natural nail) to blend to the nail bed.
5. Polish all 10 toenails a solid color.
Next page: How to reinforce weak natural nails with a tea bag and base coat
[PAGEBREAK]How To… Repair a Chipped Toenail with Just a Nail Tip and Glue
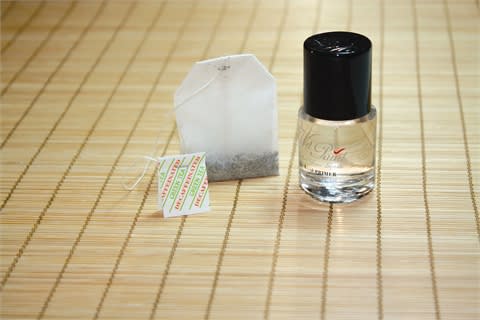
Nail product manufacturer Wet Paint, Inc. co-owner and celebrity manicurist Julia Palmer has perfected a technique that she and her clients refer to as “The Tea Wrap.” In 1980, Palmer trained at Grace’s Nail Salon of Beverly Hills, where she learned a nail wrap, called “The Juliette” from Fabergè cosmetic titan, Juliette Marglen. Through the years Palmer tweaked this method to create her own all-natural nail wrap using no glue, just tea bags and a base coat nail strengthener. She recommends this wrap for clients with split, thin, weak, or brittle nails. “The Tea Wrap is one of the safest and quickest ways to help promote natural nail growth. Even women with sturdy nails request The Tea Wrap to get that extra protection from keyboards, housework, and gardening,” Palmer says.
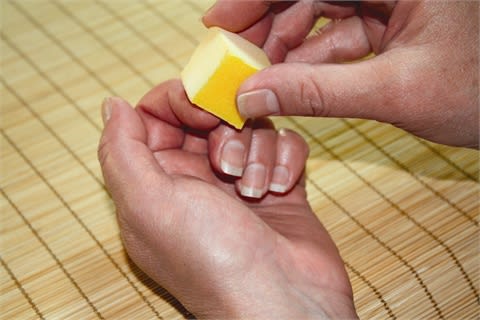
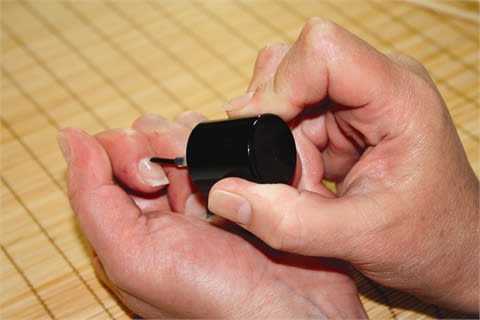
1. Begin with a clean nail that is oil- and lotion-free. Shape the nail with a file and clean the cuticles to prep the nail for the wrap. 2. Buff the surface of the finger.
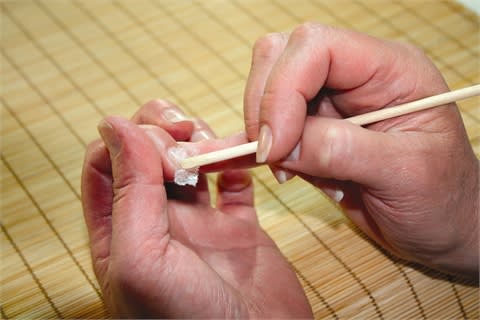
3. Apply base coat. 4. Prepare tea bag papers using a tearing method, not scissors. Simply tear the top of the tea bag off, pour out the tea, tear open at the seams, and tear small strips (about 1” x 3/8”) so that all the edges are ragged.
5. Saturate both sides of the tea paper with base coat and apply the saturated paper to the sides and end of the weak nail. Work a manicure stick to smooth and anchor paper on top and underneath the nail.
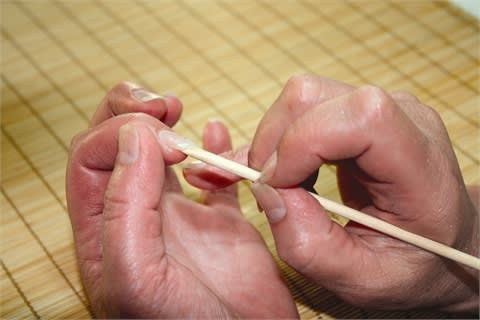
6. Dip the manicure stick into both the base coat and acetone to work out any bubbles or bumps.
Ad Loading...
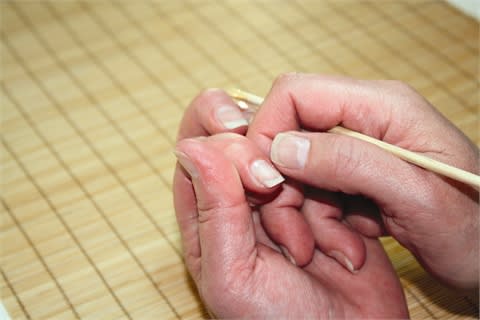
7. Gently press and glide your thumb across the nail surface to smooth the wrap.
8. Apply base coat over and under the nail to seal the paper wrap to finish.
Next page: Quick tips
[PAGEBREAK]Quick Tips
1. Sam Rivenbark of East Coast Acrylic in Edenton, N.C., used gel to fix a client’s thumbnail after it tore at the free edge. “She was already wearing gel so we fixed it with gel and gel polish,” Rivenbark says. She used a file to remove the top layer of the last gel fill, making sure not to touch the natural nail and filing closely at the break. She then primed the nail and applied a small amount of clear gel along the break and flash cured for 30 seconds. (More than one coat of gel may be needed to fill the break.) She then filled the nail as usual and applied gel polish, then nail art.
Ad Loading...
2. To easily fix a cracked nail with supplies you probably keep around the salon, simply take 100% cotton, insert it into the nail crack, and apply nail glue. To dry the glue, spray glue dryer then buff smooth. Angela Marie Harvey of Pamper Me Angie Nailery in Southfield, Mich., says, “This will mend a natural nail back together as a client gets a manicure or under artificial enhancements.”
3. Watch a video of Holly Schippers, FingernailFixer, Bussey, Iowa, fixing a split nail with fiberglass and Shellac on NAILStv: www.nailsmag.com/FiberglassShellacRepair.
4. For clients with brittle nails, hydrating products are key. Offer in-salon moisturizing treatments like paraffin, apply a natural nail strengthener under the polish, and apply cuticle oil to clients’ nails before they leave. Enhancements are also a great choice for clients with brittle nails, as it will protect the natural nail plate from the elements (such as water) that are likely causing the nails to become brittle.
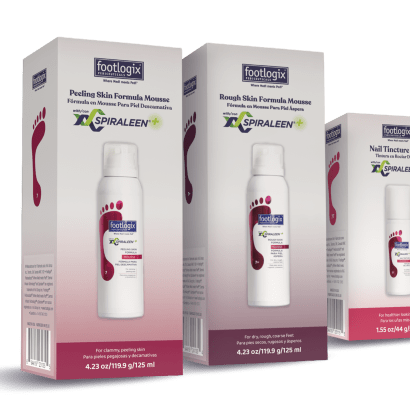
Marine-exclusive antioxidants act as a natural biological shield for the feet to help protect skin, smooth cracks, hydrate roughness, calm inflammation and disrupt bacterial and fungal activity, leaving feet feeling softer, smoother, more hydrated and healthier.
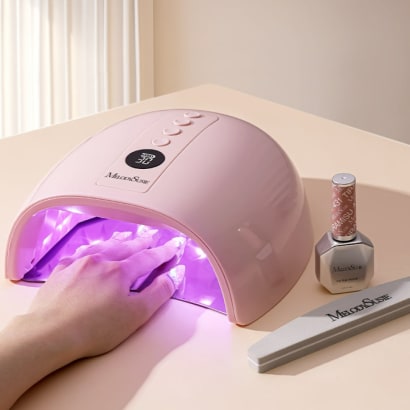
The MelodySusie P-PLUS30GT UV/LED Rechargeable Nail Lamp represents an upgrade in curing technology, designed to address several challenges through improved light reflection, intelligent heat management, and cordless operation.
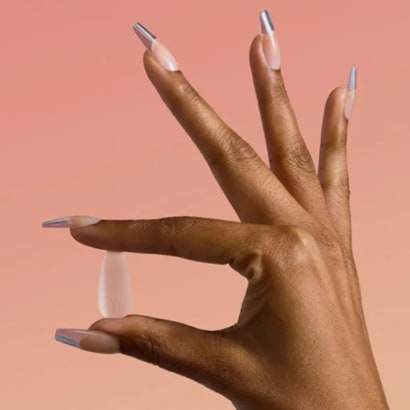
Elevate your tip service with the OPI GELevate™ Extension System, featuring tailor-made Soft Gel Tips, GELevate 4-in-1 Builder with Intelli-Builder Technology and the Lightening Flash Cure Gel Lamp. This new system from OPI allows for flawless tips in no time.
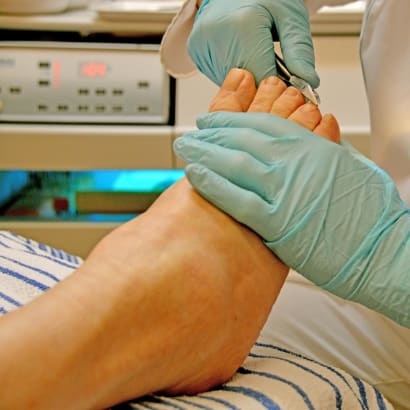
Nail technicians are embracing the Medical Pedicure as a service and placing it on their menus. But what is it? What training is required? Is it within our scope of practice as licensed nail technicians?
MelodySusie introduces the Fleurwee Gel Nail Polish series—a revolutionary gel polish that is HEMA/HPMA- and TPO-free, plant-based gel polish for a high-quality nail care experience.
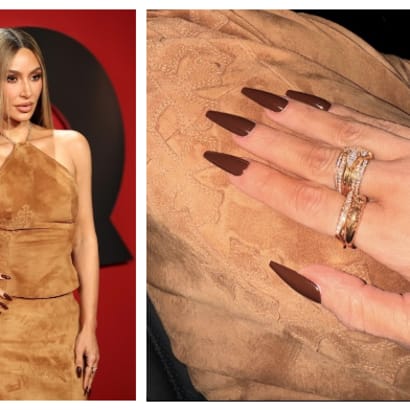
Kim Kardashian's manicure created for GQ’s annual 'Man Of The Year' event are the perfect understated, yet edgy look for fall or even the holiday party season.
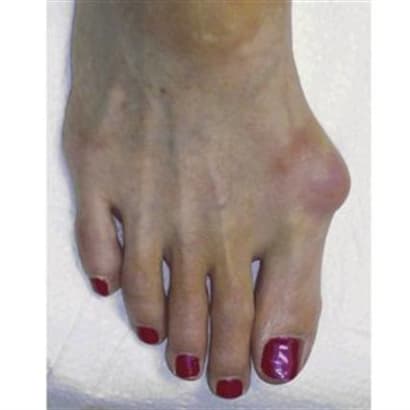
When the weight of the body lands on a swollen nerve, it can be debilitating. Learn the symptoms and alert clients to this common problem that develops in the nerves of the foot.
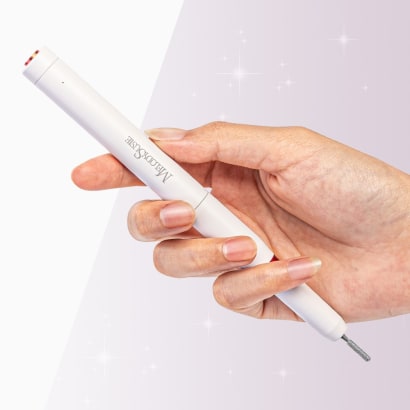
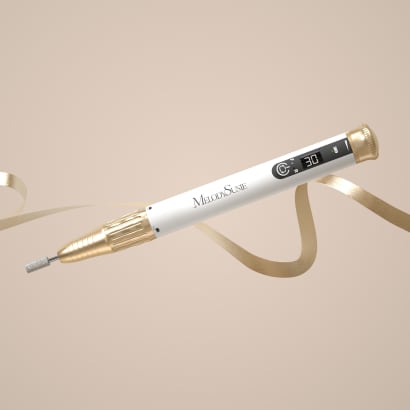
With the PC1 Nail Drill Pen, achieving healthy nails and a flawless manicure has never been easier. This user-friendly nail drill pen covers all your nail care needs.
Attending a presentation by Doug Schoon is an opportunity not to be missed for anyone in the nail care industry. His extensive expertise, commitment to accurate information, and engaging presentation style make for an enlightening experience.