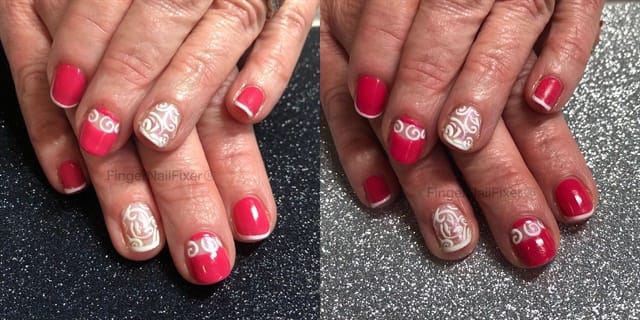
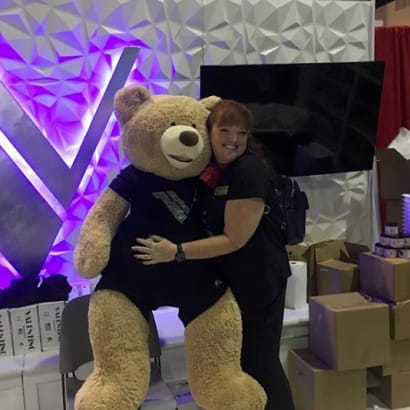
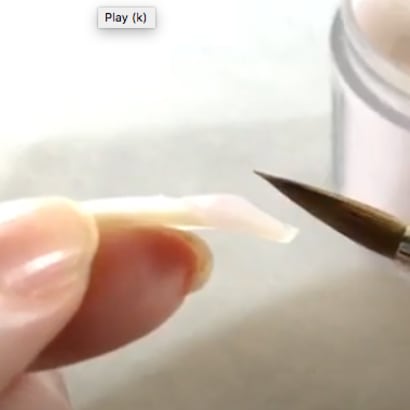
No editing has been done to these photos other than adding a watermark. See the difference just the background color can make?
2 min to read
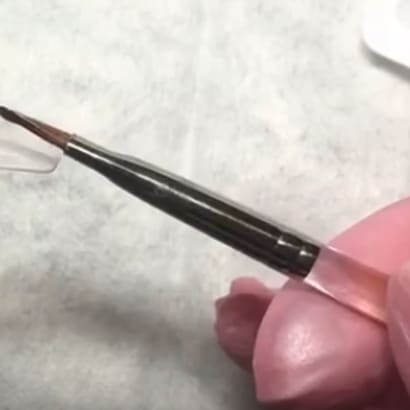
No editing has been done to these photos other than adding a watermark. See the difference just the background color can make?
Nail photography for nail professionals is at best kinda fun and at worst a solid nightmare. You are supposed to grab a photo of nails when you’re in a hurry, all the while getting the perfect lighting and pose to make everything look great. Those Pinterest photos make it look so easy and, man, some of those Instagram photos are almost unreal in their perfection. While a lot of what makes some of the photos look great is some serious time spent editing and filtering, if you don’t have time for all that, use a few tricks to make it more likely you are starting with something that doesn’t need a ton of edit time.
This week, we’ve got a series of blog posts, enabling you to focus on one topic each day, rather than trying to remember everything all at once and making it even harder than it already seemed!
Ad Loading...
Nail Photography Day 1
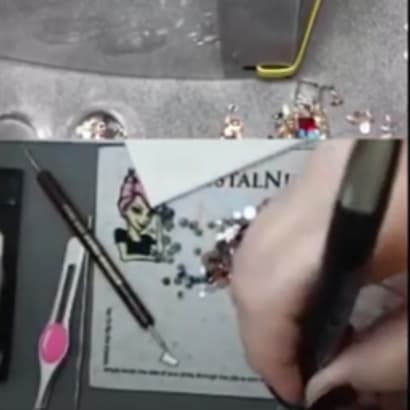
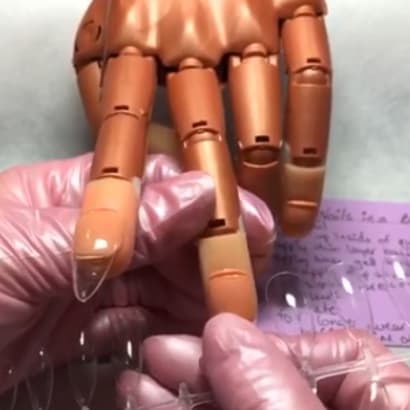
What’s in a background? Sometimes so many things that we lose sight of the nails. Textured backgrounds like terry towels and super furry fabrics can make it difficult for the eye to focus on the nails. Try to choose a clean background. If your table is messy, showing it in the shot is not going to drum up future business like a clean, organized space would. If you want something fun and textured in the background, then use interesting paper to give yourself visual texture instead of physical texture.
There are lots of scrapbooking papers or glitter papers that give the illusion of texture while being a flat surface. A trick from #BFFmel is to take the same photo on a dark and light background. If you are using something like a step-and-repeat with your logo or hashtag, have one printed in black and one in white. If you are using another type of background, simply having a light and dark option, whatever the color may be, will completely change the look of the nails from dull to dazzling.
Try focusing on just the background of your images for one day and see how it changes things.
Click here to read more about photographing nails.
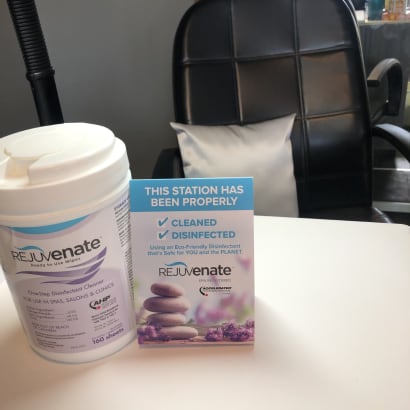
Here I am sharing a very comprehensive and well-rounded almost back to work package of information for you from Virox (Rejuvenate) that is the complete set of materials to help you feel confident that everything is in place and ready to go, even if you are already back at work!
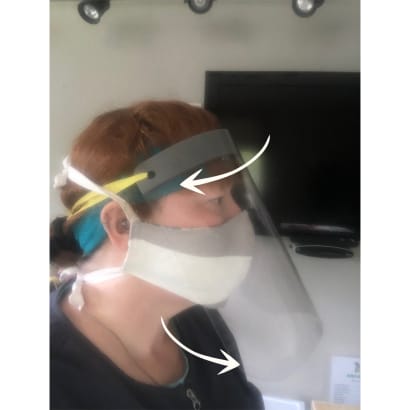
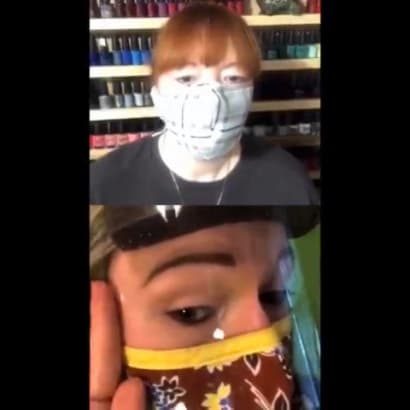
If your salon has re-opened, you may have found some challenges with wearing a face shield while working. If not, here are some tips that could help save you some headaches when you do get back.
This video is a really awesome resource for figuring out a reasonable hourly rate for yourself in addition to seeing the average your area can bear in service prices in some ways.
Have you ever heard of the stages of grief? With everything going on, we are grieving our “normal”. That means you should give yourself permission to feel the way you feel.
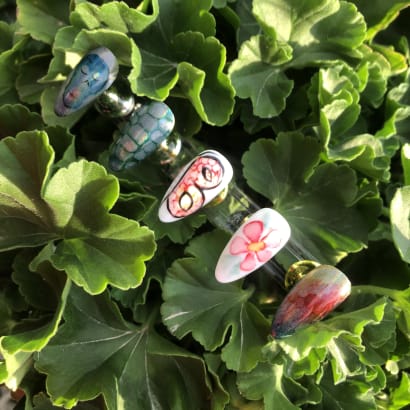
Has all this PPE business got you down? Does it feel like it cramps your style? One way to help it cheer you up which will in turn cheer up your clients is to add some sparkle.
For those of you that like a little data with your info, here is some really interesting information from salon owner Michele Baker in Georgia. Being one of the first states to open left the salon owners to scramble to learn a lot of things on their own and many have been generous in sharing things they have figured out to help make operating in the COVID-19 world more systematic and understandable.
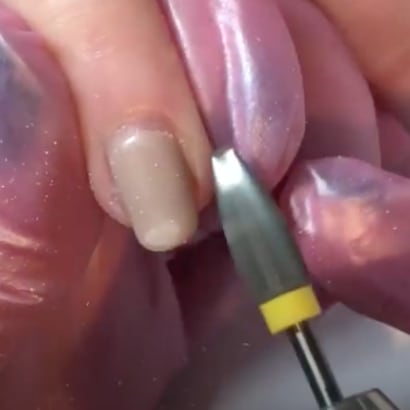
It has been quite a while since I made a video for the e-file chronicles so an update to that seemed in order. The latest installment is removing gel-polish from an enhancement.