
How-To
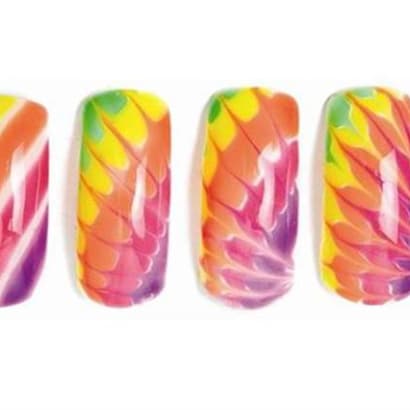
Terrific Tie-Dye
Nails by Cassie Fero, Eugene, Ore.
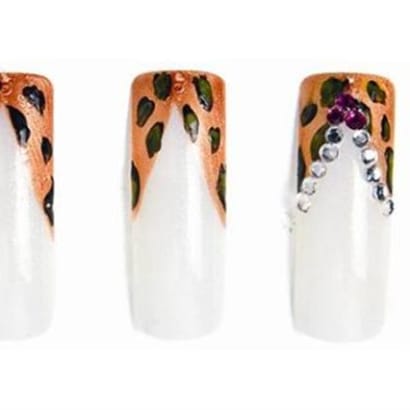
Cougar Town
Nails by Joanne Truitt, Boca Nail Depot, Boca Raton, Fla.
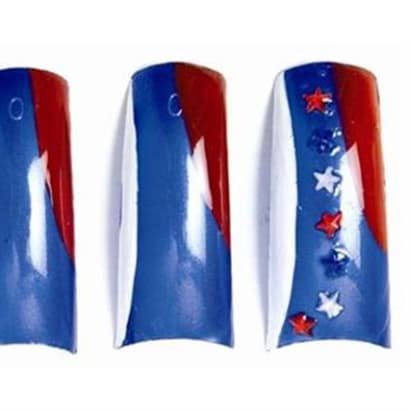
Uncle Sam I Am
Nails by Stephanie Saddler, Butta Fingers Nail Studio, Cleveland, Ohio.

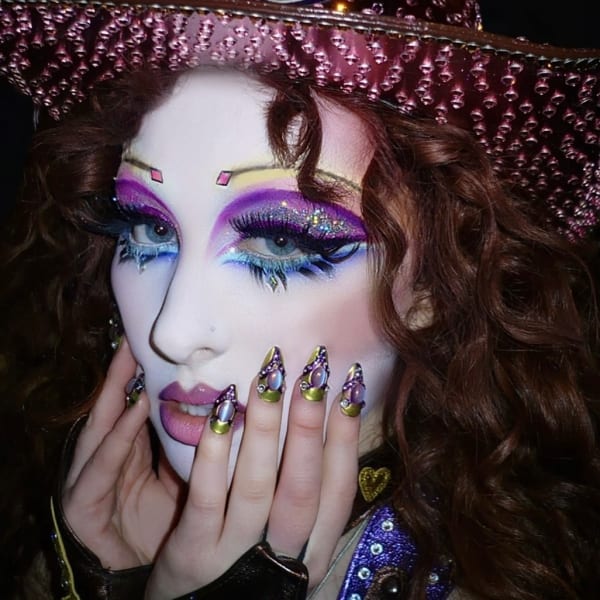
Design #15: Purple Passion
Build a full structure nail with your choice of Young Nails’ acrylic powder. Smear Speed White, Tickle Me Purple, and Rainbow Purple as your background.

Play Me a Mood
You’ve just thought of an awesome new signature service you want to add to your spa menu. So why not go that little extra mile and make a nice music playlist to go along with it?
Design #14: Tiger Stripes
Build a full structure nail with your choice of Young Nails’ acrylic powder. Smear a pearl of Rainbow Yellow from corner to corner creating a diagonal stripe down the center.
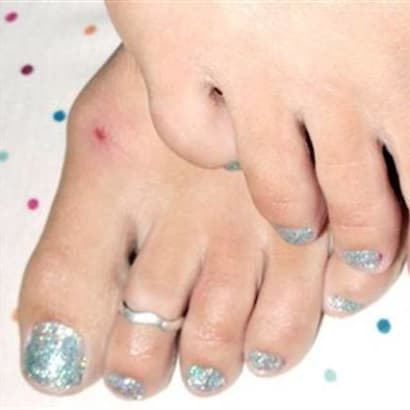
Young Nails Glitter Toes
Young Nails educator Amanda Dodge shares her step-by-step for how she creates glitter toes using the manufacturer’s products.
Design #13: Leopard Prints
Before using reverse application, sculpt a thin transparent free edge with Speed Clear flush to the natural nail. Build body with Cover Peach.
Design #12: Op Art
Before using reverse application, sculpt a thin transparent free edge with Speed Clear flush to the natural nail. Build body with Cover Peach.
Design #11: Squiggle Swirls
Build a full structure nail with Cover Pink. The nail can be either built square or stiletto.
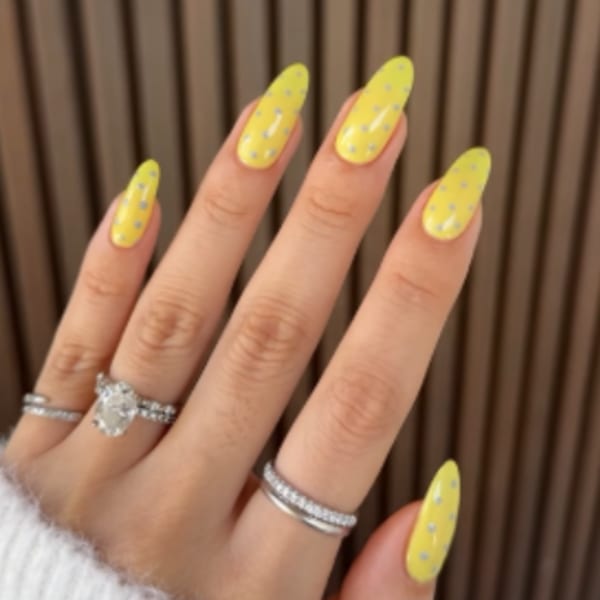
Design #10: Black Polka Dots
Apply a form to the finger and build a thin clear free edge. Use Cover Pink to create an extended nail bed. This will give the illusion of a deeper smile line.
Design #9: Marbleizing Neons
Apply a form to the finger and build a thin clear free edge. This will be the perfect canvas to marbleize on.
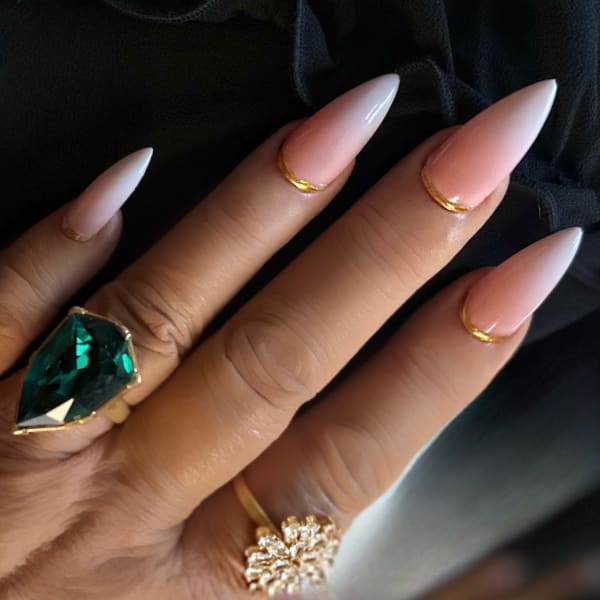
Design #8: Icy-Glitter Fade
Use Cover Pink to create an extended nail bed. This will give the illusion of a deeper smile line.
Design #7: Summer of Love
Apply a thin layer of Metallic Pearl through the whole body. Fade Metallic Violet and Metallic Carmine in opposite corners leaving a white stripe through the center.
Design #6: White Bubbles
After applying a thin layer of Speed Clear to the body and free edge, apply a thin layer of Metallic Pearl from the cuticle to the free edge. (You have the option to keep design on the free edge.)
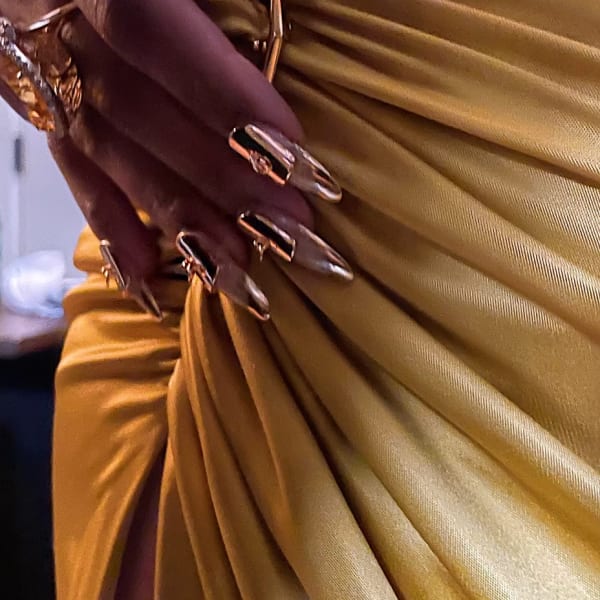
Design #5: Cracks
Apply an opaque layer of Metallic Gold to surface.
Design #4: Snakeskin
Fade the background with Tippy Cup Turquoise and Metallic Pearl.