Lauren Wireman shows how to create a raised 3-D lace design made out of Lace Paste, a 3-D/4-D gel with a clay consistency from Wildflowers Nails. At 3:19, Lauren shares some tips on ways to price your nail art based on the cost of your product, the amount of time it takes to do the nail art, and what your nail art is worth.
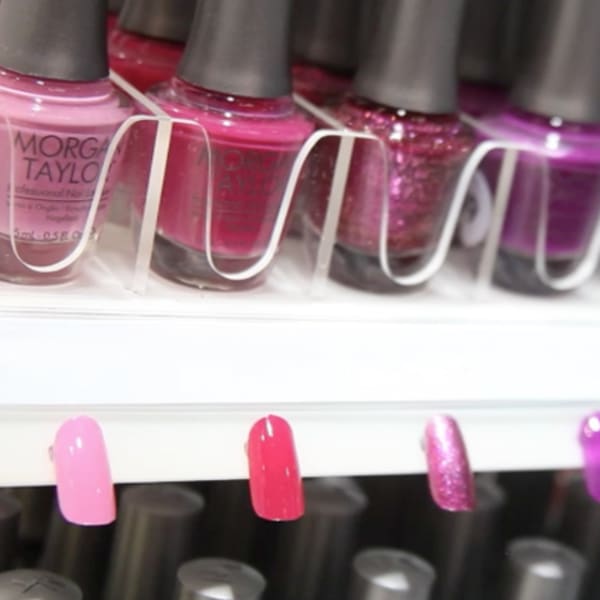
Morgan Taylor Nail Lacquer goes backstage at Spring/Summer 2014 New York Fashion Week at Betsey Johnson and Carolina Herrera presentations.
More from "Nails as Accessories": episode 1 | episode 2 | episode 3
Morgan Haile and Taylor Daniel take us through the first look at the new Morgan Taylor line of professional nail lacquer, previewed at the International Salon and Spa Expo in Long Beach, Calif.
This design by Robin Moses requires little to no nail art experience. "You need a stick, a few colors, and the desire to create. It shows you that any mistake can be covered and turned into something fun!" Moses says.
Get chrome'd up in this bold nail look. Do it yourself with Push and Shove, 4 In The Morning, and SWAROVSKI ELEMENTS gold studs - available in our Over & Over A-Gwen boxed set.
@chalkboardnails has taken over our @nailsmagazine Instagram account! Sarah shared this design with us on Instagram and will continue sharing her favorite nail designs all week long. Tag #chalkboardnailsweek and #nailsmagazine for the chance to be featured.Steps:1. Polish an oval shape at the tip of the nail.2. With a striping brush, paint two triangles for the ears. Fill them in.3. In a light pink, paint two small ovals where the cat's cheeks would be.4. Using a dotting tool, dot two even eyes with black polish.5. Paint a triangle for the cat's nose.6. Paint an upside-down "m" for the kitty cat's mouth.7. Paint two diagonal lines toward her nose for her whiskers on both sides.8. With a light pink, paint in some detail with two small triangles inside the cat's ears.9. Add white pupils by painting small circles inside the cat's eyes.10. Add top coat.
Jasmine Oshima, nail tech in Yokohama, Japan, and co-founder and instructor at Neiru (http://www.neiru.me), shows the beginning steps for this design. Click here for more information on Neiru.
Mia Secret shows how to create this look: Prep the nail, apply a layer of Luxury UV base & top gel, cure for 45 seconds under an LED nail light and wipe off the residue with Gel Cleanser. Then draw the design shown on the video with eyelash glue and a nail art brush, cure for under portable LED nail light for 45 seconds to accelerate the drying time of our glue eyelashes, then adhere the foil paper, seal it up with a Luxury UV base & top gel, cure for 45 seconds, and remove the gel residue with Gel Cleanser. Now fill the spaces with the help of Mia Secret's liner brush and white Formagel builder gel, cure and apply colors from the Flash Neon acrylic collection, starting from the free edge toward the cuticle area. You can use a cuticle pusher to apply the acrylic powders, then cure in portable LED nail light for 45 seconds and our brush up any product excess to finish the nail.
In this episode of The Nail Hub Podcast, Elizabeth Morris discusses how to keep moving forward. She asks "What mark do you want to make on this world? What do you want to achieve this year?"