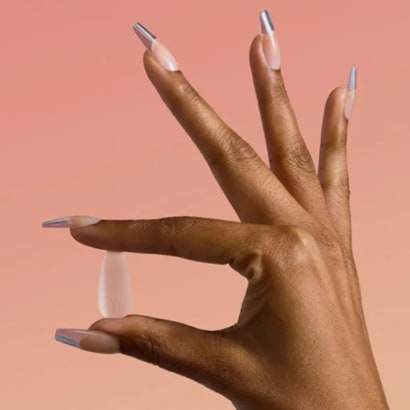
Clients who love nail art will adore your unique and durable embedded creations. Traditional clear acrylics are not the only way to go- you can also use tips, gels, or "instant embedding" techniques.
by Shayna Raymond
March 1, 2010
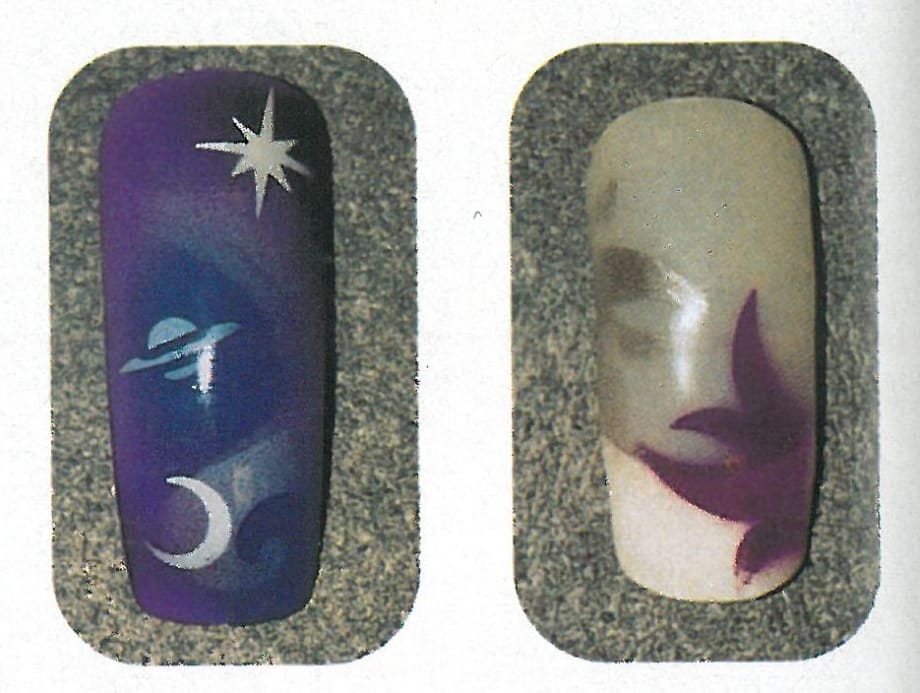
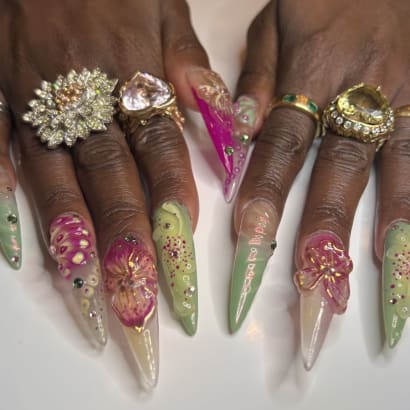
(left) Gel was applied over a tip to embed this cosmic design. (right) This airbrushed design was embedded using acrylic over a French tip.
5 min to read
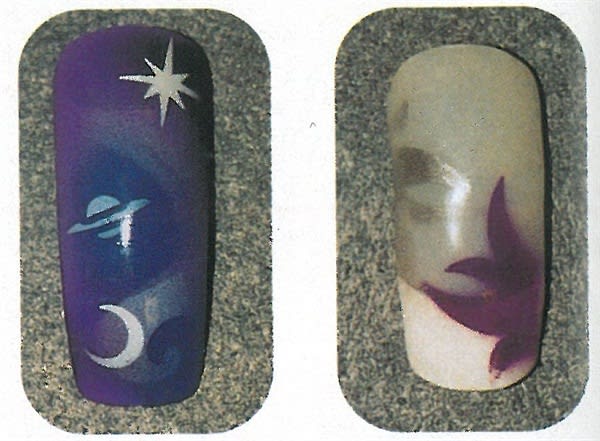
(left) Gel was applied over a tip to embed this cosmic design. (right) This airbrushed design was embedded using acrylic over a French tip.
Encasing, embedding, or crystal nails...no matter what you call it, everyone agrees it’s absolutely beautiful. This technique, in which objects or nail art are actually placed within a nail enhancement, has been practiced overseas for a few years and is just now gaining popularity in the U.S.
Using this technique gives the nails an eye-catching, 3-D appearance that is not possible m flat nail art.
Ad Loading...
Although with the traditional technique for embedding you use clear, sculpted acrylic nails, embedding can also be achieved using a tip to produce a totally different, more natural look. This is a great option for the client who desires long-lasting nail art but still wants a more traditional look. When using a tip to embed, some of the 3-D look is lost, but the end result is still gorgeous. Gels can also be used to embed objects or art.
Most often, embedding is done with objects. Rhinestones and decals are among the most common nail art products used. Nail art, including airbrushed designs, can also be embedded to extend their durability. Expect acrylic encased designs to last about twice as long as those finished with sealer.
When creating embedded designs, the nail tech will need all of the usual supplies for applying nails, plus a few additional items. Traditional designs are applied using crystal clear or pink powder giving the nails a transparent, glass-like appearance. In addition to rhinestones and decals, consider using feathers, charms, and even dried flowers or leaves. Glitter also gives the nail a beautiful look.
Embedding Within a Sculptured Nail
If you opt to embed in clear sculptured acrylics, keep a few things in mind. For example, when embedding with objects, the acrylic mixture needs to have a wetter consistency than sculpting salon nails. This is so the acrylic can form around the object. It is also important to sculpt a crystal clear nail with no bubbles, take the extra time and care to press them out. I have chosen to use a light-cured clear acrylic because the object can be pressed into the sculpture and then cure normally. It is also possible to work quickly with a traditional acrylic and press the object into the acrylic, but working quickly is key. If the acrylic has set up before the object is placed, a drop of nail glue will do the trick.
Ad Loading...
The first step when embedding in an acrylic sculpt is to prepare the nail as the product manufacturer suggests. Next, apply a form to the nail, fitting it firmly under the nail. Then sculpt the nail to the desired length in a very thin layer (roughly die thickness of a piece of construction paper) to provide a base on which the floating object can rest Clear or pink and white acrylic may be used; this will depend on the desired final look If pink and white acrylic is the chosen look, the tech needs to make sure the desired white is achieved with this first step because the actual embedding will be done with clear or pink acrylic. Place the object using tweezers. Follow with a second thin layer of acrylic over the object. It is important to completely cover the object with product and allow enough room to finish the nail without removing the final layer of acrylic. Gently finish the nail with a file and buffer. It is also a great idea to use an acrylic sealer over the nail to give it an added shine.
Embedding Without Sculpting
For nail techs who may not have perfected the fine art of sculpting nails or who just don’t want to spend the extra time, tip and overlay maybe the best option.
Once the tip is applied and blended, cleanse the nail to make sure all contaminants are removed. Use a small drop of glue to apply the floating object directly to the nail tip in the desired position. Using a wet consistency of liquid and powder (roughly 1:1), apply the acrylic over the entire nail, as you would normally do, taking extra care to press out any bubbles that might form. Finally, finish the nail in the usual manner.
Embedding with Gels
Ad Loading...
Gel is another product with which the embedding technique can be used. However, there are a few differences between an acrylic and a gel product. When using a gel, a tip most likely is applied to the nail to add length. If this is the case, it is not possible to achieve a traditional crystal nail appearance using a gel.
When embedding with a gel product, first prepare the nail, apply the tip, and remove contaminants from the nail bed.
Next, apply the first layer of gel to the entire nail as you would normally do. Cure this layer for the recommended amount of time. The nail should have a tacky residue after curing. Do not cleanse. Apply the floating object to the nail and it will adhere to the gel. Next, apply another layer of gel over the entire nail, taking care to cover the object completely. Cure according to the manufacturer’s instructions. It may take a few coats of gel to cover the object completely. Cleanse the nail to remove tackiness and finish as usual.
Embedding with Nail Art
Thus far, the embedding discussed has been with objects, but there is another type of embedding—or encasing—with nail art. Though we are discussing airbrushed designs in this example, handpainted art can be embedded/encased just as easily.
Ad Loading...
The first steps of the embedding process are the same whether using an object or using art. Apply the first layer of the nail, be it a tip or a thin sculpture. Next, prep the nail surface so there is a clean area for the art to adhere to. Do not use a base coat, since this would take away from the crystal look of the nails. Airbrush the nail in the desired design, making sure the paint is sprayed on dry. If the paint is wet, it will most likely smear when the product is applied. Once finished with the nail art, spray a liberal amount of varnish on the nail using a very dry mist. If you’ve chosen to embed the nail art with acrylic, the mixture should be on the dryer side. This is so the liquid won’t smear the nail art. Next, finish the embedding process in the usual manner by applying a thin layer of acrylic or gel over the art.
The experts recommend an additional charge of $I0-$20 for embedding above what you would normally charge for the nail art. No matter which embedding option you choose, your clients will love it.
Marine-exclusive antioxidants act as a natural biological shield for the feet to help protect skin, smooth cracks, hydrate roughness, calm inflammation and disrupt bacterial and fungal activity, leaving feet feeling softer, smoother, more hydrated and healthier.
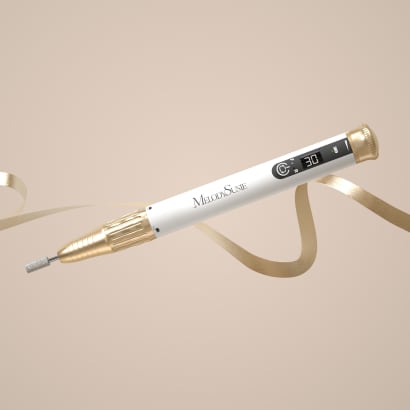
The MelodySusie P-PLUS30GT UV/LED Rechargeable Nail Lamp represents an upgrade in curing technology, designed to address several challenges through improved light reflection, intelligent heat management, and cordless operation.
Elevate your tip service with the OPI GELevate™ Extension System, featuring tailor-made Soft Gel Tips, GELevate 4-in-1 Builder with Intelli-Builder Technology and the Lightening Flash Cure Gel Lamp. This new system from OPI allows for flawless tips in no time.
Nail technicians are embracing the Medical Pedicure as a service and placing it on their menus. But what is it? What training is required? Is it within our scope of practice as licensed nail technicians?
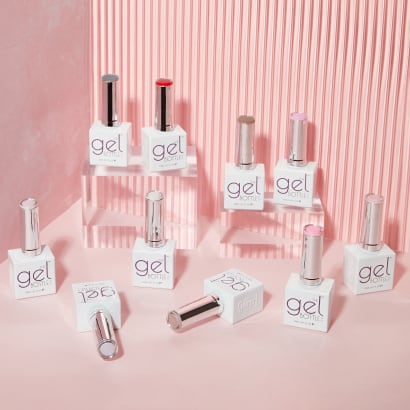
MelodySusie introduces the Fleurwee Gel Nail Polish series—a revolutionary gel polish that is HEMA/HPMA- and TPO-free, plant-based gel polish for a high-quality nail care experience.
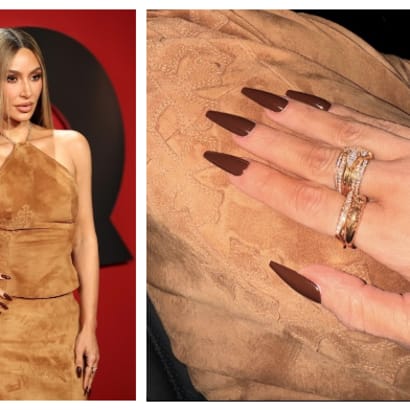
Kim Kardashian's manicure created for GQ’s annual 'Man Of The Year' event are the perfect understated, yet edgy look for fall or even the holiday party season.
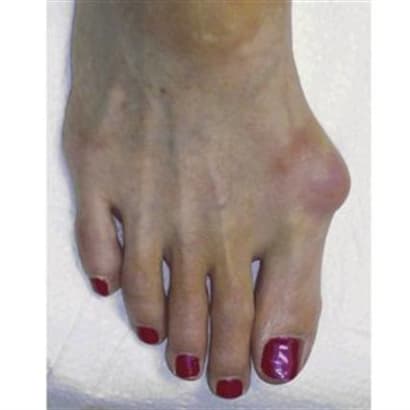
When the weight of the body lands on a swollen nerve, it can be debilitating. Learn the symptoms and alert clients to this common problem that develops in the nerves of the foot.
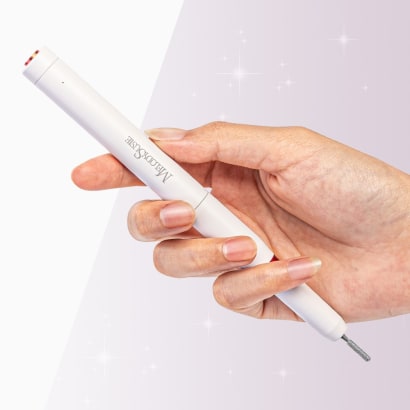
With the PC1 Nail Drill Pen, achieving healthy nails and a flawless manicure has never been easier. This user-friendly nail drill pen covers all your nail care needs.
Attending a presentation by Doug Schoon is an opportunity not to be missed for anyone in the nail care industry. His extensive expertise, commitment to accurate information, and engaging presentation style make for an enlightening experience.