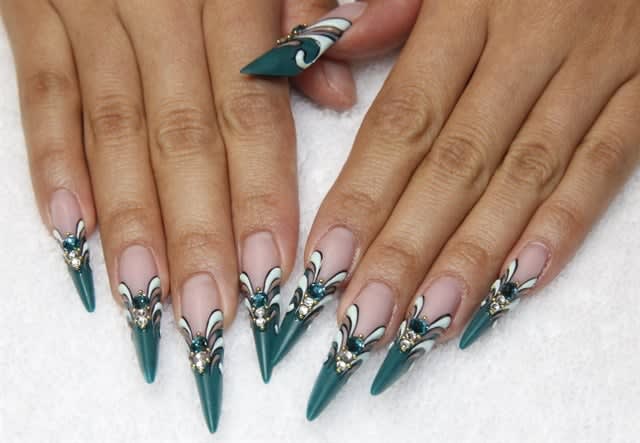
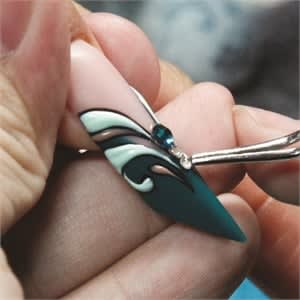
Creating contrast with color is one thing, but Hand & Nail Harmony educator Bryan Vu knows that you can also create contrast with texture. The Kingwood, Texas-based salon and beauty school owner was inspired by the blades and leaves of succulent plants for this design.
Creating contrast with color is one thing, but Hand & Nail Harmony educator Bryan Vu knows that you can also create contrast with texture. The Kingwood, Texas-based salon and beauty school owner was inspired by the blades and leaves of succulent plants for this design. He mixed a matte finish with the shine of crystals and caviar beads for a multi-dimensional nail look. For Vu, it’s all about the details. “Sometimes the eye can play tricks on us, especially when looking at small details on nails from a magazine picture,” he says.
Vu has learned many tricks of the trade. He comes from a family of 40 currently active nail technicians. Twice a year he brings his talents to New York City for Fashion Week with the Harmony team. His nail creations are worn on runway models and editorial favorites such as Morgan Haile and Taylor Daniel of Morgan Taylor. In addition to mastering nails, Vu also has a degree in business marketing.
Ad Loading...
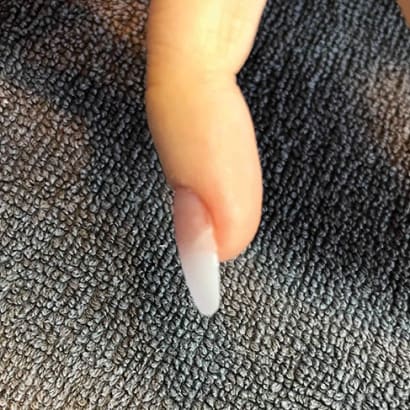
This educator has much to teach, but he is also mindful of who he has learned from. He credits nail mentors Maeling Parrish, Sandy Borges, Ghenna Gonzalez, and Danielle Candido as the ones who taught him to think about every single step of his design process. The resulting Russian almond-shaped nails play with depth perception through eye-catching color and a sharp, contrasting finish.
Here are Vu’s steps for how to get this month’s cover look:
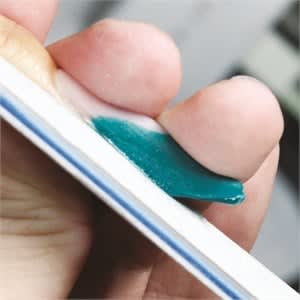
1. Measure, cut, and apply Harmony Perfetto forms to create a Russian almond shape. Use the reverse application method and sculpt the nail bed extension first with Cover Pink, then the free edge in teal. (The ratio of the nail is about 1:1).
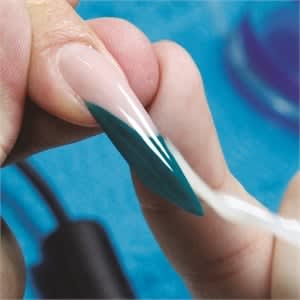
2. When the product has hardened a bit, pinch the nail to create a strong, narrow look with a more enhanced C-curve. File and refine the shape using the 180-grit Harmony File.
3. Using a matte top coat gel, polish the entire nail. Cure in the 18G LED Light for 30 seconds. Cleanse with Harmony Nail Cleanse.
Ad Loading...
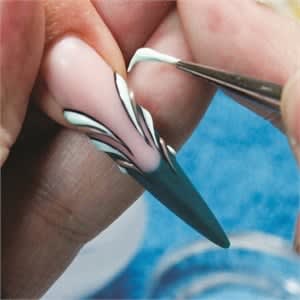
4. Paint thick black lines going inward using Black Shadow and the Gelish striper brush. Cure in the 18G LED Light for 30 seconds and cleanse.
5. Mix Gelish colors to create a thicker viscosity colored gel. With the Gelish Mini Striper Brush, fill in the black lines with these two mixes leaving a thin outline of the black gel exposed as if it were outlined. Cure in 18G LED Light for 30 seconds and cleanse.
6. Add Swarovski crystals to the center of the nail using Gelish Hard Gel Photo Finish to anchor the stones. Cure in the 18G LED Light for 30 seconds (optional to cleanse). Add gold caviar beads at the corners of the crystals. Use Gelish Hard Gel Photo Finish to help anchor the beads. Cure in 18G LED Light for 30 seconds and cleanse.
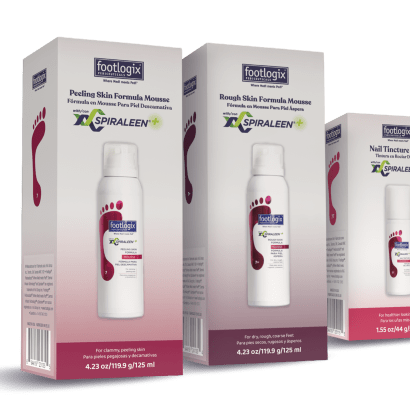
Marine-exclusive antioxidants act as a natural biological shield for the feet to help protect skin, smooth cracks, hydrate roughness, calm inflammation and disrupt bacterial and fungal activity, leaving feet feeling softer, smoother, more hydrated and healthier.
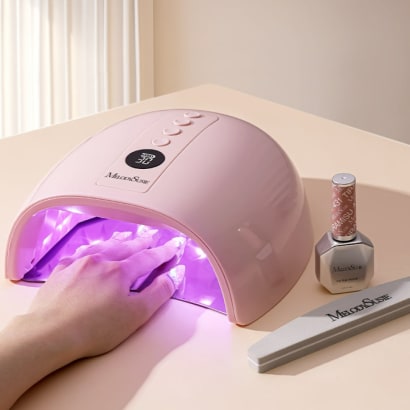
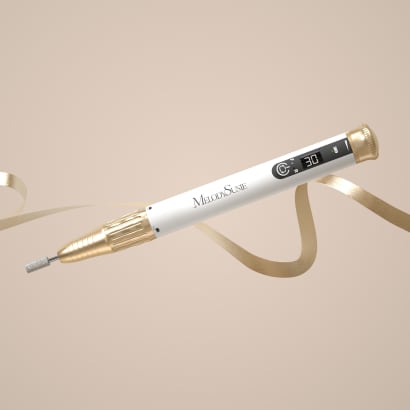
The MelodySusie P-PLUS30GT UV/LED Rechargeable Nail Lamp represents an upgrade in curing technology, designed to address several challenges through improved light reflection, intelligent heat management, and cordless operation.
Elevate your tip service with the OPI GELevate™ Extension System, featuring tailor-made Soft Gel Tips, GELevate 4-in-1 Builder with Intelli-Builder Technology and the Lightening Flash Cure Gel Lamp. This new system from OPI allows for flawless tips in no time.
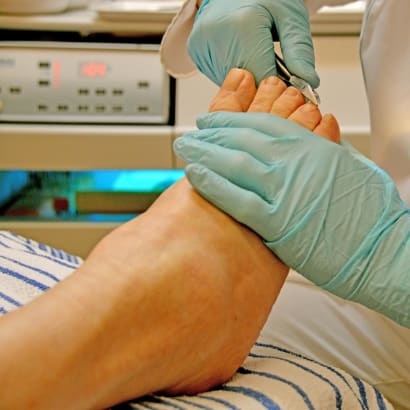
Nail technicians are embracing the Medical Pedicure as a service and placing it on their menus. But what is it? What training is required? Is it within our scope of practice as licensed nail technicians?
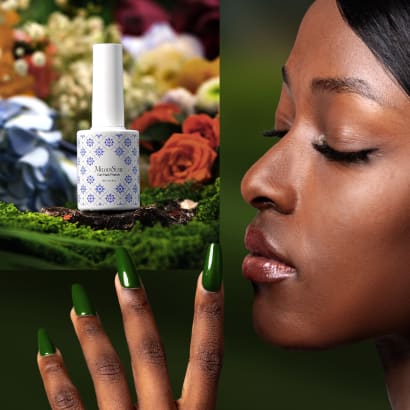
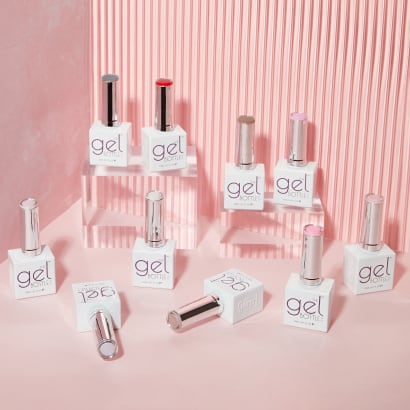
MelodySusie introduces the Fleurwee Gel Nail Polish series—a revolutionary gel polish that is HEMA/HPMA- and TPO-free, plant-based gel polish for a high-quality nail care experience.
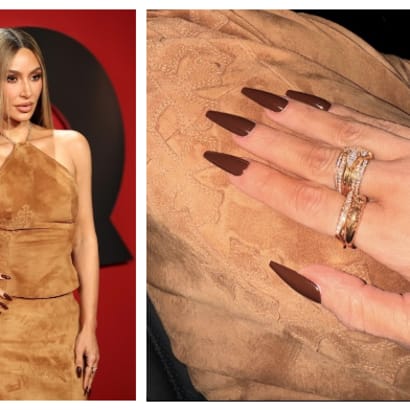
Kim Kardashian's manicure created for GQ’s annual 'Man Of The Year' event are the perfect understated, yet edgy look for fall or even the holiday party season.
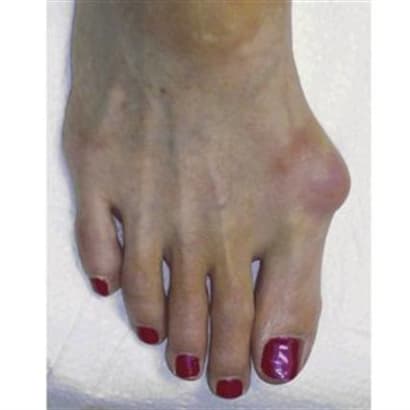
When the weight of the body lands on a swollen nerve, it can be debilitating. Learn the symptoms and alert clients to this common problem that develops in the nerves of the foot.
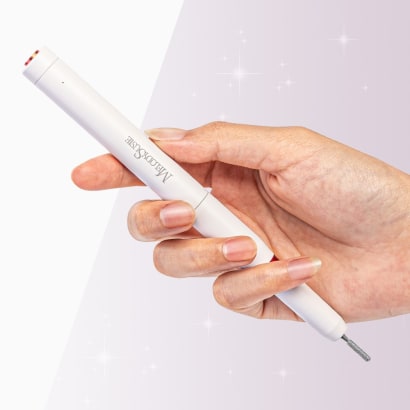
With the PC1 Nail Drill Pen, achieving healthy nails and a flawless manicure has never been easier. This user-friendly nail drill pen covers all your nail care needs.
Attending a presentation by Doug Schoon is an opportunity not to be missed for anyone in the nail care industry. His extensive expertise, commitment to accurate information, and engaging presentation style make for an enlightening experience.