Catherine Wong gives NAILS readers a peak into her step-by-step nail art books.
by Staff
May 1, 2010
2 min to read
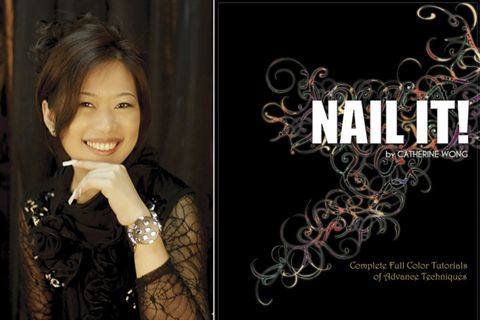
Singapore-based nail artist and educator Catherine Wong travels the world for her love of nail art. She makes frequent appearances as a guest artist for nail shows and seminars, places in multiple nail art contests every year, and has been called to judge competitions as well. Her expertise reaches far and wide, and now nail artists can take a piece of her educational prowess home with her first step-by-step nail art books: Nail It! and NailQ Signature. “It’s difficult to find a dedicated step-by-step book for designer nails and being a nail enthusiast, I’m always interested to know how a design is created,” Wong says. “I think it’s useful to have a design reference for people who are passionate about nails. Many people cannot get to a class, so I hope that with my books I can fulfill that desire.”
Ad Loading...
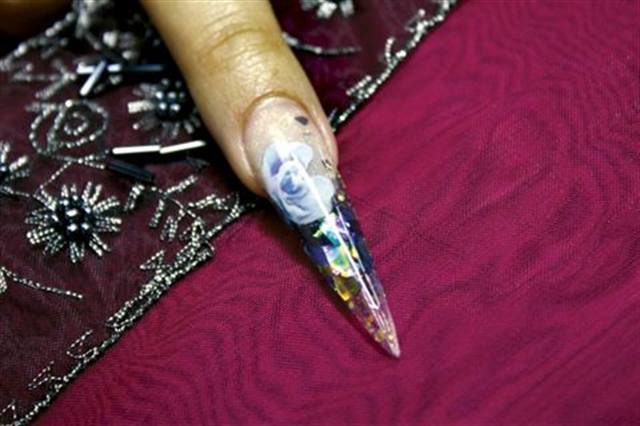
Nail It! features a variety of designs at different expertise levels, plus a brief introduction to designing using the color wheel. NailQ Signature focuses on bridal designs and includes more than 40 step-by-steps. Here’s an excerpt from Nail It!, a step-by-step dubbed “Flirty in Florals.”
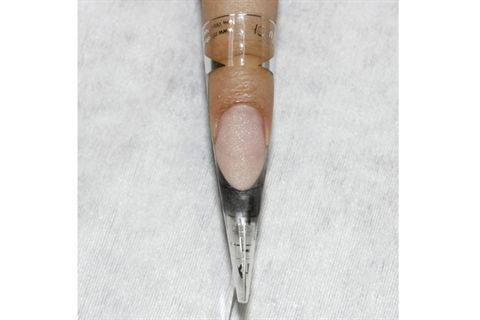
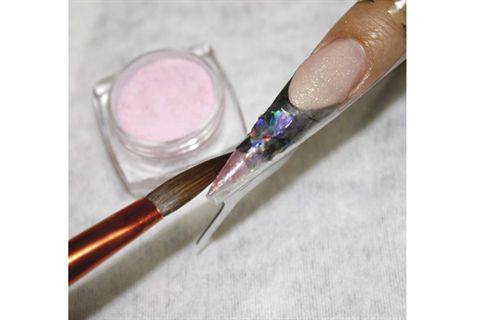
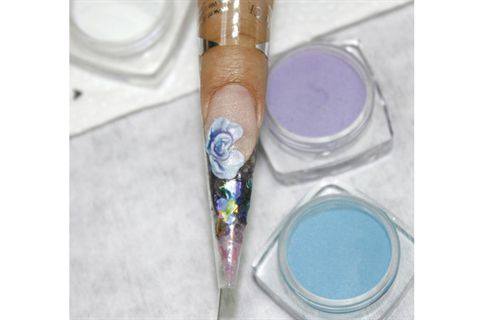
1. Elongate the nail bed with sparkly pink acrylic.
2. Extend the free edge with black acrylic to create a French smile line.
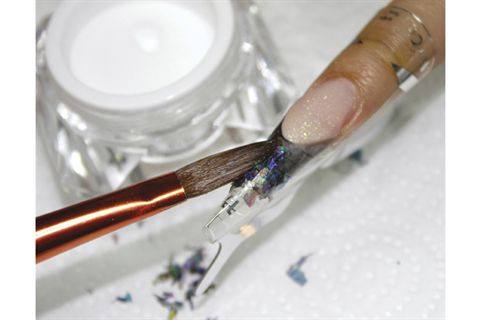
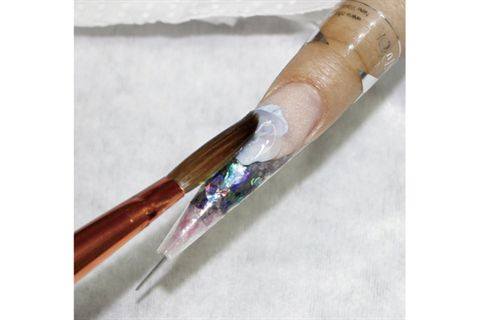
3. While the acrylic on the nail is still wet, pick up a small bead of clear acrylic on your brush, then pick up some Mylar. Place the Mylar on top of the black acrylic.
Ad Loading...
4. Extend the free edge more with pink glitter acrylic and shape it into a point.
5. Pinch the side walls to create the C-curve.
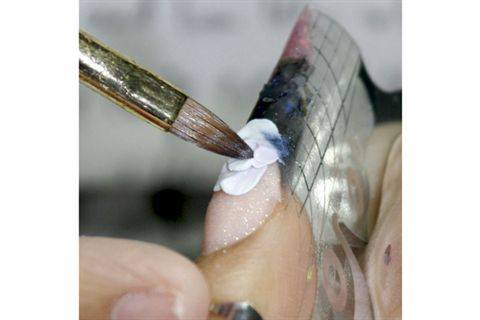
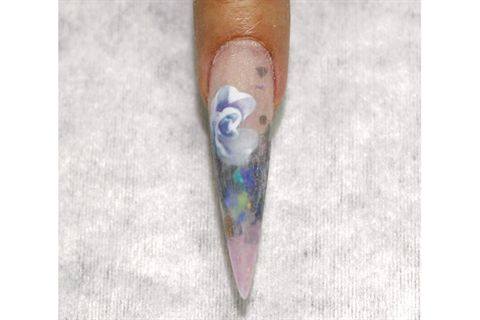
6. Using white acrylic, create the first petal of a 3-D flower.
7. Add additional petals, as shown.
8. Add smaller interior petals, as shown.
Ad Loading...
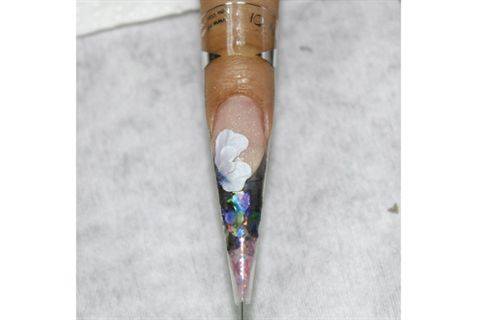
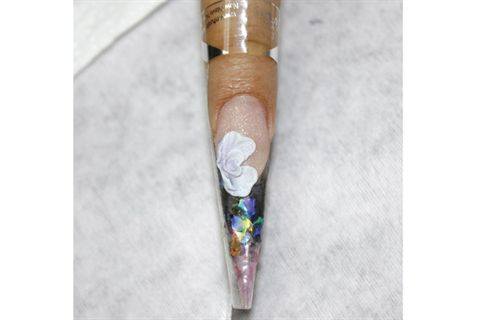
9. Complete the flower.
10. Pick up a fairly wet bead of a transparent blue and/or purple acrylic and brush over the flower to give it more depth.*
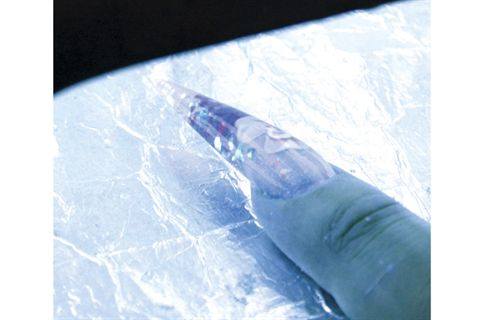
11. Cap the entire nail with clear acrylic.
12. Shape and finish file the surface of the nail.
13. Apply gel top coat to seal the nail.
Ad Loading...
14. Cure two minutes to a shiny finish.
15. Alternately, to get a crisp and dry finish, do not apply top coat to the 3-D flower. The contrast between a shiny base and a matte crisp flower creates visual interest.
*Note: Transparent colored acrylic can be created with color drops in monomer mixed with clear powder or use ready-made acrylics with such properties.
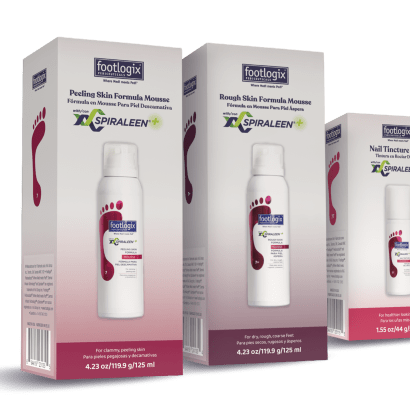
Marine-exclusive antioxidants act as a natural biological shield for the feet to help protect skin, smooth cracks, hydrate roughness, calm inflammation and disrupt bacterial and fungal activity, leaving feet feeling softer, smoother, more hydrated and healthier.
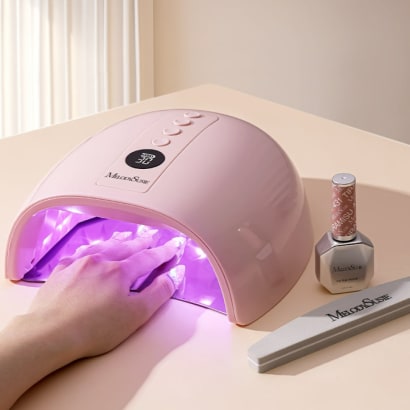
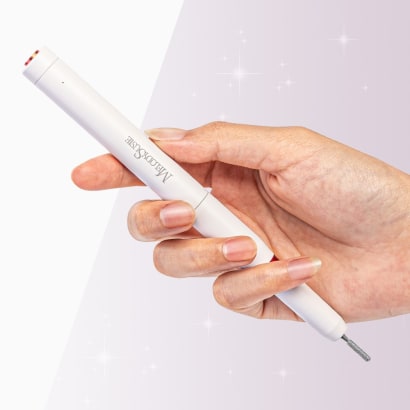
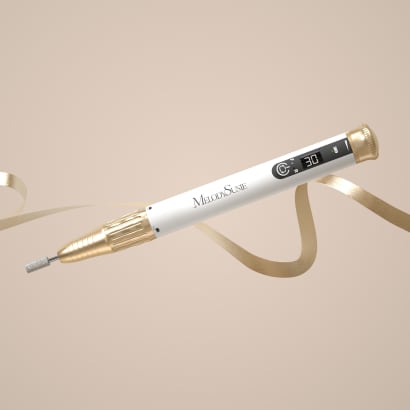
The MelodySusie P-PLUS30GT UV/LED Rechargeable Nail Lamp represents an upgrade in curing technology, designed to address several challenges through improved light reflection, intelligent heat management, and cordless operation.
Elevate your tip service with the OPI GELevate™ Extension System, featuring tailor-made Soft Gel Tips, GELevate 4-in-1 Builder with Intelli-Builder Technology and the Lightening Flash Cure Gel Lamp. This new system from OPI allows for flawless tips in no time.
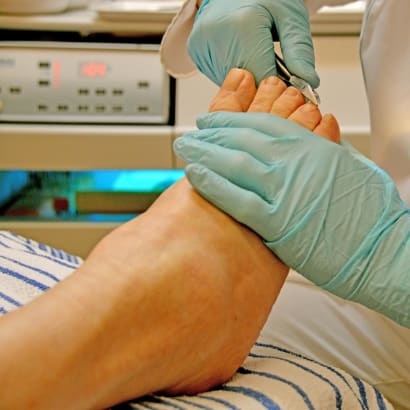
Nail technicians are embracing the Medical Pedicure as a service and placing it on their menus. But what is it? What training is required? Is it within our scope of practice as licensed nail technicians?
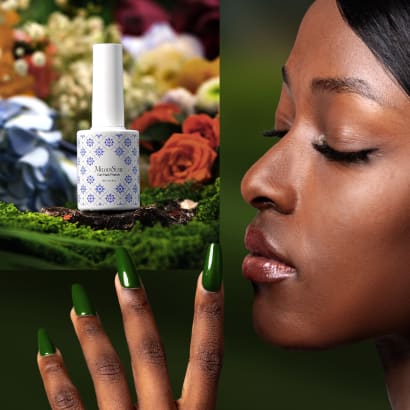
MelodySusie introduces the Fleurwee Gel Nail Polish series—a revolutionary gel polish that is HEMA/HPMA- and TPO-free, plant-based gel polish for a high-quality nail care experience.
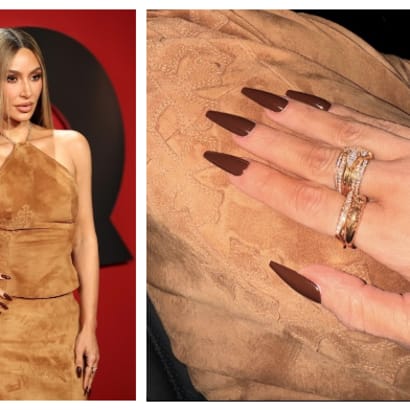
Kim Kardashian's manicure created for GQ’s annual 'Man Of The Year' event are the perfect understated, yet edgy look for fall or even the holiday party season.
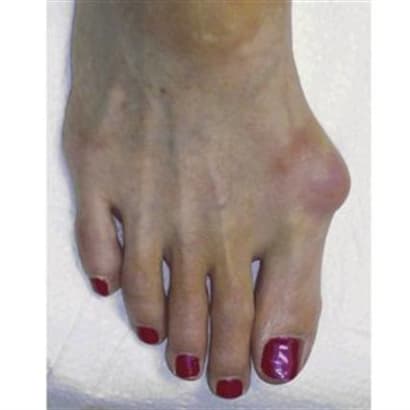
When the weight of the body lands on a swollen nerve, it can be debilitating. Learn the symptoms and alert clients to this common problem that develops in the nerves of the foot.
With the PC1 Nail Drill Pen, achieving healthy nails and a flawless manicure has never been easier. This user-friendly nail drill pen covers all your nail care needs.
Attending a presentation by Doug Schoon is an opportunity not to be missed for anyone in the nail care industry. His extensive expertise, commitment to accurate information, and engaging presentation style make for an enlightening experience.