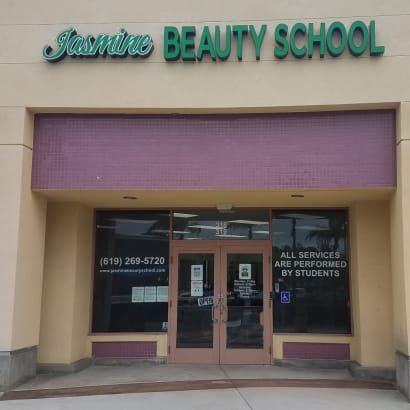
America’s Beauty and Wellness Industry Under Threat from Proposed Regulations Now Being Considered by U.S. Department of Education
A new report criticizes the regulations' impact against students and entrepreneurs.

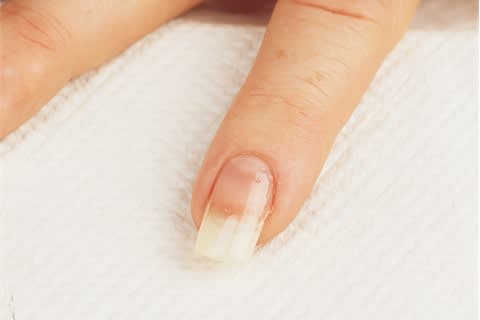
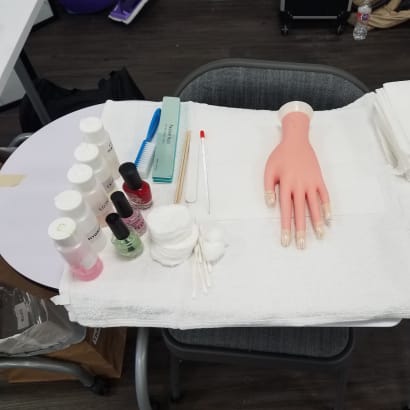
You learned a lot in school, but once you start working full time with clients you’ll see that minor mishaps with nail enhancements will occasionally pop up to frustrate and challenge you. To help you out when they do, here's some handy troubleshooting advice on fixing the more common acrylic and gel problems.
GELS TROUBLESHOOTER
Problem: Lifting
Solution: Be sure to remove excess cuticle from the nail plate and properly prepare the entire nail surface. Make sure there isn’t any product on the eponychium or sidewalls after application.
Problem: No arch
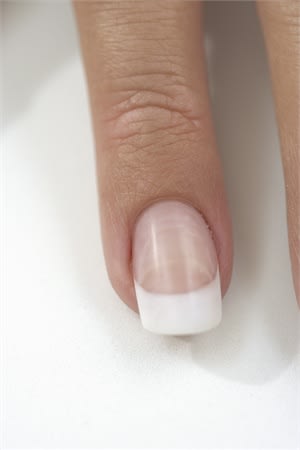
Solution: Apply a scoop of pink or clear gel to the middle portion of the nail where you want your apex. Lightly taper down to the sidewalls and the eponychium area with your brush at a 45-degree angle. Smooth out to the free edge. Tip (shown): Apply as above and then have the client hold her hand upside down. The gel will smooth out and naturally gravitate to the apex.
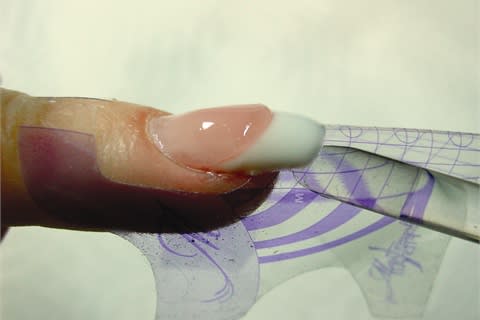
Problem: No C-curve
Solution: Fit the form tightly and correctly under the nail. Apply a thin layer of gel and “flash” it under the light for about 10-15 seconds so it cures partially. Pinch the form or lightly squeeze the edges of the gel to the desired curve. Apply a second layer and let it cure for about 20-30 seconds. Make final adjustments to the curve and cure completely.
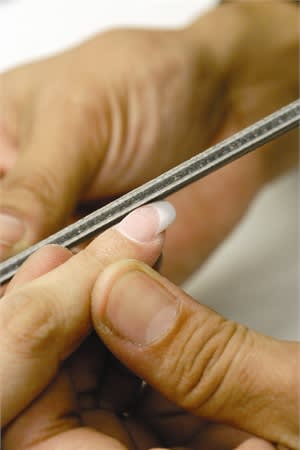
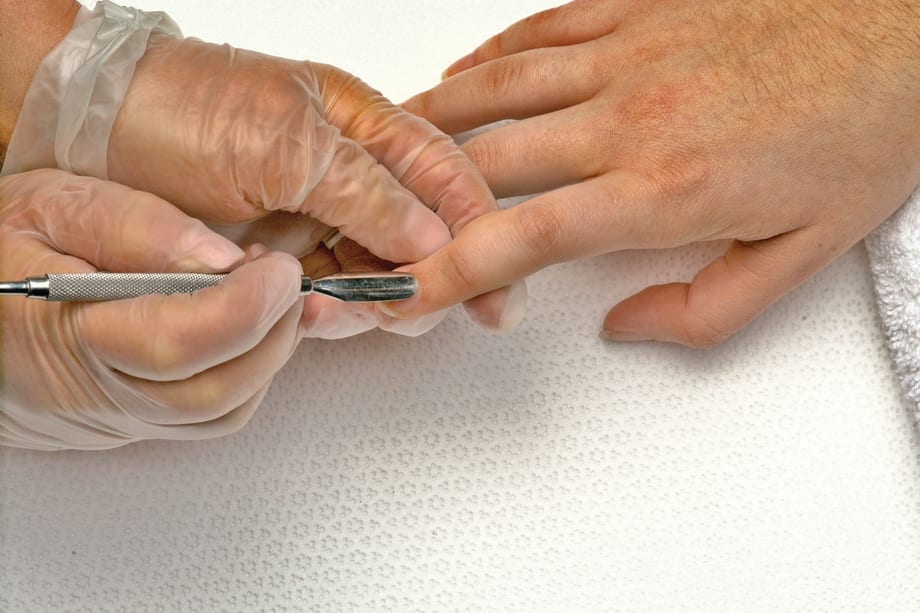
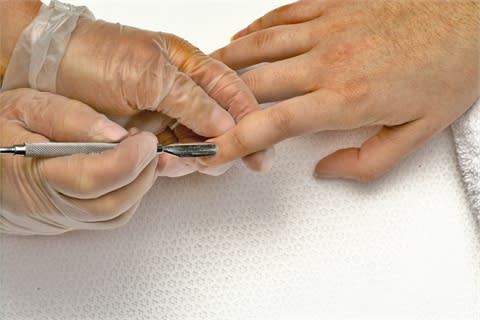
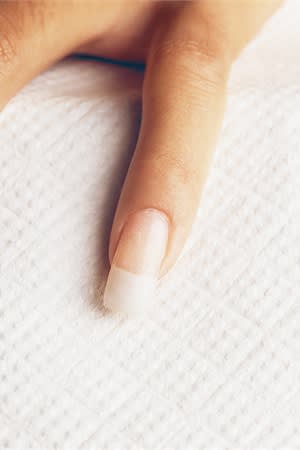
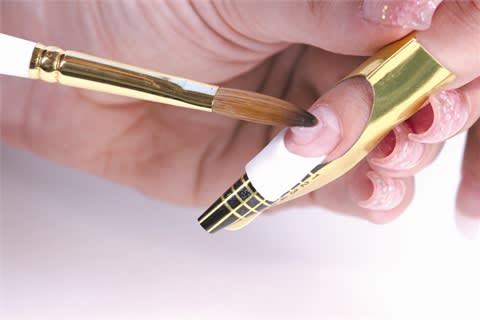
Problem: Removing gels
Solution: For traditional gels (shown): Use a 100-grit file to take off the bulk of the gel, then use a 180-grit file and gently file down almost to the natural nail. Graduate your files to finer grits to remove product completely, then buff the nail gently. For soak-off gels or gel-polish hybrids: Soak the nails in acetone (or wrap in gel remover wraps), then remove remaining gel with a manicure stick.
Next page: Acrylics Troubleshooter
[PAGEBREAK]ACRYLICS TROUBLESHOOTER
Problem: A line where the tip joins the natural nail
Solution: Etch the top surface of the well with a 100-grit file before application. When the tip is on the nail, brush tip blender or acetone over the etched area. Wait about 20 seconds, then use a 100- or 180-grit file to roll the softened plastic off the well area. Then graduate to a 240-grit to complete the blending. Tip: Try using well-less tips.
Problem: Nails “pop” off in one piece
Solution: Possible causes are: 1) Product applied over the cuticle. 2) Oil left on the natural nail. 3) Over-prepared nail plate. File natural nail very lightly only. 4) Product was applied too dry. 5) Forgot to prime. 6) Tip covered more than half the nail bed.
Problem: Cloudy pink or clear acrylic on the nail bed
Solution: Try using a wetter application. Also, make sure your monomer is not contaminated with residue from the white powder. Use a separate dappen dish of monomer for the white powder and the pink or clear powder.
Problem: Bubbles in the pink or clear
Solution: Submerge your brush completely into the monomer, press the side of your brush down on the bottom of the dappen dish, then lightly wipe the extra liquid on the side of the dish. Another method is to set the ball of acrylic on the nail bed and, using the belly of your brush, press the acrylic flat. For beginners, try submerging your brush, wipe excess off, and form a smaller ball.
Problem: Pits in white tip after you file out the nail
Solution: Use more monomer with your white powder. (Different ratios apply to different products, so see manufacturer’s directions.)

Problem: Smile line is cloudy, not crisp
Solution: Apply the white near the smile line higher than the pink used to do the nail bed. When the nail is filed out, file the area that is higher away and the smile line will be crisp.
Problem: Lifting around the eponychium area
Solution: Clear all traces of excess cuticle, dust, and oil from the nail plate. Leave a 1/16 of an inch margin between the product and the eponychium area.
Problem: The eponychium area is thick and has a distinct ledge
Solution: Use several small balls around the eponychium area. This gives you less product to manipulate before it starts to set.
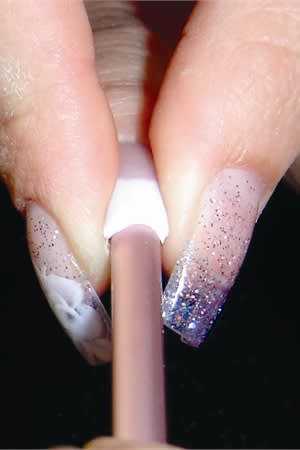
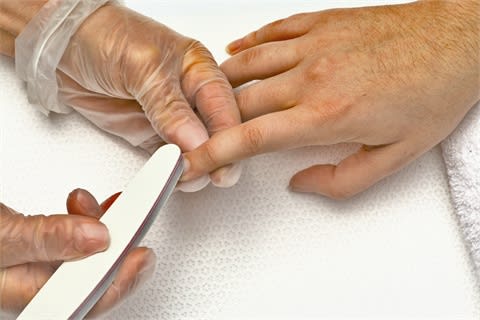
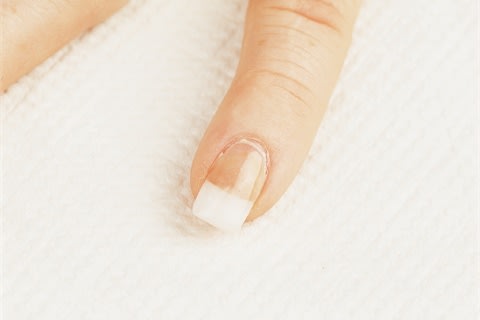
Problem: Poor C-curve (the nail has a flat appearance)
Solution: Before the product is fully hardened, mold the curvature using a wooden dowel (shown) or sculptured nail form.
Problem: Acrylic setting faster than normal
Solution: Heat will cause your product to set quickly. Beware of spotlights or changes in salon temperature.

Problem: Crystalization (a frosty appearance, usually around the cuticle area)
Solution: Crystalization can be caused by cold temperatures in the salon, because the monomer is cold, or the client’s hands are cold.
For video troubleshooting tutorials, visit www.nailsmag.com/nailstv. You’ll also find helpful information on the latest troubleshooting techniques at www.nailsmag.com/technique.
A new report criticizes the regulations' impact against students and entrepreneurs.
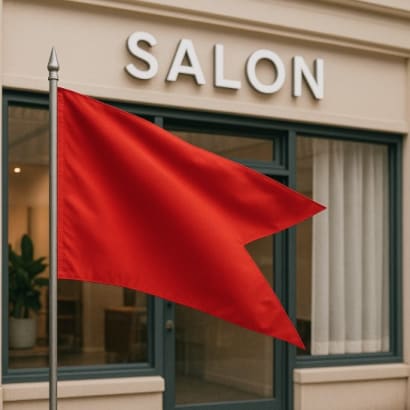
Looking for a healthy salon job? Watch for these red flags in listings, interviews, and salon culture to avoid a toxic environment and find the right fit.
The 2024 The Professional Beauty Association (PBA) announces its Beacon Class recognizing top emerging talent in the beauty industry.

Do you often forget names? Here are some tips from global beauty educator Carlos Valenzuela to remember your clients.

Our cosmetology schools are at risk as proposed legislation would prevent many of them from participating in student federal loan programs. The American Association of Cosmetology Schools is asking for your help today!
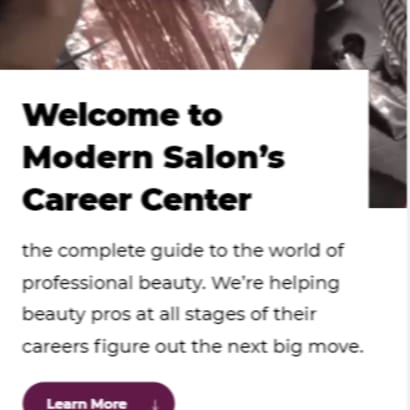
Get the complete guide to navigating the world of professional beauty careers.

An affordable option for starting your beauty education, this post talks about taking those first steps to launching a successful career in the beauty industry.
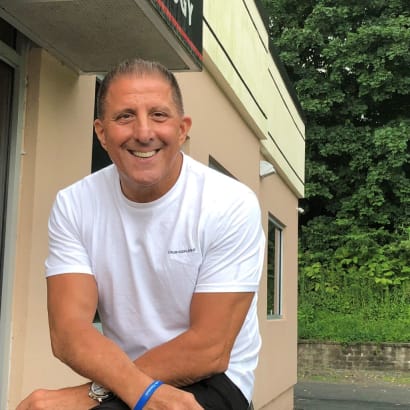
Paul DiGrigoli began his four-decade long career, opening his first salon in 1986 in Massachusetts. The DiGrigoli School of Cosmetology has recently added new nails and esthetics programs.
While everyone's experience is unique, here is what it was like for me to take my state board exam, with details on the actual examination experience, from the moment I entered the building.
The Cosmetology Board Examination … the event that many, if not all, cosmetology students both anticipate and dread. Here is my story.
For those for whom I am just a hazy pre-pandemic memory, allow me to briefly introduce myself and summarize where I left off my story with this blog. And in future installments, I will cover more about practicing for the state board exam and the actual examination experience.
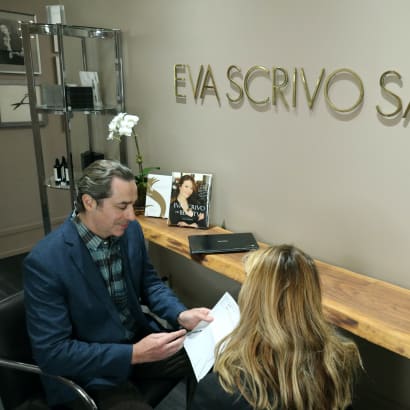
Getting employees to appreciate the importance of THE FUTURE with a 401K plan is the goal of Arik Efros, co-owner of the Eva Scrivo Salon. Efros outlines the importance of this perk and explains why many of the people in their NYC salon have already a nice bundle waiting for them upon retirement.

Julie Kandalec has fantastic personal style! Learn more about the manicurist to the stars.
Learn more about celebrity nail artist, editorial artist, NYFW regular and salon owner Joanne Sorbello.

Get the five tips to winning NAHA's nail category from Reiko Omae. She entered just once and won.

"That first set of nails I did in the salon sucked but that client still comes back to me, three years later, because of the connection we made that day." Hear from the winners of these scholarships on how beauty helps them change lives and how it has changed their own.
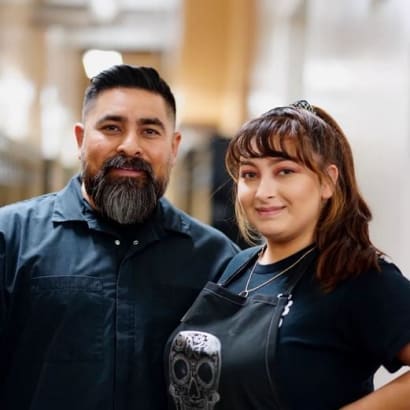
Keeping it all in the family, this Dad and daughter keep each other inspired as they train to become beauty professionals.