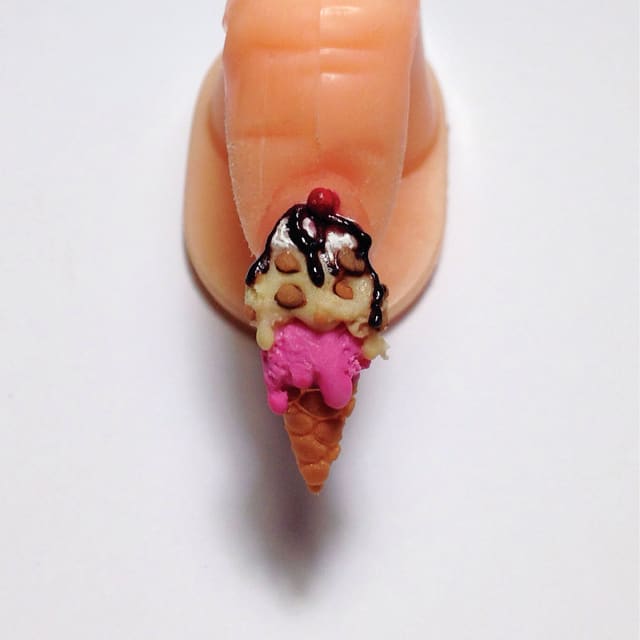
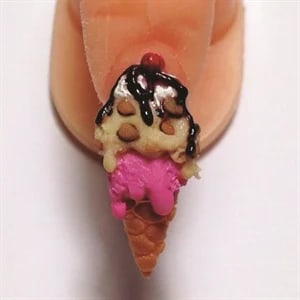
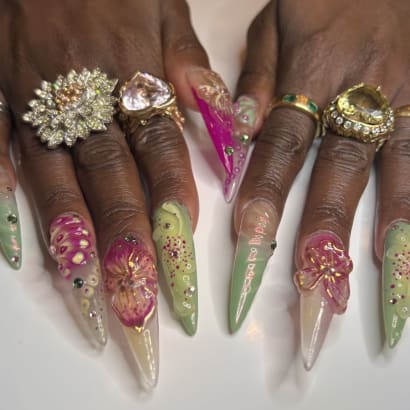
Nail art is booming in the Caribbean says nail tech Kerlisha Munroe who lives in Point Fortin, Trinidad and Tobago. “Trinbagonians (Trinidadians and Tobagonians) are very creative people and with the high demand of unique nail art surfacing, I have seen an increase in hand-painted designs,” she says.
In an effort to cater to the rise in services and keep up with trends, Munroe uses a diversified palette to execute mixed-media designs. Just in time for summer, she offers this tutorial on a mouthwatering 3-D dessert look.
Ad Loading...
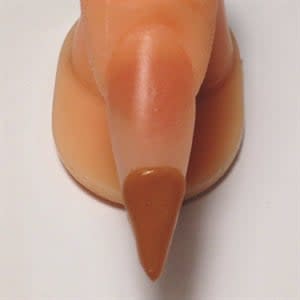
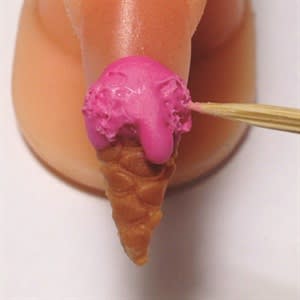
1. With the nail already buffed and cleaned off for nail art, apply a large bead of light brown acrylic to the bottom third of the nail. Make sure to spread the acrylic neatly and cover the corners of the nail to create the cone.
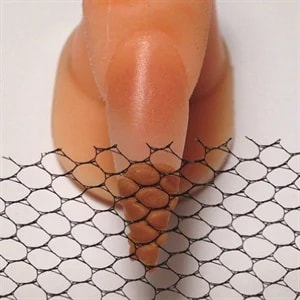
2. Using a piece of nail art netting, once the brown acrylic starts to lose its shine, gently press the netting into the acrylic to create texture. Remove any excess off the sides.
3. Apply a large bead of colored acrylic to create the first scoop of ice cream. Use a dotting tool, an orangewood stick, or a toothpick to quickly poke the first scoop in different areas to add texture. You can also create a dripping effect by adding tiny beads of the same colored acrylic to the bottom of the scoop and blending upward.
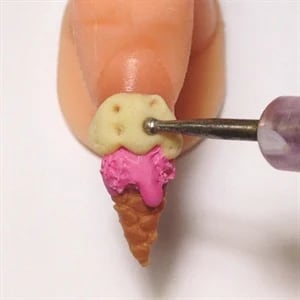
4. Apply a second large bead of colored acrylic and use a dotting tool to make holes in the top scoop.
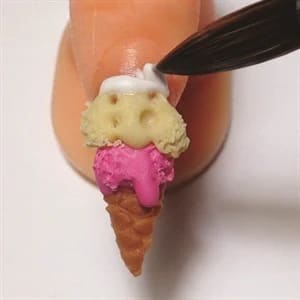
5. Creating a triangular shape, apply three stripes of white acrylic to create the whipped cream.
Ad Loading...
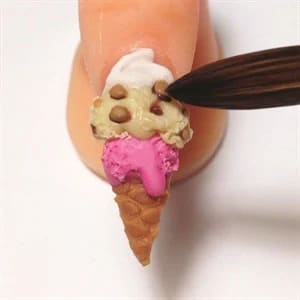
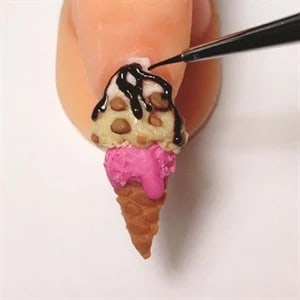
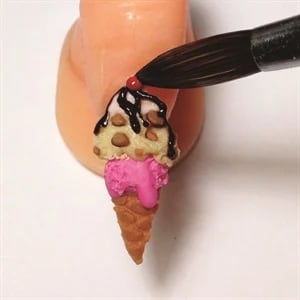
6. Fill in the holes created in Step 3 using tiny beads of dark and light brown acrylic. This will create the nut topping on the ice cream.
7. Use a bead of dark acrylic and apply it in a zigzag motion. Make sure to work quickly to create the dripping chocolate syrup effect. You can also use dark brown polish instead of acrylic.
8. Finish the look by adding a tiny bead of red acrylic as the cherry on top.
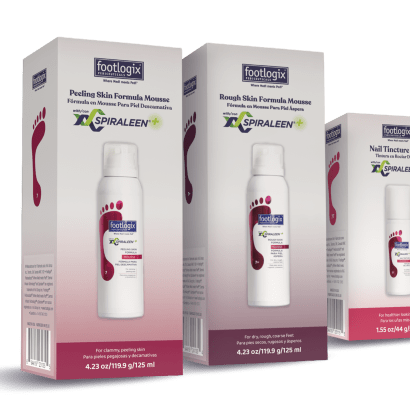
Marine-exclusive antioxidants act as a natural biological shield for the feet to help protect skin, smooth cracks, hydrate roughness, calm inflammation and disrupt bacterial and fungal activity, leaving feet feeling softer, smoother, more hydrated and healthier.
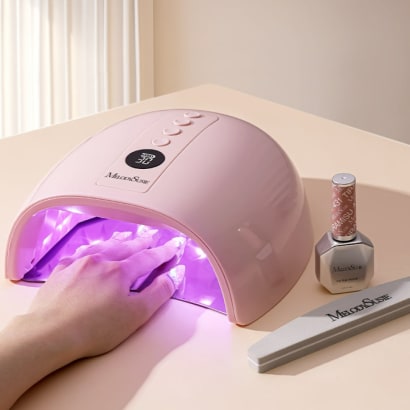
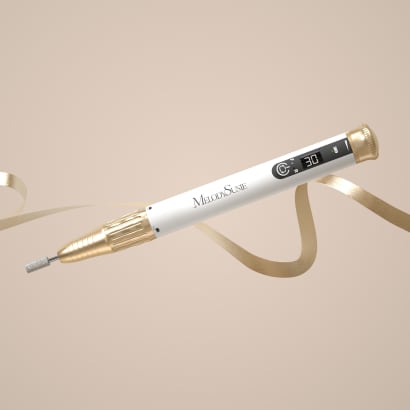
The MelodySusie P-PLUS30GT UV/LED Rechargeable Nail Lamp represents an upgrade in curing technology, designed to address several challenges through improved light reflection, intelligent heat management, and cordless operation.
Elevate your tip service with the OPI GELevate™ Extension System, featuring tailor-made Soft Gel Tips, GELevate 4-in-1 Builder with Intelli-Builder Technology and the Lightening Flash Cure Gel Lamp. This new system from OPI allows for flawless tips in no time.
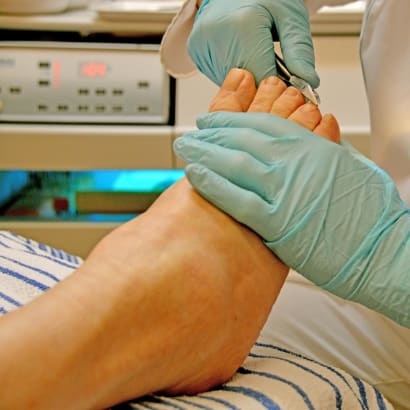
Nail technicians are embracing the Medical Pedicure as a service and placing it on their menus. But what is it? What training is required? Is it within our scope of practice as licensed nail technicians?
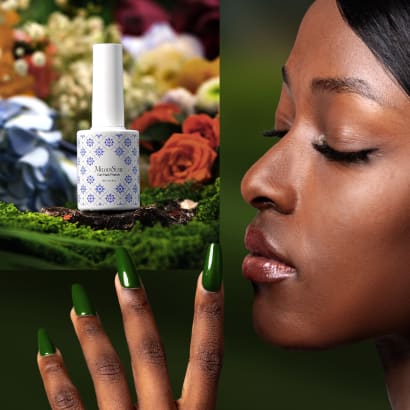
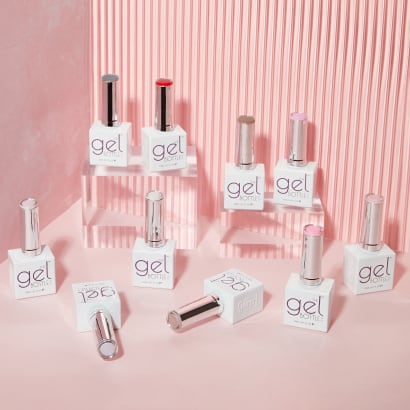
MelodySusie introduces the Fleurwee Gel Nail Polish series—a revolutionary gel polish that is HEMA/HPMA- and TPO-free, plant-based gel polish for a high-quality nail care experience.
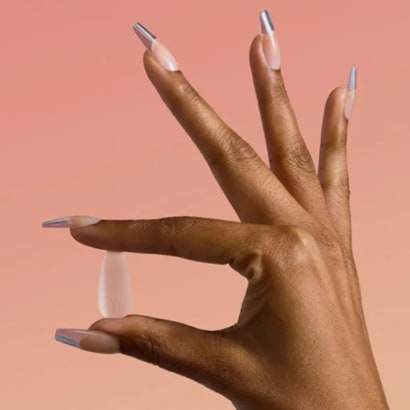
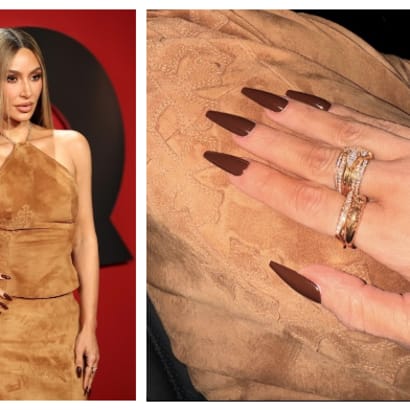
Kim Kardashian's manicure created for GQ’s annual 'Man Of The Year' event are the perfect understated, yet edgy look for fall or even the holiday party season.
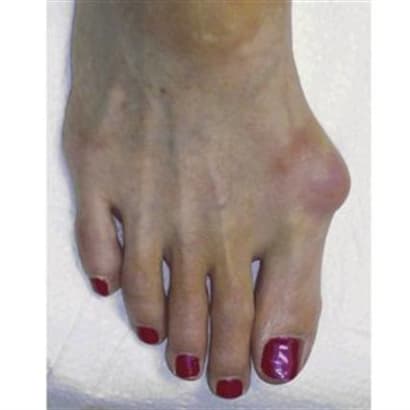
When the weight of the body lands on a swollen nerve, it can be debilitating. Learn the symptoms and alert clients to this common problem that develops in the nerves of the foot.
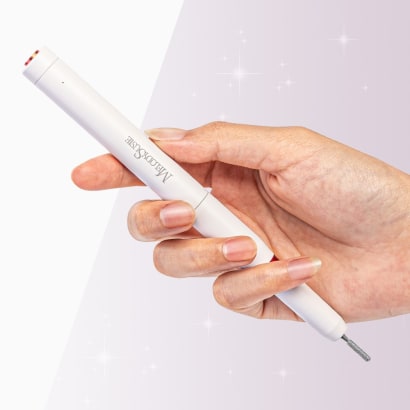
With the PC1 Nail Drill Pen, achieving healthy nails and a flawless manicure has never been easier. This user-friendly nail drill pen covers all your nail care needs.
Attending a presentation by Doug Schoon is an opportunity not to be missed for anyone in the nail care industry. His extensive expertise, commitment to accurate information, and engaging presentation style make for an enlightening experience.