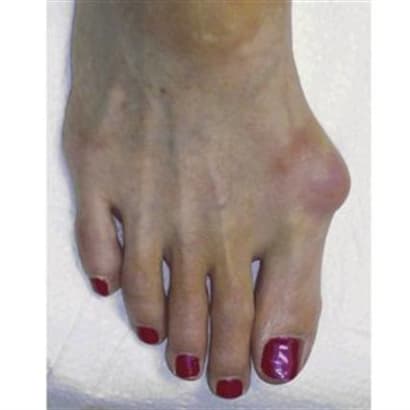
STEP 1
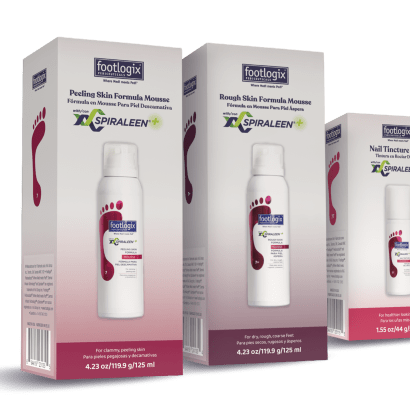
Begin by sanitizing. Soaking is not recommended as the client’s skin becomes sensitive to files and implements Product adhesion may also be affected. Gently remove ridges and yellow stains and etch with a 100 grit file. Remove excess cuticle growth with a ptergium stone or other implement. Remove filings and dust. Prime one toenail at a time, letting the primer dry completely. Then, reprime one nail at a time, so that the primer is wet when the acrylic is applied.
STEP 2
Begin with the big toenail. Apply a ball of white powder to the toenail free edge. To extend the length of the nail, overlap the product onto the skin. While it is usually not recommended that acrylic products touch the client’s skin in any way, in this case, and with some nail biters, it may be necessary to create a natural-looking, sculpted extension on a shorter nail.
STEP 3
Pat the ball from one side to the other Create the smile line. Use. the brush to shape the smile line to ensure a crisp, clean line. Then, use the same brush to dean up the free edge.
STEP 4
Apply a pink ball (or other light or glitter nail bed color) to the middle of the big toe and pat it from side to side and then stroke out toward the free edge. This ball blends the product on the nail flush with the white product at the free edge.
STEP 5
Apply the second pink ball 1/32 of an inch from the cuticle. Pat it across the nail plate and stroke it out toward the free edge. This ball will cover the area closest to the cuticle and blend into the other pink ball, finishing the acrylic application. When you apply product to the smaller toes, only one ball of pink should be needed per toe.
STEP 6
Once all 10 toenails have product applied, file each with a 180 grit file. Shape the free edges of the toes as well. Apply article oil and then buff the nails with a finishing file. Clean the toenails off and then apply lotion and massage feet and lower legs.
STEP 7
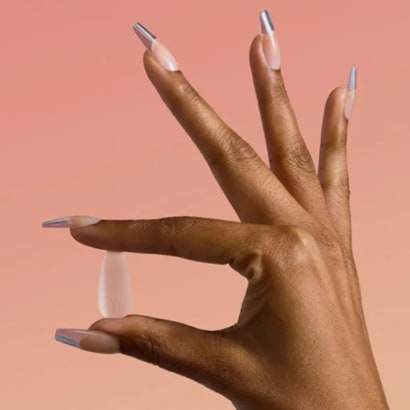
Remove the lotion from the nail plates and apply a shiny, non-yellowing topcoat to finish the service. And what you have is a beautiful set of French toenails that will be the envy of all of your client’s friends.