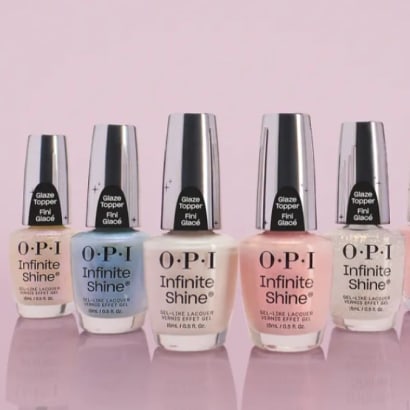
OPI’s NEW Chrome Effects and Infinite Shine Glaze Toppers
After seasons of barely-there manicures and minimalist nail looks, chrome is officially back in the spotlight.
by Staff

NSI global educator Darlene Tewitz of Edmonton, Alberta, Canada, created this soft blooming flower design, perfect for spring.
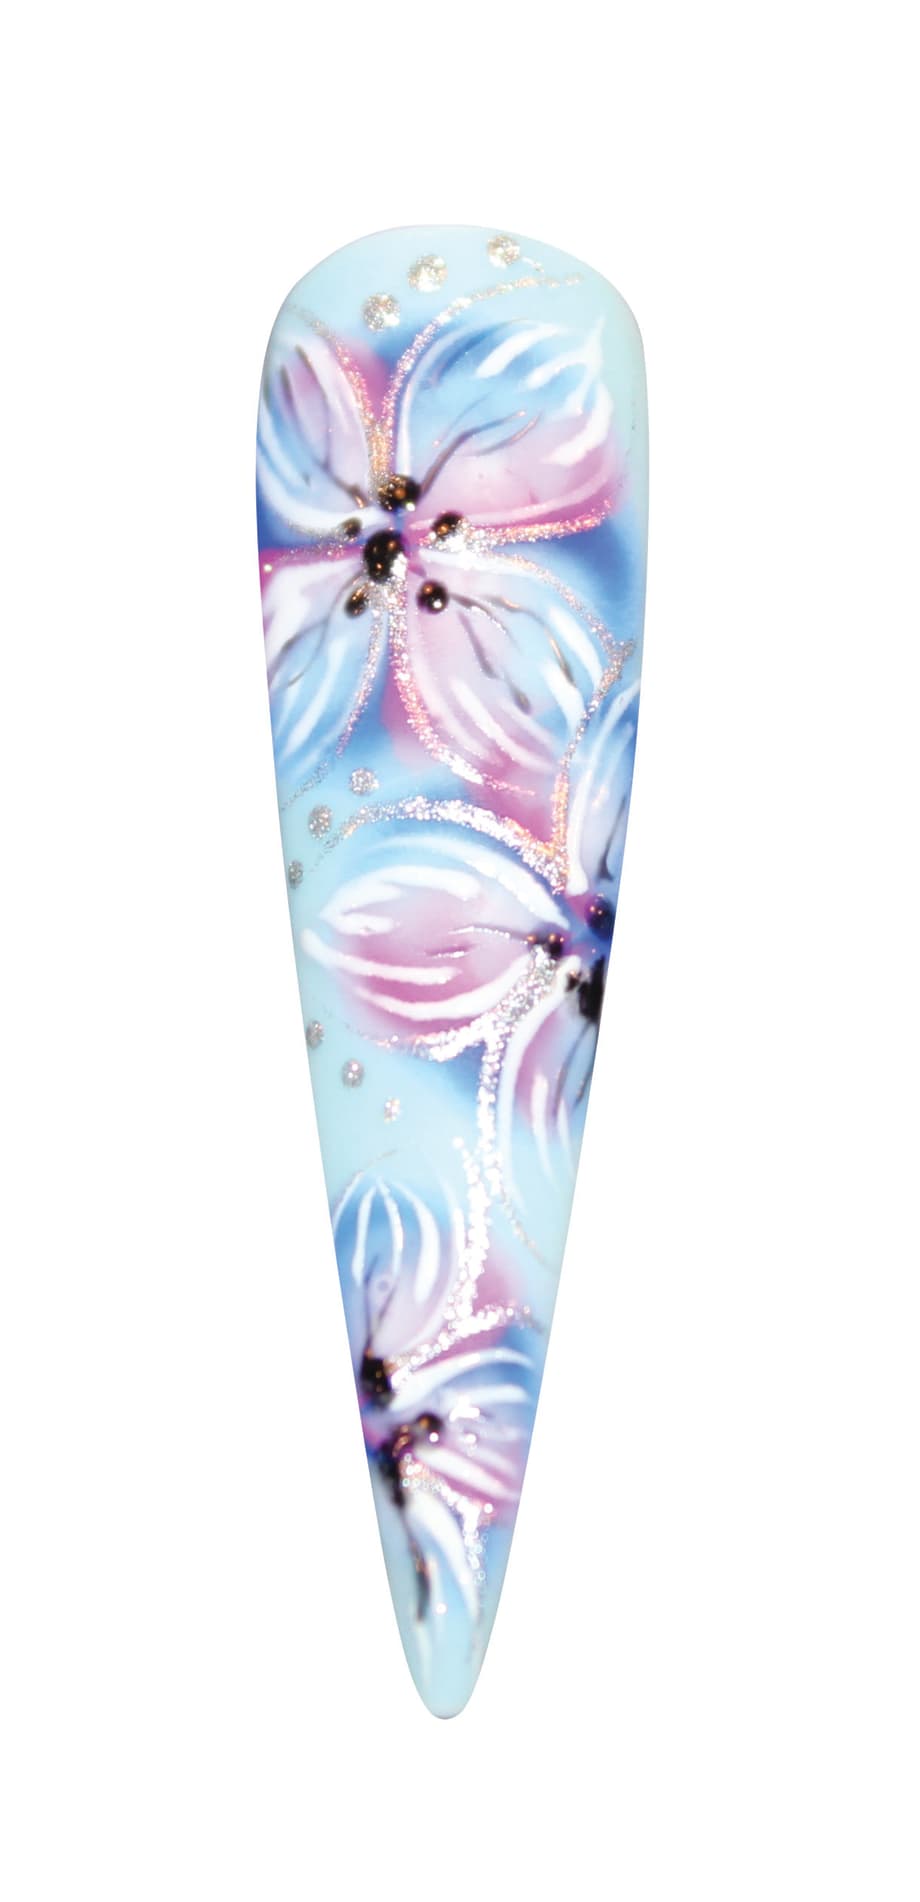
1. Prep nails, apply gel-polish, and cure. Apply NSI Tech Gel Glitter Base and leave uncured.
2. Choose three contrasting colors. Using a dotting tool, place dots of your first color in a circle. Leaving space between the dots, add dots of your second color. Then place your third color in the center of dot one and two. They will overlap.
3. Let your colors bloom together. Once you’re happy with the effect, cure in an LED lamp for 30 seconds or a UV lamp for
two minutes.
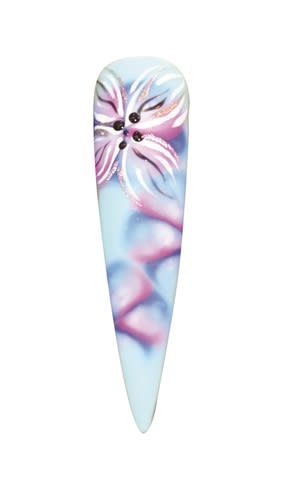
4. Using NSI Design Gel, start to add detail to your design, drawing over your petals.
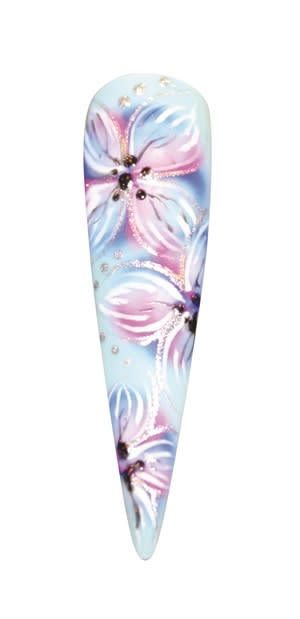
5. Once you’re happy with the details of your design, cure in an LED lamp for 60 seconds or a UV lamp for two minutes.
After seasons of barely-there manicures and minimalist nail looks, chrome is officially back in the spotlight.

For years, press-on nails have been treated as the alternative to professional services. But the category has evolved and so has the client.
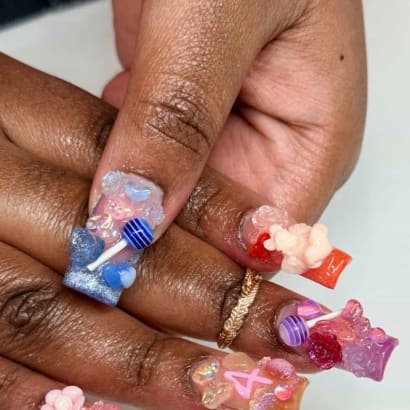
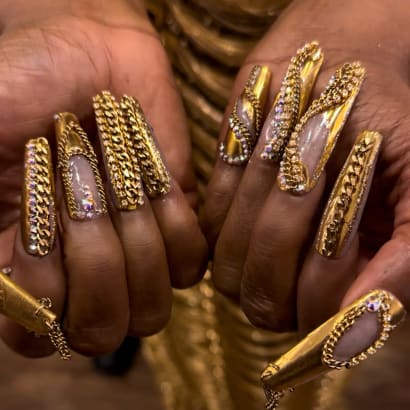
Junk nails continue to steal the spotlight within the professional beauty industry.
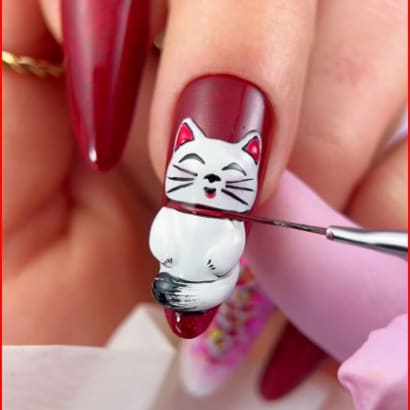
The lucky cat in this design signifies fortune and abundance--yes, please!
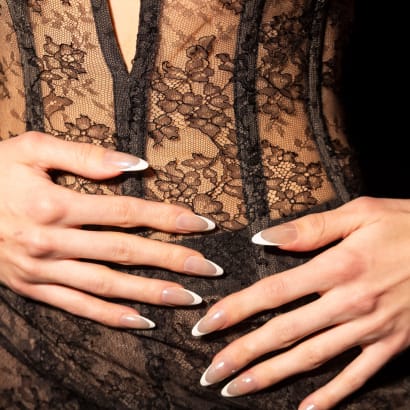
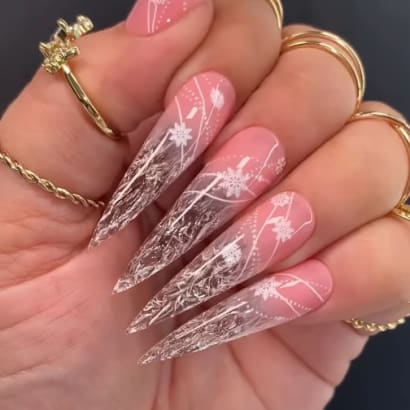
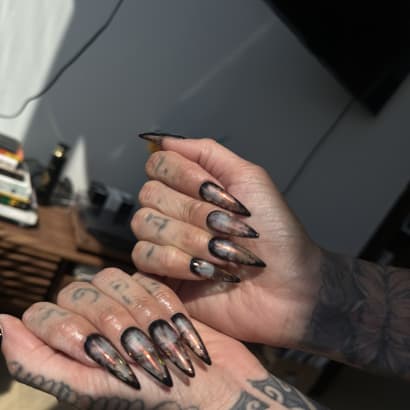
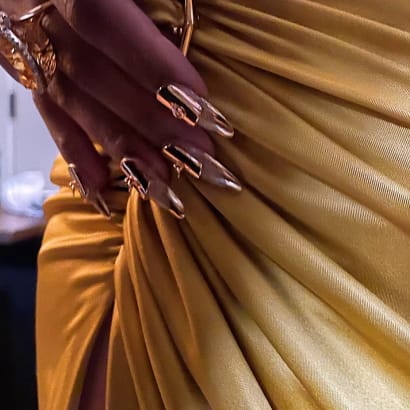
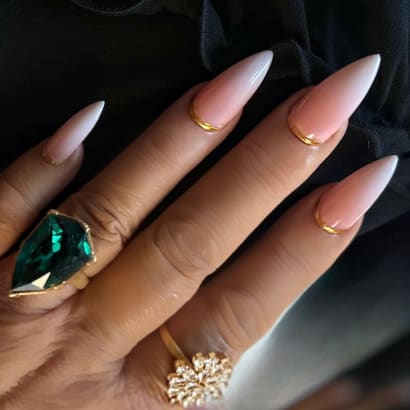
“You can’t go wrong with a classic French elevated with a high-shine, chrome finish that’s continuing to trend. The stiletto shape of the nails echoes the precision and structure seen throughout the collection.”
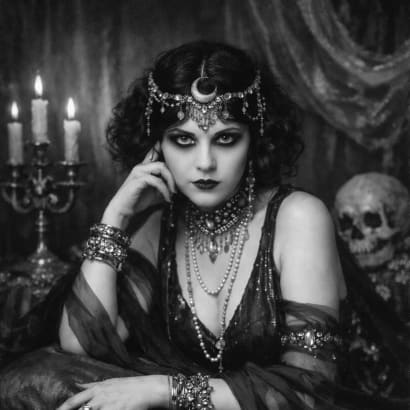
Romantic goth hairstyles are trending for 2026, and these Sebastian Professional artists have long anticipated the look.
Check out what beautiful looks these celebrity nail artists cooked up for famous attendees and nominees of the 2026 Grammy Awards.
Check out these beautiful holiday and winter nails, created by the talented nail artists of our MODERN SALON 100 of 2025. Top-tier inspiration!
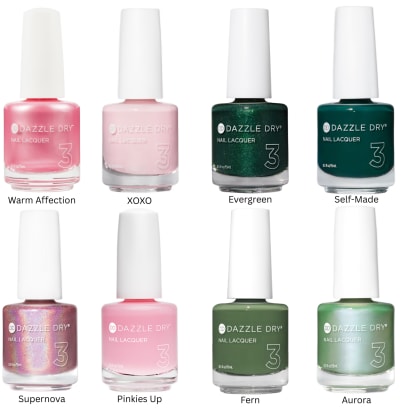
In anticipation of Wicked: For Good, here are some stunning pink and green polishes from clean nail brand Dazzle Dry.
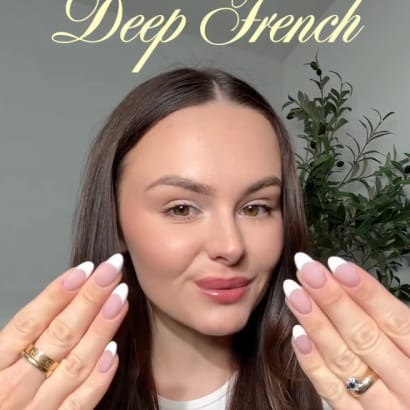
The return of the deep French is a trend with staying power.
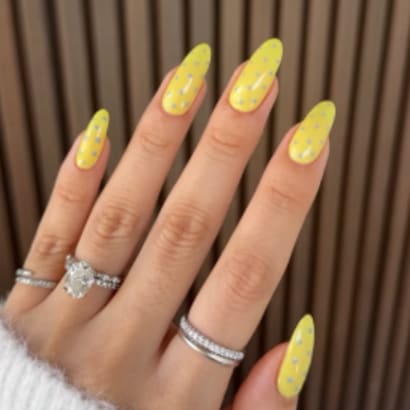
OPI Global Ambassador and celebrity manicurist Zola Ganzorigt just merged two of summer’s most buzzy trends – butter yellow and polka dot nails -- to create this adorably sunny trend on Hailey Bieber.
Our favorite part of any award show or celebrity event is seeing what those celebrities are wearing on their fingertips! These celebrity manicurists shared how to recreate some of our favorites.
The stars at the 2025 Oscars and their talented manicurists did not disappoint, and we've chosen a few of our favorite nail looks to share with you.
See some of the most decorated fingertips at the Grammys, created with Aprés Nail.
Looking for some new stuff to get excited over during this post-holiday quiet period? We've got just the selection for you, including new polish formulas, colors, and even botanical skincare.
Which of our 2024 nailsmag.com articles did you find most intriguing last year? The results are in!
See how these celebrity manicurists used Aprés Nail to create some of the Golden Globes' most stunning nail looks.