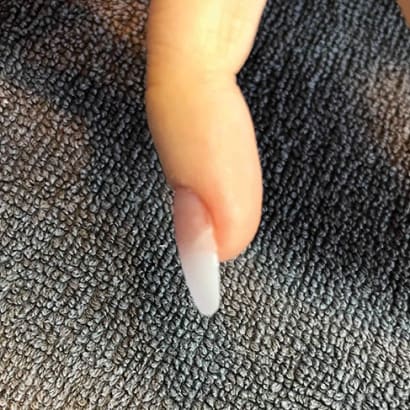
2. Remove the form from the form paper and place the tab symmetrically in the middle of the form. Leave a gap where the form meets the natural nail — otherwise this will thicken the cutting zone and be more prone to tearing.
3. Precisely close the lower wings of your form together, ensuring both sides meet up flawlessly. Do not close the form into a point. Leave this open ended.
4. Place the form on the finger. From the side view, the form should be straight in line with the finger. From the bird’s eye view, the form should be open ended. If there are gaps where the form meets the nail, the form must be tailored to fit seamlessly.
5. Using KB Form Tailoring White Gel Pen, draw around the shape of the free edge. Using a white gel pen prevents staining and denting.
Ad Loading...
6. Use KB Curved Form Tailoring Scissors to cut out this template.
7. Place the form back in the same position as step 4. Any gaps will now be closed. Use the white gel pen to place a mark where the corner points of the natural free edge are.
8. Using KB Straight Form Tailoring Scissors, make approximately a 1cm long cut at a 45-degree angle.
9. Place the form in the same position as step 4. Check that it is straight by using a ruler or straight file. Pinch underneath the form. The cuts in the previous step will allow a tight pinch and deep c-curve to be created without the need for pinching the enhancement.
10. Adhere the side wings to the finger.
Ad Loading...
11. The form seamlessly fits the nail ready for product application.
12. Apply builder base gel to the natural nail. Cure for the manufacturer’s recommended time.
13. Apply a slip layer of cover pink gel, then apply the free edge shape. Bring the side marginally lower at the side wall to ensure correct filing. Cure for the manufacturer’s recommended time. Repeat two more times, working towards the cuticle zone. The apex should be at the back third and the upper arch should come out straight from the apex to the free edge.
14. Remove the dispersion layer with cleanser. Remove the nail form.
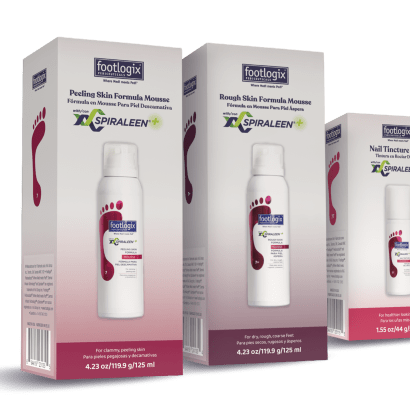
Marine-exclusive antioxidants act as a natural biological shield for the feet to help protect skin, smooth cracks, hydrate roughness, calm inflammation and disrupt bacterial and fungal activity, leaving feet feeling softer, smoother, more hydrated and healthier.
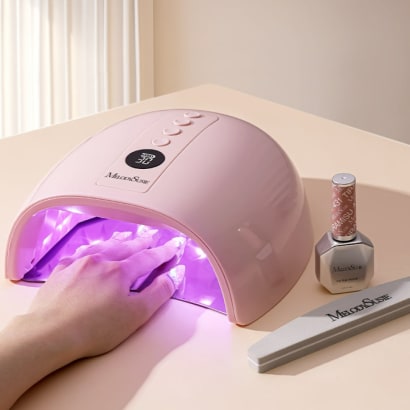
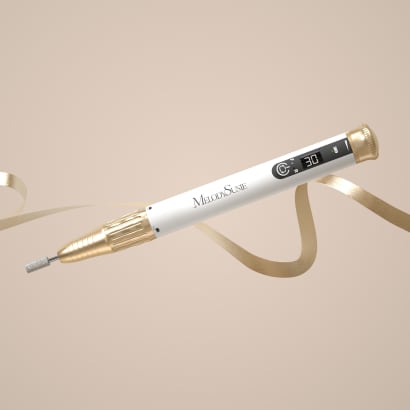
The MelodySusie P-PLUS30GT UV/LED Rechargeable Nail Lamp represents an upgrade in curing technology, designed to address several challenges through improved light reflection, intelligent heat management, and cordless operation.
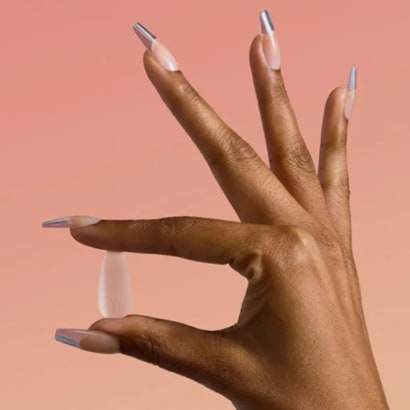
Elevate your tip service with the OPI GELevate™ Extension System, featuring tailor-made Soft Gel Tips, GELevate 4-in-1 Builder with Intelli-Builder Technology and the Lightening Flash Cure Gel Lamp. This new system from OPI allows for flawless tips in no time.
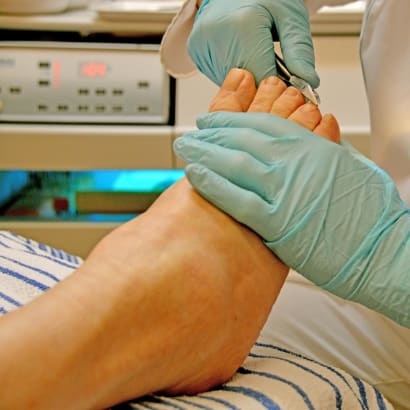
Nail technicians are embracing the Medical Pedicure as a service and placing it on their menus. But what is it? What training is required? Is it within our scope of practice as licensed nail technicians?
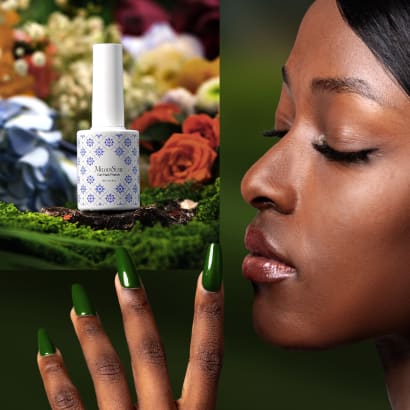
MelodySusie introduces the Fleurwee Gel Nail Polish series—a revolutionary gel polish that is HEMA/HPMA- and TPO-free, plant-based gel polish for a high-quality nail care experience.
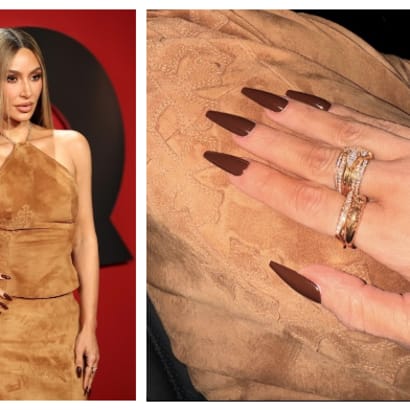
Kim Kardashian's manicure created for GQ’s annual 'Man Of The Year' event are the perfect understated, yet edgy look for fall or even the holiday party season.
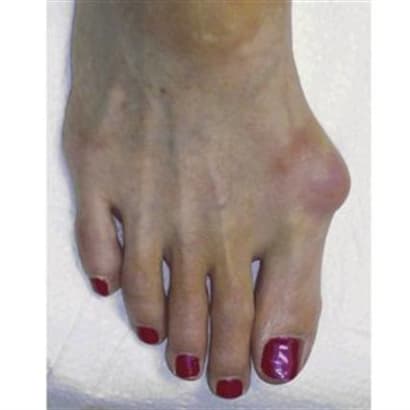
When the weight of the body lands on a swollen nerve, it can be debilitating. Learn the symptoms and alert clients to this common problem that develops in the nerves of the foot.
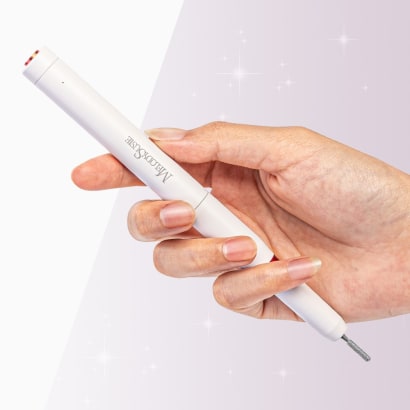
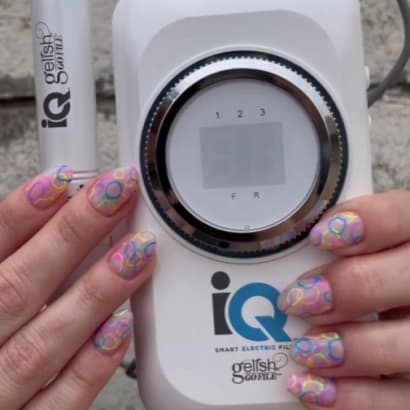
With the PC1 Nail Drill Pen, achieving healthy nails and a flawless manicure has never been easier. This user-friendly nail drill pen covers all your nail care needs.
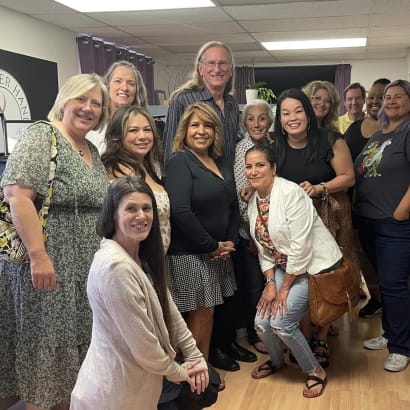
Attending a presentation by Doug Schoon is an opportunity not to be missed for anyone in the nail care industry. His extensive expertise, commitment to accurate information, and engaging presentation style make for an enlightening experience.