
6 Ways Self-Love Will Help You Crush Your Goals
From breaking free of external validation to creating joy-based goals, discover a more sustainable and fulfilling path to success.

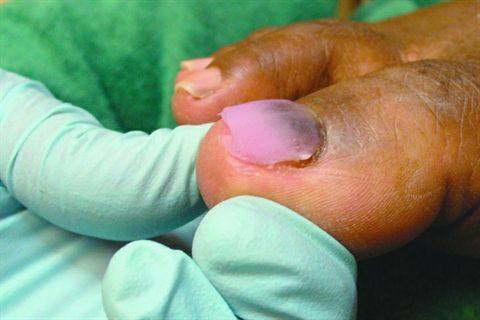
You may be surprised to learn that scotch tape is a key ingredient when repairing badly damaged toenails. Athena Elliott, the owner of SPAthena in Houston and a certified Medical Nail Technician, describes her method of rebuilding toenails when clients have very little nail.


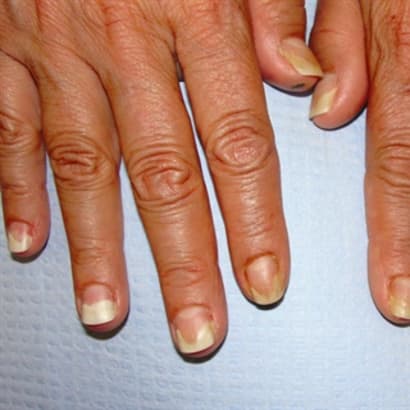
These toenails belong to a woman who is recovering from a fungal nail infection. She took oral medication and had most of the nail removed. Since her nail is finally growing back in, a referring podiatrist sent her to me for a “prosthetic nail.”
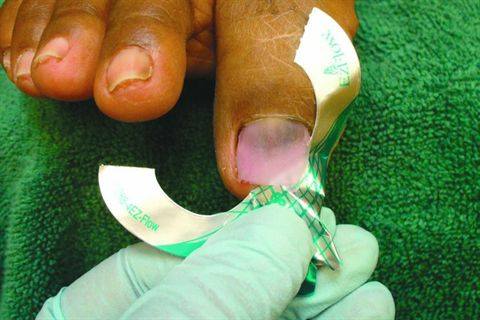
For clients with partial growth at the cuticle, like this one, I first use the “scotch tape method,” just as you would for a nail biter. Use the scotch tape to pull the skin around the toe out of the way, then apply a sculptured nail form over the tape. This method allows the acrylic to take on the most natural shape without skin contact. (Without a form the tape will not pull away from under the acrylic. The monomer melts the tape, promoting bacterial growth.)
Always try to keep product off the skin.
When applying acrylic to the big toe, make sure to leave a small margin by the sidewall so that water will have a place to evaporate. In terms of maintenance, the nails require fills every two weeks.
You can see other step-by-steps on my website at www.medinailtech.com/prostheticnail.html.
1. Remove the shine and prep the remaining nail for acrylic application.

2. Apply scotch tape to the tip of the toe over the exposed flesh and wrap the tape around the toe so ends of the tape meet underneath. This is to help pull some of the flesh away from the free edge and sidewall area.
3. Add a form on top of the tape.

4. Apply the acrylic, covering most or all of natural nail. I use clear or pink acrylic so I can monitor what’s going on underneath the enhancement.
5. Leave a tiny margin on the sidewall so moisture can escape.
6. Allow the product to cure at least 10 minutes.
7. Slowly pull one side of the form out, working toward the other side. The tape and form come off simultaneously.
8. File the product.
9. Use a tiny brush to go under the nail to make sure there is no tape or nail dust left behind.

10. Clean the nail and polish.
From breaking free of external validation to creating joy-based goals, discover a more sustainable and fulfilling path to success.
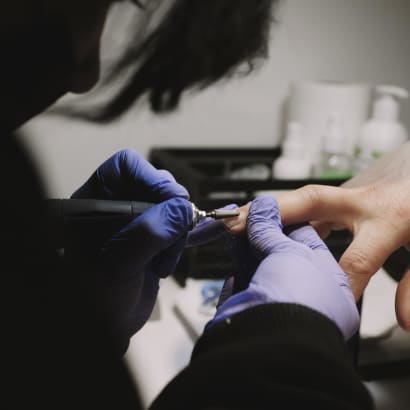
From acrylic monomers to airborne bio-dust, the air inside a nail salon carries risks most professionals never see coming. Aerovex Systems reveals the source-capture and room-purification strategies that are setting a new standard for salon safety.
Sponsored by Aerovex Systems
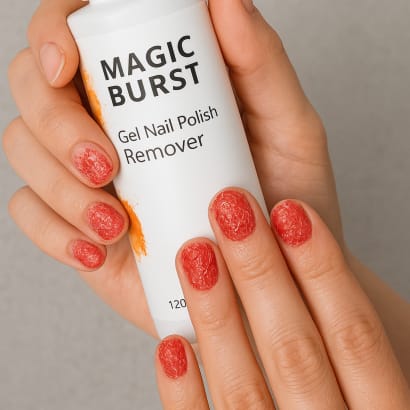
Products marketed as 'magic' or 'burst' gel removers may contain methylene chloride, a federally banned, highly toxic chemical.

Working in beauty doesn’t have to hurt. Learn how Somatic Movement helps hairstylists, lash artists, and other beauty pros release tension, improve posture, and extend their careers.
As a spa or salon professional, your clients expect more than just beauty—they expect safety, hygiene, and peace of mind. Fungal infections like Athlete’s Foot and Nail Fungus are more common than you think, especially in environments where tools and footbaths are reused without proper sanitation. This blog covers how to stop these issues before they start, using proven infection prevention strategies for salons and spas.

A federal initiative aimed at studying chemical exposure in nail salons has ended due to staffing and budget changes. Here’s what the project set out to do—and what its conclusion means for salon professionals.

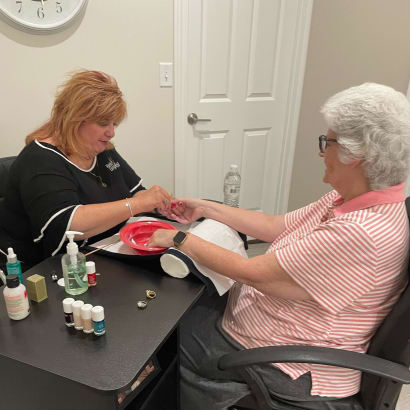
For many people, a pedicure is a relaxing beauty ritual. But what most don’t realize is that this simple service, if done without proper hygiene and sanitation, can cause serious infections and long-term health issues.
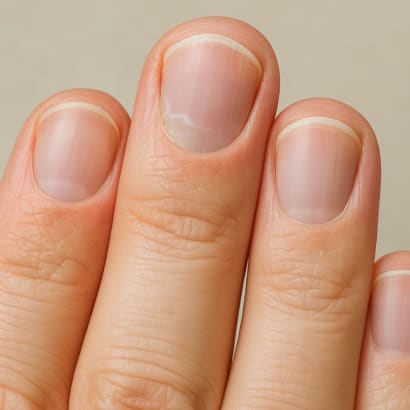
Onycholysis is the separation of the nail plate from the nail bed. While it may look painful, it typically isn’t—at least not at first. But without proper care, this common nail disorder can lead to infections, deformities, and long-term damage.

Mckenzie Kool, Psychologist, MC, RPsych provides us with guidance on what may or not be helpful in speaking with someone who has suffered a significant loss.
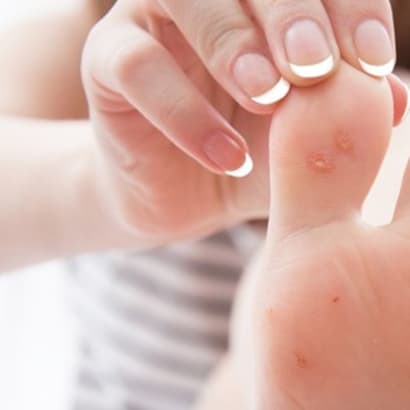
Clients come to you to feel their best—not leave with a viral souvenir. Warts and cold sores can spread fast in busy salons, but a few smart habits make all the difference. Let’s talk about what’s really lurking in your salon (and how to kick it to the curb).

As Earth Day approaches, The Green Beauty Community Foundation and the Green Spa Network invite beauty pros to step forward and embrace sustainability through the Green Pledge--a powerful initiative designed by and for beauty industry leaders.

Don’t cancel Valentine’s Day altogether, urges Jill Palmquist. Instead, think of it as a (frilly, flowery, Champagne-bubbly) wake-up call to fall deeply in love with your own life.

Life coach and Culture Ambassador of Sam Villa, Andrew Carruthers, outlines how to tell if your burnout is temporary - or if it's time to make a bigger career change.
Cancer treatment can create very specific challenges for your guest when it comes to hair, skin, and also nails. Here are some tips for working with your salon client who is going through cancer treatment to help you provide a relaxing, enjoyable, and also safe experience.
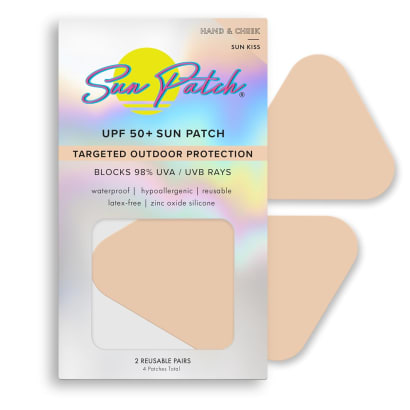
For those clients concerned about exposure from UV lamps, the Sun Patch might be a solution. Sun Patches are waterproof, reusable (up to 10 wears) block 98% of UVA/UVB rays, and maintain their UPF 50+ rating all day long.
One of the most common conditions that affects the nail is onycholysis, which is the separation of the nail plate from the nail bed. Onycholysis occurs as a result of or along with a great variety of nail traumas and disorders. Probably the most common cause of onycholysis is a fungal infection of the nail.

Hairdressing is a physically taxing career integrating simple stretches into your daily routine can reduce the strain repetitive motion puts on your body, help you stay flexible and strong and eventually prolong your career.