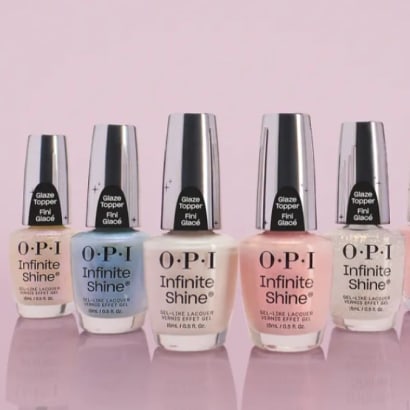
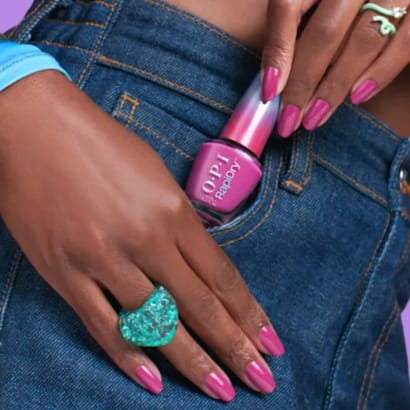
OPI’s NEW Chrome Effects and Infinite Shine Glaze Toppers
After seasons of barely-there manicures and minimalist nail looks, chrome is officially back in the spotlight.
by Staff

Have you always wanted to make your own airbrush designs? Creating stencils is a great way to get the look you want.
Cutting and designing your own stencils can be a difficult task, but after trying it a few times you will be excited about the results. I’ve been making my own stencils for many years, primarily because I wanted original designs I couldn’t find at airbrush supply stores. In the beginning, I studied articles about car painters (they make their own stencils, and the technique is similar to nail art stencils) and practiced. I started with simple things like cat faces and worked up to more sophisticated designs.
The very first thing I do when creating a new stencil is to plan what the finished design will look like. I do this by drawing it in full detail several times. Sometimes I’ll make several copies of the design, since I may need to cut several stencils. You don’t want to run out of the design and have to draw it all over again!
When making stencils, my main supplies are paper and an X-Acto knife. Using standard copy paper for a stencil is fine, but the trick is to control the paint so that it does not tear or seep through the paper. (The biggest mistake that many nail technicians make when working with stencils is that they use far too much paint.)
Some stencil artists use Mylar or acetate, but I prefer paper because it does not scratch the surface of the nail. The other materials are also more difficult to cut than paper. However, an advantage to Mylar or acetate is that you can see through them, which helps to position the finished stencils more accurately. Masking tape is an indispensable tool to hold your stencil paper in place as you cut.
After I draw the design I have in mind, working slowly to achieve an exact look, I move to a lighted stand to cut out the stencil from the paper. The stand is an ideal set-up because it is a work surface with lighting underneath that helps you to cut more precisely. Place a sheet of glass over the lighted work surface so you can cut out the templates without harming the surface of the desk.
Instead of using an X-Acto knife to cut a stencil out, some nail technicians may prefer to use a stencil burner. This penlike device has a heated tip that actually cuts out the stencil design. I wouldn’t advise using it on smaller projects or if you are a beginner because you risk marring or burning the stencil if you don’t have a skilled hand and some experience.
Here are three versions of a design I came up with in honor of the ’96 Summer Olympic Games held in Atlanta this summer. If you are a beginner, start with the Bronze Medal Flag Design so you can practice designing and cutting a stencil. It has one star stencil. When you’re ready, move on to the intermediate design, Silver Medal Finish Line Design, which has three stencils: a curve, a star, and the outline of an athlete running through a finish line ribbon. The advanced stencil, the Gold Medal Eagle Design, has four stencils and requires hand-painted detail and controlled fading of the airbrush paint as you move away from the stencil.
Since the holidays are last approaching, you may want to adapt the skills used in these three designs for a Halloween-, Thanksgiving- or Christmas-themed stencil. Once you get the knack of creating the design and cutting the stencils, you will be able to make air-brushed nail art of any kind.
Bronze Medal Flag Design
Supplies:
X-Acto knife
Stencil paper (for a star stencil) and pencil
Airbrush and related accessories
Opaque acrylic brushing paints — red, white, and blue
Base coat
Top coat
Paper with straight edge (e.g. a business card)
Masking tape
First, always apply base coat to all of the nails to be airbrushed. In most of my designs, I paint all of the nails completely white a I do with this design. This will give you an even, smooth background to work on. Next spray blue paint starting at the cuticle area and moving down toward the edge of the nail Let the blue paint fade into the white paint. Then used a piece of paper with a straight edge, such as a business card, to redefine the white edge and create a blue “V” shape. Next, use the business card and red paint to spray lines that fade into the white down toward the edge of the nail. Do this only on one side of the nail, leaving the remainder completely white After finishing, add the stars using white paint inside the blue areas of each nail with the stencil you have made. Seal with top coat Charge $3 per nail, or $20 for all 10 nails.
Silver Medal Finish Line Design
Supplies:
X-Acto knife
Airbrush and accessories
Acrylic airbrush paints — blue, yellow, red, black, white (opaque)
Stencil paper and penci
Base coat
Top coat
Masking tape
Use a base coat on all of the nails, then spray them completely white. Using a curved stencil cut from stencil paper with an X-Acto knife, spray red paint onto each nail starting at the top of the cuticle area and moving down toward the side of the nail. Allow the red paint to gently fade into the white. Repeat this same motion again to make two equal stripes on each nail. Next, airbrush blue paint starting at the left side of the cuticle and gently fading into the white. Try not to overlap the red paint that was just applied. Then use yellow paint at the end of the nail and blend it with a little bit of the red. Next, add the stars with white paint, using your pre-made star stencil. Try to make the stars brighter in the blue area, then lighter as you reach the red area. The runner should be applied at the free edge of the nail and is sprayed on in black to make a great contrast to the other colors used. Cut the figure out of your stencil paper using the X-Acto knife. It’s tricky, but with practice you can do it. Seal the design with top coat. Charge $5 per nail for this design, or $30 for all 10 nails.
Gold Medal Eagle Design
Supplies:
X-Acto knife
Airbrush and accessories
Detailing paint brush
Acrylic airbrush paints — white, yellow, red, blue, orange, brown, and black (red and blue paints should be transparent, the rest opaque)
Stencil paper and pencil
Base coat
Top coat
Masking tape
Apply base coat to the nails, then airbrush all of them white. Place a previously-made beak-shaped template at the center of the nail. Then airbrush yellow paint on the middle of the nail in a small area, making it darker near the stencil and fading into the white paint to ward the cuticle. Still using the same beak stencil, add a light streak of brown paint right next to the stencil. That will be the bottom of the beak, and the brown helps give it shading. Using a detailing brush, paint a very thin line under the beak, and a curved line in the center of the beak with black acrylic paint. Paint thin lines for the mouth opening above the first line that you painted. Directly above where the yellow paint ends, add thin lines to help you place the eyes in the correct spot. The lines for the eyes are shaped similar to a curved “V” placed at an angle. Using a round stencil specifically cut to fit inside both of the eye lines, use orange paint to airbrush in the eye. Then hand-paint a white dot inside each pupil to show light reflecting from the eyes. At the bottom of the orange in the eye, airbrush an opaque yellow shape to give the eye more depth. Then either handpaint or airbrush black paint around each eye on both sides, to give them more contrast. Use transparent blue paint (paints are sold as either opaque or transparent; be sure to read the label) and airbrush the nail above the eagle, starting darker at the cuticle area and slowly fading into the while as you get nearer to the eagle’s face. To paint the flag, cut a wave-shaped stencil and airbrush it onto the design with red transparent paint. The red should be darker at the outside of the nail and lighter as it approaches the eagle’s face, covering it slightly. Add stars with white paint in the blue area and then seal with top coat to complete the design.
Charge $10 per nail for this design, or $50 for all 10 nails.
Traci Suggs, who specializes in nail art, has been doing nails for eight years and loves to compete.
After seasons of barely-there manicures and minimalist nail looks, chrome is officially back in the spotlight.

For years, press-on nails have been treated as the alternative to professional services. But the category has evolved and so has the client.
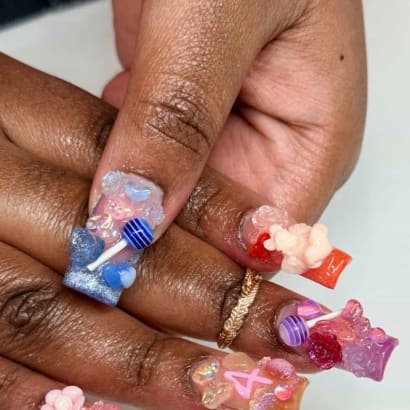
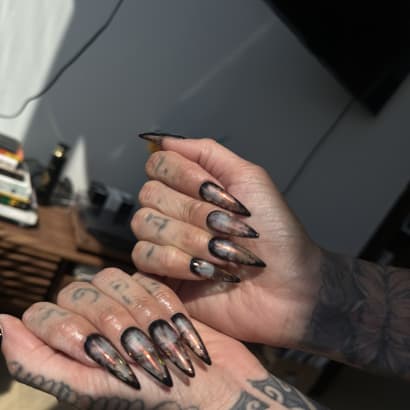
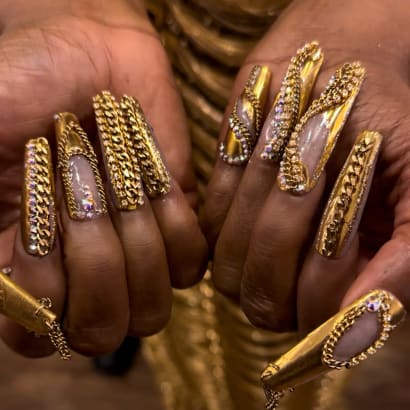
Junk nails continue to steal the spotlight within the professional beauty industry.
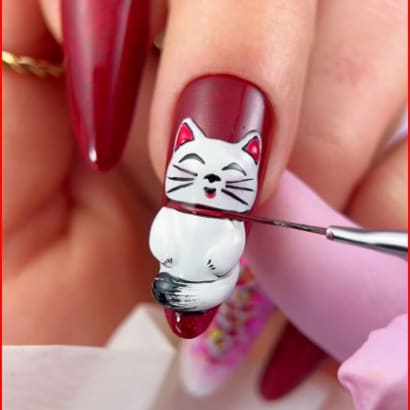
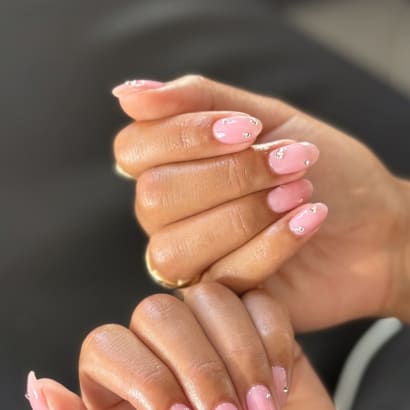
The lucky cat in this design signifies fortune and abundance--yes, please!
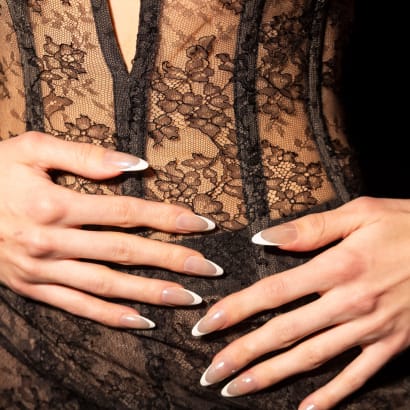
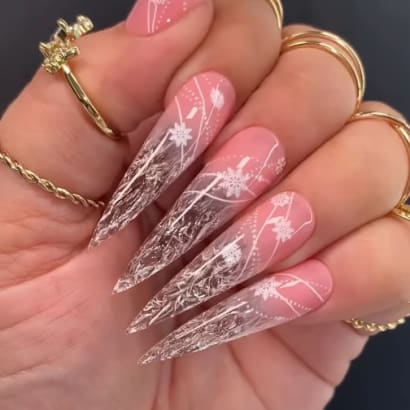
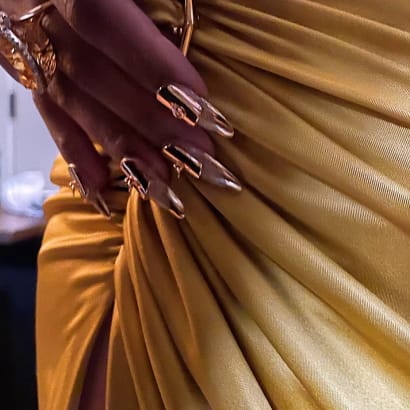
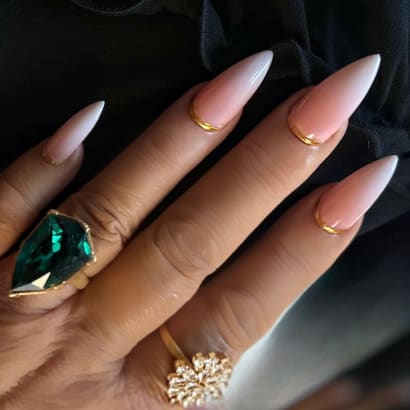
“You can’t go wrong with a classic French elevated with a high-shine, chrome finish that’s continuing to trend. The stiletto shape of the nails echoes the precision and structure seen throughout the collection.”
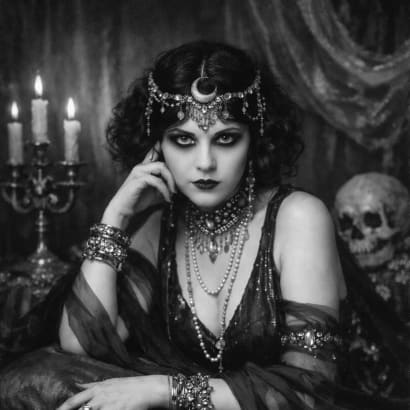
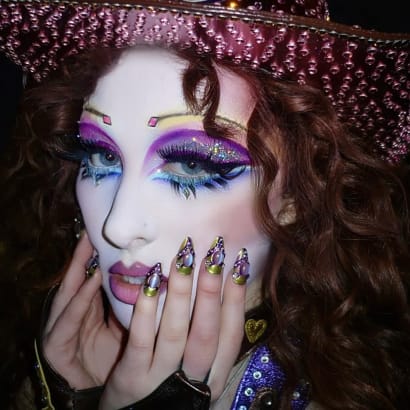
Romantic goth hairstyles are trending for 2026, and these Sebastian Professional artists have long anticipated the look.
Check out what beautiful looks these celebrity nail artists cooked up for famous attendees and nominees of the 2026 Grammy Awards.
Check out these beautiful holiday and winter nails, created by the talented nail artists of our MODERN SALON 100 of 2025. Top-tier inspiration!
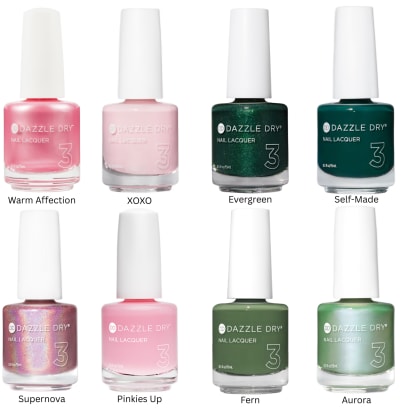
In anticipation of Wicked: For Good, here are some stunning pink and green polishes from clean nail brand Dazzle Dry.
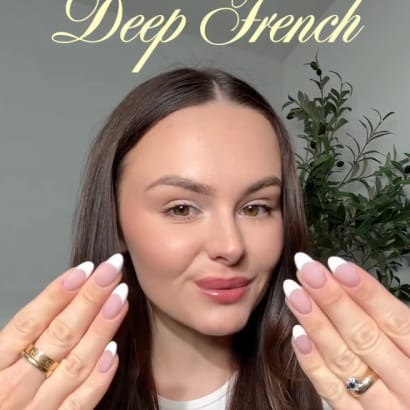
The return of the deep French is a trend with staying power.
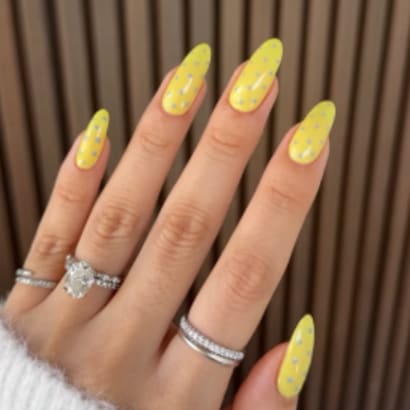
OPI Global Ambassador and celebrity manicurist Zola Ganzorigt just merged two of summer’s most buzzy trends – butter yellow and polka dot nails -- to create this adorably sunny trend on Hailey Bieber.
Our favorite part of any award show or celebrity event is seeing what those celebrities are wearing on their fingertips! These celebrity manicurists shared how to recreate some of our favorites.
The stars at the 2025 Oscars and their talented manicurists did not disappoint, and we've chosen a few of our favorite nail looks to share with you.
See some of the most decorated fingertips at the Grammys, created with Aprés Nail.
Looking for some new stuff to get excited over during this post-holiday quiet period? We've got just the selection for you, including new polish formulas, colors, and even botanical skincare.
Which of our 2024 nailsmag.com articles did you find most intriguing last year? The results are in!
See how these celebrity manicurists used Aprés Nail to create some of the Golden Globes' most stunning nail looks.