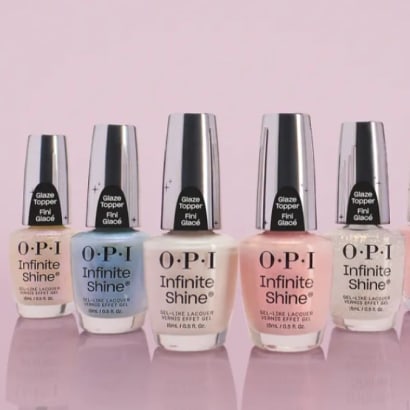
OPI’s NEW Chrome Effects and Infinite Shine Glaze Toppers
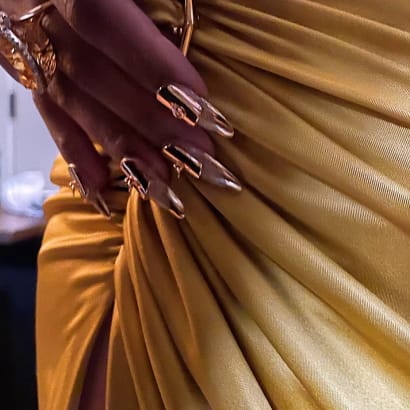
After seasons of barely-there manicures and minimalist nail looks, chrome is officially back in the spotlight.
by Staff

Robin Moses from Florence, Ore. shares step-by-steps on creating her summer camp-inspired art.
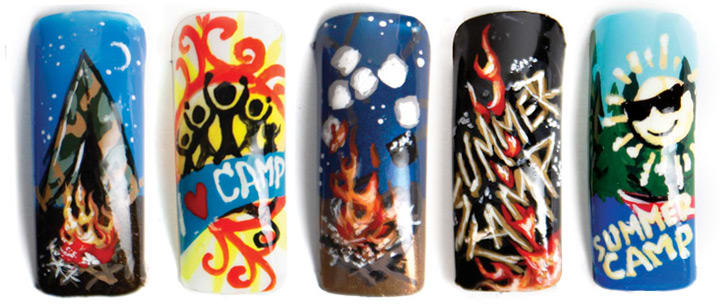
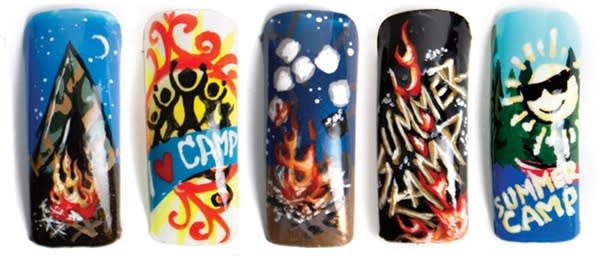
Sleeping in tents, roasting marshmallows over fires, canoeing in the lake, and fun in the sun, Robin Moses from Florence, Ore. shares step-by-steps on creating her summer camp-inspired art. View these and other summer camp-inspired nail art creations in our summer camp photo gallery. Also, be sure to share your “arts and crafts” camp nails with us on Facebook (www.facebook.com/nailsmag). We’ll add the best to our gallery.

Roasting Marshmallows
Things you will need: dark blue nail polish, golden brown nail polish, and acrylic paints (brown, white, red, orange, yellow, black)
Step 1: Polish tips with polish to create the ground.
Step 2: Paint sticks in campfire pattern. Then paint lines coming from many corners. Let dry.
Step 3: Paint fire starting with red, orange, and yellow. Highlight the fire and put marshmallows on the sticks with light grey squares.
Step 4: Highlight each marshmallow with a touch of white.
Step 5: Add stars to the night sky. Add little light blue lines to highlight the sticks out of the fire.

Campfire Teepee
Things you will need: medium blue polish and acrylic paints (olive green, light olive green, tan/brown, red, orange, yellow, white)
Step 1: Polish nails medium blue with a dark brown tip. Let dry. Draw a dark olive triangle sitting on the line where the blue meets the brown.
Step 2: With light olive paint, decorate the teepee in a “camo” design. Let dry.
Step 3: Add tan paint to finish the camo design and add brown sticks at the bottom of the nail. Let dry.
Step 4: Outline the teepee in black paint and add a black triangle for the door. Add tan spikes to the tent. Add red over the sticks to start the fire.
Step 5: Add orange and yellow to the fire, working your way up. Add stars, a moon, and highlights with white paint.
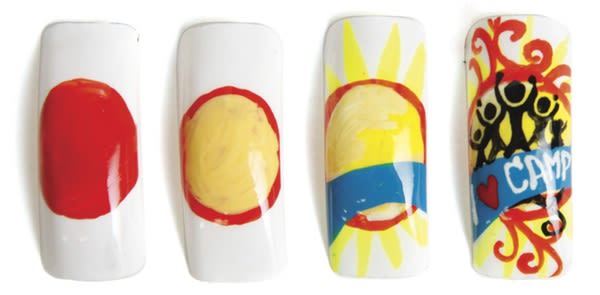
I Love Camp!
Things you will need: white polish and acrylic paints (orange, black, blue, white, red)
Step 1: Polish nails white and let dry. Paint an imperfect orange circle for the sun. Let it dry.
Step 2: Paint an imperfect bright yellow circle inside the orange circle. Let dry.
Step 3: Paint a blue banner across the sun. If you have neon yellow polish, add sun rays.
Step 4: Add as many figures as you like with black paint. Add scrolling highlights in orange and write “I heart camp” in the banner.
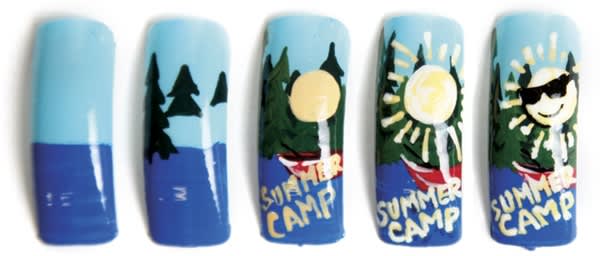
Summer Camp
Things you will need: light blue nail polish and acrylic paints (dark green, light green, blue, white, black, red)
Step 1: Polish nails light blue. Mix a darker blue for the lake at the bottom of the nail and paint the lake. (Let dry completely.)
Step 2: With small triangles in dark green (getting larger as they get to the lake), create trees. Let dry and then do it again with lighter green. Let dry. Then highlight the darker green trees with the lighter green paint.
Step 3: Paint a red canoe. Let dry, then highlight with white to make it appear shiny. Add a dark yellow sun and the words “summer camp” in the same color.
Step 4: Highlight the sun and words with bright yellow and white paints.
Step 5: Add sunglasses and a smile to the sun with black paint.
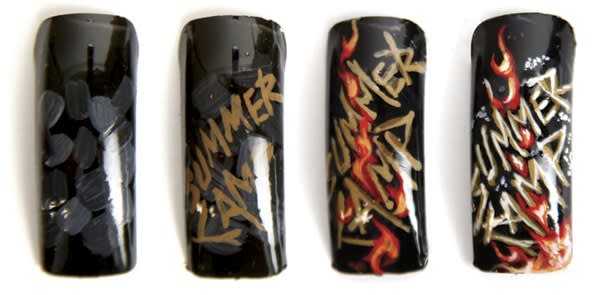
Over the Coals
Things you will need: black polish and acrylic paints (black, gray, white, dark brown, medium brown, light brown, red, orange)
Step 1: Polish nails black. Let dry. With dark and medium gray paints, arrange coal squares in a circle.
Step 2: With dark brown, write “summer camp” in a stick-like font.
Step 3: Add red, orange, and yellow flames to set the sticks on fire.
Step 4: Highlight the words with white to make it look shiny.
Download a PDF of these summer camp step-by-steps by clicking here.
After seasons of barely-there manicures and minimalist nail looks, chrome is officially back in the spotlight.

For years, press-on nails have been treated as the alternative to professional services. But the category has evolved and so has the client.
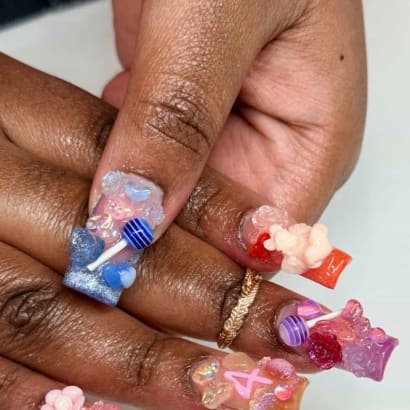
Junk nails continue to steal the spotlight within the professional beauty industry.
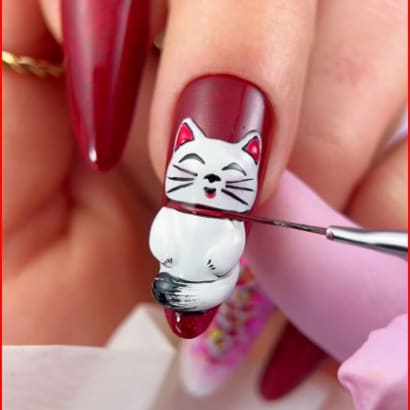
The lucky cat in this design signifies fortune and abundance--yes, please!
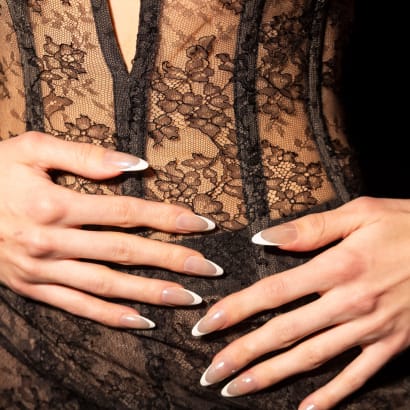
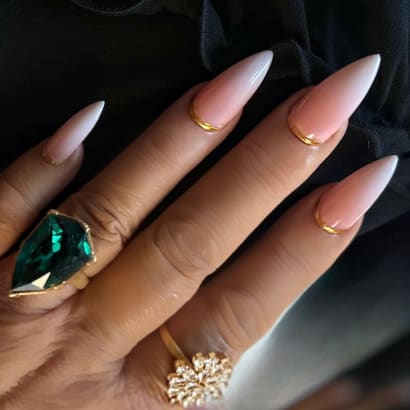
“You can’t go wrong with a classic French elevated with a high-shine, chrome finish that’s continuing to trend. The stiletto shape of the nails echoes the precision and structure seen throughout the collection.”
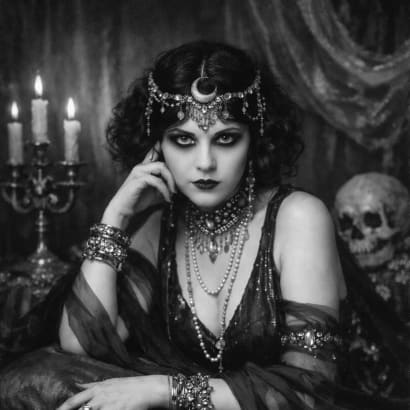
Romantic goth hairstyles are trending for 2026, and these Sebastian Professional artists have long anticipated the look.
Check out what beautiful looks these celebrity nail artists cooked up for famous attendees and nominees of the 2026 Grammy Awards.
Check out these beautiful holiday and winter nails, created by the talented nail artists of our MODERN SALON 100 of 2025. Top-tier inspiration!
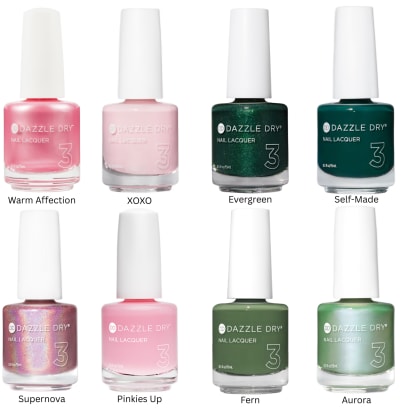
In anticipation of Wicked: For Good, here are some stunning pink and green polishes from clean nail brand Dazzle Dry.
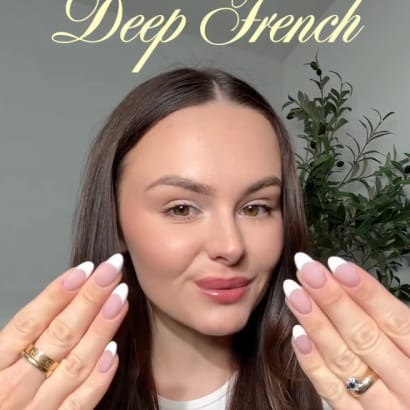
The return of the deep French is a trend with staying power.
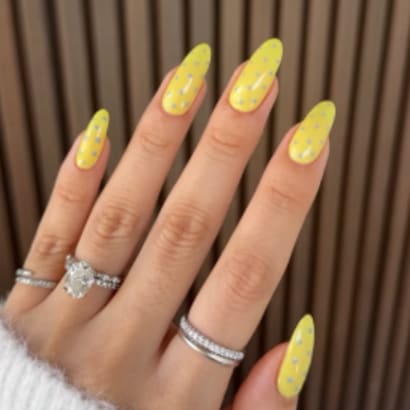
OPI Global Ambassador and celebrity manicurist Zola Ganzorigt just merged two of summer’s most buzzy trends – butter yellow and polka dot nails -- to create this adorably sunny trend on Hailey Bieber.
Our favorite part of any award show or celebrity event is seeing what those celebrities are wearing on their fingertips! These celebrity manicurists shared how to recreate some of our favorites.
The stars at the 2025 Oscars and their talented manicurists did not disappoint, and we've chosen a few of our favorite nail looks to share with you.
See some of the most decorated fingertips at the Grammys, created with Aprés Nail.
Looking for some new stuff to get excited over during this post-holiday quiet period? We've got just the selection for you, including new polish formulas, colors, and even botanical skincare.
Which of our 2024 nailsmag.com articles did you find most intriguing last year? The results are in!
See how these celebrity manicurists used Aprés Nail to create some of the Golden Globes' most stunning nail looks.